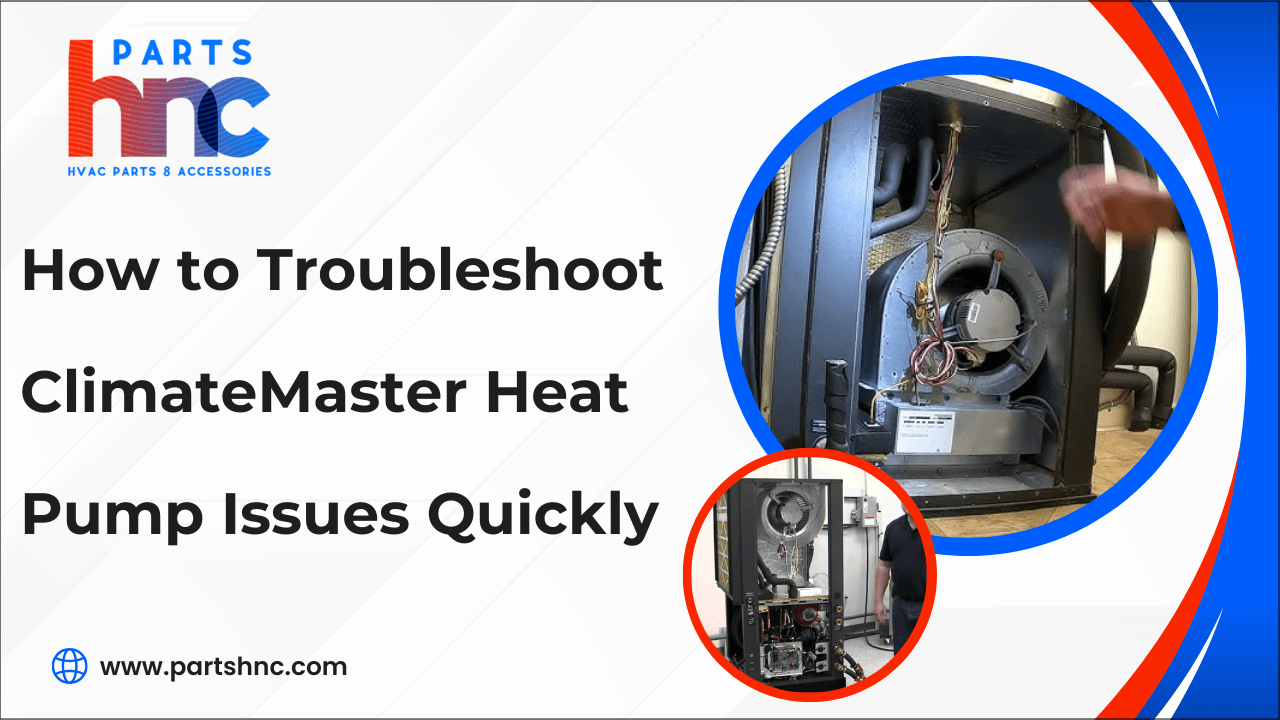
How to Troubleshoot ClimateMaster Heat Pump Issues Quickly
ClimateMaster heat pumps offer efficient heating and cooling, but like all HVAC systems, they may encounter issues over time. Whether you're a homeowner or technician, knowing how to troubleshoot problems quickly can save time, reduce repair costs, and restore comfort faster. Common issues such as poor airflow, inconsistent temperatures, or unusual noises can often be diagnosed with a few simple steps. This guide will walk you through a quick and effective troubleshooting process, helping you identify and resolve the most frequent problems with ClimateMaster units. From checking filters and thermostat settings to inspecting error codes and system components, this introduction prepares you to take informed action and keep your ClimateMaster heat pump system running smoothly all year round.
Understanding ClimateMaster Heat Pumps and the Importance of Quick Troubleshooting
ClimateMaster heat pumps are advanced, energy-efficient systems designed to provide year-round comfort in homes and businesses. Understanding how these systems work and why fast troubleshooting is critical will help you maximize both performance and lifespan.
How ClimateMaster Heat Pumps Work:
-
Heat Transfer Efficiency: ClimateMaster heat pumps transfer heat rather than produce it, making them highly energy-efficient for both heating and cooling.
-
System Types: They are available in two main types: geothermal (ground-source) and air-source models.
-
Heat Movement: These systems operate by moving heat either into or out of your indoor space, depending on seasonal needs.
-
Key Components: ClimateMaster heat pumps include components such as compressors, evaporators, and thermostats for precise climate control.
Benefits of Quick Troubleshooting:
-
Cost Prevention: Prompt troubleshooting stops small problems from becoming more serious and requiring expensive fixes.
-
Minimized Downtime: It limits system downtime, ensuring uninterrupted comfort during extreme weather.
-
Energy Efficiency: Proper diagnosis ensures optimal energy efficiency, resulting in lower utility costs.
-
Extended Equipment Life: Prompt repairs protect the lifespan of your investment by reducing mechanical wear and tear.
-
Improved System Performance: Early detection of blockages or faults improves indoor air quality and overall system performance.
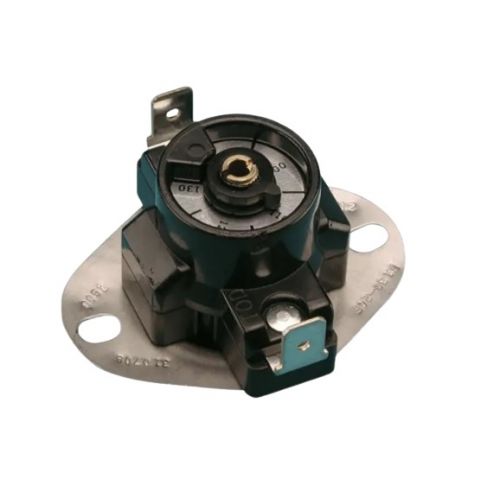
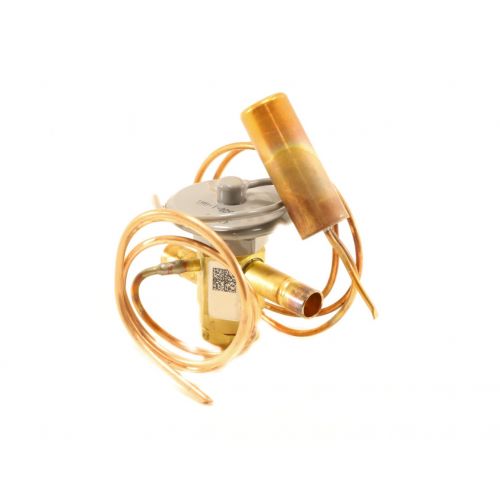
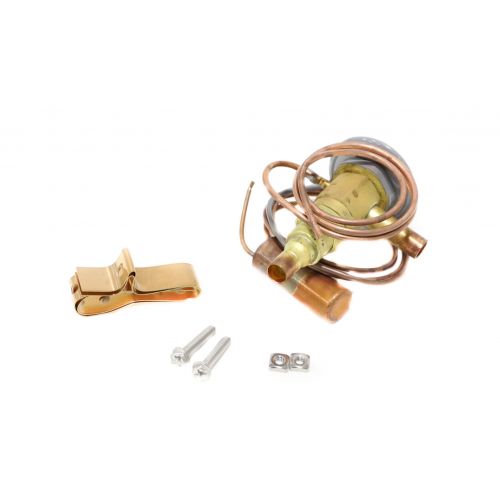
Having trouble with your heat pump? PartsHnC offers HVAC solutions with quick access to essential parts like capacitors, control boards. fan motors, and thermostats. Shop top brands like ClimateMaster, Copeland, Carrier, and Emerson at PartsHnC!
Essential Tools and Safety Tips Before You Begin Troubleshooting ClimateMaster Heat Pumps
Before you start diagnosing your ClimateMaster heat pump, equip yourself with the right tools and follow safety best practices.
Tools You'll Need
-
Digital Multimeter: To gauge electrical components' resistance, voltage, and continuity.
-
Screwdrivers (both Phillips and Flat-head): For opening access panels.
-
Insulated Pliers and Wire Strippers: For safely handling wiring.
-
Thermometer or Infrared Temperature Sensor: To monitor airflow and detect temperature inconsistencies.
-
Flashlight or Headlamp: Useful when working in dimly lit areas.
-
HVAC Pressure Gauges: Essential for refrigerant system checks (only for qualified technicians).
-
ClimateMaster Owner’s Manual: Contains model-specific wiring diagrams, error codes, and maintenance tips.
Safety Tips to Follow
-
Disconnect Power First: Always turn off power at the circuit breaker before accessing electrical components to avoid electric shock.
-
Wear Personal Protective Equipment (PPE): Use gloves, safety goggles, and protective clothing to protect yourself while working on HVAC systems.
-
Ensure Proper Ventilation: Work in well-ventilated areas to avoid inhaling dust, fumes, or harmful vapors.
-
Do Not Handle Refrigerant Without Certification: Only certified professionals should handle refrigerants due to health risks and legal regulations.
-
Contact a Professional If Unsure: If unsure about any troubleshooting step, hire a licensed HVAC technician to ensure safety and protect warranties.
Common ClimateMaster Heat Pump Troubleshooting Issues
Understanding common problems is essential for effective ClimateMaster heat pump troubleshooting. This helps you quickly diagnose and resolve issues to keep your system running smoothly.
Heat Pump Does Not Turn On
-
Power Supply Issues: The unit is not receiving electricity due to tripped breakers or blown fuses.
-
Thermostat Malfunction: The thermostat is not sending the correct signals to start the heat pump.
-
Internal Control Board Lockout: The system’s safety controls prevent startup due to detected faults.
Insufficient Heating or Cooling
-
Dirty or Clogged Air Filters: Limit airflow, which lowers the system's efficiency in heating or cooling.
-
Low Refrigerant Levels: Reduced heat transfer capacity leads to inadequate temperature regulation.
-
Faulty Blower Motor: Fails to circulate air properly through the system.
-
Blocked or Dirty Coils: Reduce heat exchange efficiency, impairing overall performance.
Unusual Noises
-
Loose Hardware: Causes rattling or vibrating sounds during operation.
-
Failing Compressor: Produces buzzing, humming, or knocking noises.
-
Debris Inside Unit: Creates grinding or scraping sounds when blown by the fan.
-
Worn Fan Motor: Generates unusual clanking or squealing noises.
Frequent Cycling (Short Cycling)
-
Incorrect Thermostat Settings: Causes the system to turn on and off too frequently.
-
Dirty Coils: Dirty coils lead to overheating and premature shutdown of the heat pump.
-
Size Mismatch: The unit is too large for the space, resulting in rapid cycling.
-
Faulty Sensors: Erroneously detect temperatures and trigger unnecessary system cycling.
Frozen Coils or Refrigerant Leaks
-
Airflow Restrictions: Cause cold spots and ice buildup on coils.
-
Low Refrigerant Levels: Prevent proper heat absorption, leading to coil freezing.
-
Malfunctioning Defrost Controls: Fail to remove ice properly during cold weather.
Error Codes or System Lockouts
-
Sensor Failures: Disrupt communication between system parts, triggering error alerts.
-
Communication Errors: Between control boards cause the system to lock out.
-
Electrical Faults: Error codes and system shutdowns can result from electrical problems like short circuits.
Steps to Troubleshoot ClimateMaster Heat Pump
Troubleshooting a ClimateMaster heat pump parts involves a systematic approach to identify and fix common issues. Follow these steps to pinpoint problems quickly and restore optimal system performance.
Step 1: Check Power Supply
-
Verify Power Supply to the Unit: Make sure the heat pump is properly connected and receiving power.
-
Check the Circuit Breaker or Fuse Box: Inspect for any tripped breakers or blown fuses that could be interrupting power to the system.
-
Reset Tripped Breakers: If a breaker is tripped, switch it off and then back on to restore power.
Step 2: Verify Thermostat Settings
-
Set Thermostat to Correct Mode: Make sure the thermostat is switched to “heat” during cold weather or “cool” during warm weather.
-
Replace Thermostat Batteries: To avoid power outages, change your thermostat's batteries regularly.
-
Reset Thermostat to Factory Settings: Consider resetting the thermostat to default settings if it’s unresponsive or acting erratically.
Step 3: Inspect Air Filters
-
Inspect for Dirty or Blocked Filters: Clogged air filters restrict airflow, leading to freezing or insufficient heating and cooling.
-
Maintain Filters Regularly: Clean or replace air filters every 1 to 3 months based on usage and environmental conditions.
Step 4: Examine the Air Handler and Blower Motor
-
Remove Debris or Obstructions: Look inside the air handler for dust buildup, debris, or blockages that restrict airflow.
-
Listen for Unusual Noises: Motor problems or worn parts may be indicated by buzzing, grinding, or rattling noises.
-
Check Blower Motor Operation: Ensure the blower motor starts smoothly and is not overheating.
Step 5: Evaluate Refrigerant Levels
-
Identify Symptoms of Low Refrigerant: Signs include ice buildup, reduced heating/cooling capacity, and possible compressor strain.
-
Use a Manifold Gauge for Pressure Checks: Ensure that the refrigerant pressure is within the range suggested by the manufacturer by measuring it.
-
Only Certified Technicians Should Recharge: Refrigerant handling requires EPA certification to ensure safe and legal servicing.
Step 6: Inspect Coils and Drainage
-
Clean Indoor and Outdoor Coils: Dirty coils lower efficiency and can lead to freezing; clean them regularly following the manufacturer’s instructions.
-
Check Condensate Drain Lines: Inspect drain lines for blockages.
-
Flush Drain Lines if Clogged: Use vinegar or warm water to flush the condensate lines to prevent water damage and mold growth.
Step 7: Decode Fault/Error Codes
-
Observe Diagnostic Codes: Many ClimateMaster units display error codes to indicate specific faults.
-
Use Manual to Interpret Codes: Consult your system’s manual for the meaning of codes like FP1 (freeze protection) or HP (high pressure).
-
ClimateMaster Error Code Guide: Use the ClimateMaster heat pump fault codes guide to identify issues and follow the recommended solutions to fix them efficiently.
Step 8: Check for Short Cycling
-
Inspect Thermostat Placement: Avoid placing thermostats near heat sources, direct sunlight, or vents to prevent false temperature readings.
-
Check Wiring and Relay Function: Faulty wiring or relays can cause the unit to cycle on and off prematurely.
-
Assess Unit Size Appropriateness: An oversized heat pump may short-cycle due to rapid temperature changes.
Step 9: Reset the System
-
Clear Stored Error Codes: After fixing an issue, reset the system to eliminate error codes from memory.
-
Perform Power Cycling if Needed: Turn off the unit’s power for about five minutes before turning it back on to reset the control board.
Step 10: Call a Professional
-
Consult a Licensed HVAC Technician: If problems persist after all checks, seek help from a qualified technician familiar with ClimateMaster systems.
-
Avoid DIY Refrigerant or Electrical Repairs: Repairs involving refrigerant or control boards require specialized training and certification for safety and compliance.
Check out this guide on 6 common heat pump problems and solutions for expert tips to quickly diagnose and fix your heat pump issues.
Maintenance Tips to Prevent Future Problems in ClimateMaster Heat Pumps
Regular ClimateMaster heat pump maintenance helps extend the life of your unit and keeps it running efficiently. Simple routine tasks can prevent unexpected breakdowns and expensive repairs.
Monthly Maintenance
-
Check and Replace Air Filters: Maintain proper airflow and improve system efficiency by regularly checking and replacing dirty filters.
-
Inspect Thermostat Function: Make sure that the thermostat keeps the specified temperature settings and functions properly.
-
Clear Outdoor Unit: Remove debris, leaves, snow, or any obstructions around the outdoor unit that might restrict airflow and reduce performance.
Quarterly Maintenance
-
Clean Indoor and Outdoor Coils: Remove dirt and dust buildup on coils to optimize heat exchange efficiency.
-
Test and Flush Condensate Drain Line: Check for any clogs and flush with vinegar or warm water to prevent water damage and mold growth.
-
Tighten Electrical Connections: Secure loose wiring or contacts to avoid electrical faults or system malfunctions.
Bi-Annual Maintenance
-
Professional HVAC Inspection: Have a certified technician perform a detailed system check to identify potential issues early.
-
Check Refrigerant Levels and Pressures: Ensure refrigerant amounts are within manufacturer specifications to maintain optimal system performance.
-
Inspect Ductwork: Look for leaks, blockages, or damage that could reduce efficiency or compromise indoor air quality.
Annual Maintenance
-
Clean or Replace Blower Motor Components: Prevent wear and maintain smooth airflow by servicing blower parts annually.
-
Test Safety Switches and Sensors: Verify that all safety devices are functioning correctly for reliable and safe operation.
-
Update Smart Thermostat Firmware: For systems with smart thermostats, install firmware updates to enhance performance and add features.
Following this structured maintenance schedule will help keep your ClimateMaster heat pump running smoothly, efficiently, and reliably throughout the year.
Check out this guide on how to do heat pump preventive maintenance to keep your system running efficiently year-round.
Conclusion
Troubleshooting your ClimateMaster heat pump efficiently ensures consistent home comfort and helps avoid costly repairs. A structured approach such as checking the power supply, thermostat settings, filters, and airflow allows you to quickly detect common issues. Monitoring error codes also plays a key role in diagnosing problems before they escalate. Routine maintenance, including cleaning and periodic inspections, extends the system’s lifespan and keeps it running efficiently. If problems persist or involve electrical or refrigerant components, it's best to seek professional ClimateMaster heat pump repairs. Staying proactive not only protects your equipment but also ensures lower energy bills and year-round performance.
FAQs
How do I reset my ClimateMaster?
To reset, turn off the power to the unit at the circuit breaker for about 5 minutes, then switch it back on. This clears error codes and restarts the system.
Where is the reset button on my heat pump?
Most ClimateMaster heat pumps don’t have a dedicated reset button; resetting is done by cycling power at the breaker or disconnect switch. Check your model’s manual for specific instructions.
Why would my heat pump not be kicking on?
Common reasons include power supply issues, thermostat problems, or a tripped safety switch. Also, check for blown fuses or a faulty capacitor.
What is the flashing code 3 on ClimateMaster?
A flashing code 3 typically indicates a sensor or communication error; refer to your unit’s manual for exact diagnostics. It often requires professional service to resolve.
 Loyalty Program


