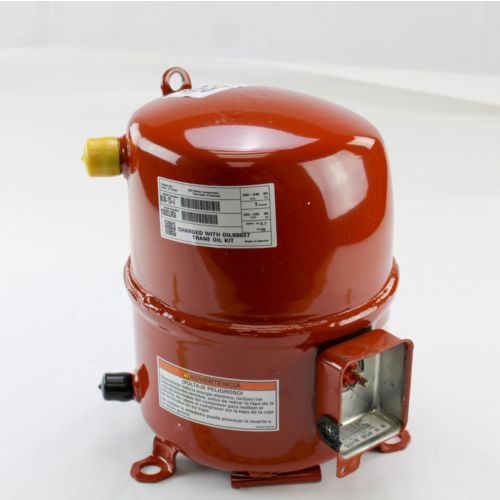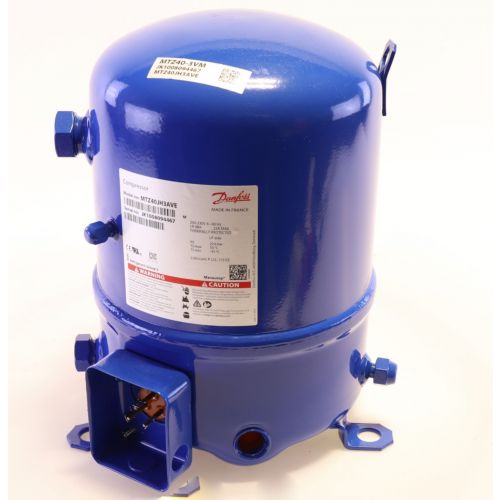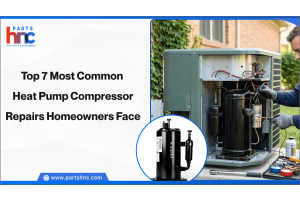
Top 7 Most Common Heat Pump Compressor Repairs Homeowners Face
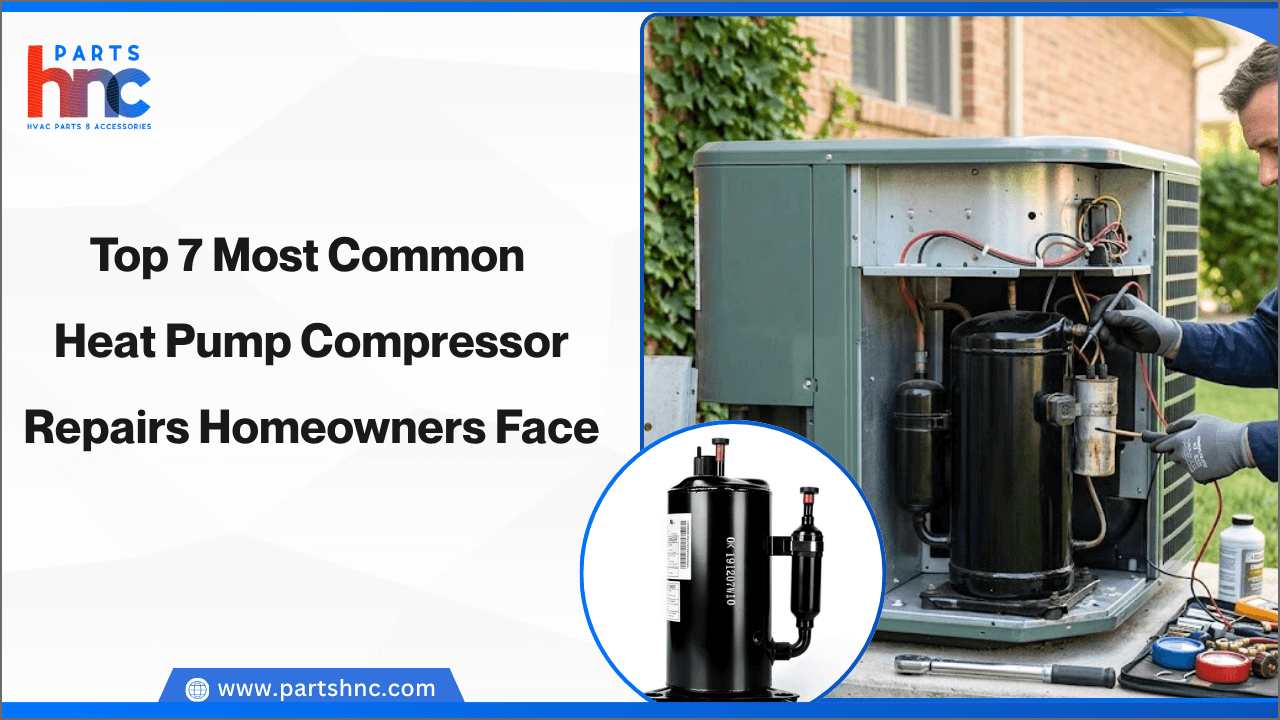
The heat pump compressor plays a crucial role in keeping your home comfortable by circulating refrigerant and maintaining steady heating and cooling performance. When this component is under stress, even small issues can gradually reduce efficiency and comfort levels, often going unnoticed until temperatures become inconsistent or energy bills rise unexpectedly.
Understanding the most common heat pump compressor repairs prevents efficiency loss and helps avoid costly breakdowns. Approximately 80% of compressor failures are caused by electrical faults, refrigerant issues, or overheating due to airflow restrictions. These problems develop slowly but can seriously affect performance, so early detection ensures timely action and reliable year-round operation.
What Does a Heat Pump Compressor Do in an HVAC System?
A heat pump compressor is a central part of an HVAC system that enables refrigerants to move so your home can be heated or cooled. It works by compressing low-pressure refrigerant gas into a high-pressure, high-temperature vapor, enabling heat transfer between indoors and outdoors.
How the Compressor Drives the Cycle
-
Pressurization: The compressor takes in low-pressure refrigerant gas and compresses it into a high-pressure, high-temperature gas.
-
Heat Transfer: This hot gas moves to the indoor coil in heating mode or the outdoor coil in cooling mode, where it releases heat and turns into liquid.
-
Cooling: The liquid expands and drops in temperature, allowing it to absorb heat from the space.
-
Completing the Loop: The refrigerant returns to the compressor to repeat the cycle.
It operates in two seasonal modes: heating mode transfers outdoor heat indoors, while cooling mode removes indoor heat and releases it outside to cool the space.
Proper care of heat pump parts improves heating and cooling efficiency, while quick compressor repairs help prevent serious HVAC failures.
7 Common Heat Pump Compressor Repairs Homeowners Face
Heat pump compressor repair issues often develop silently, resulting in reduced system efficiency. Early identification helps prevent breakdowns and expensive repairs. Below are common heat pump compressor problems homeowners face:
Problem 1: Liquid Floodback to Compressor
Reed valves inside the compressor wear or break. This reduces compression efficiency and weakens system output. This often leads to uneven pressure control and unstable operation.
Problem 2: Short Cycling Stress on Compressor
Compressor short-cycling occurs when the system repeatedly turns on and off in short intervals. This disrupts stable pressure buildup, increases internal wear, and causes excessive thermal and mechanical stress on the compressor.
Problem 3: Oil Starvation Inside Compressor
Oil starvation occurs when compressor oil fails to circulate properly with refrigerant, leading to poor lubrication, metal-to-metal contact, increased friction, overheating, and fast internal wear.
Problem 4: Reverse Rotation of Compressor Motor
An incorrect electrical phase makes the motor spin in reverse. This reduces compression and disrupts the flow of refrigerant.
Problem 5: Moisture Contamination Freeze-Up
Moisture in the heat pump refrigerant line can freeze at the expansion valve or capillary tube. This blocks refrigerant flow and overloads the compressor.
Problem 6: Compressor Not Turning On
This issue occurs when the system fails to start due to electrical faults, capacitor failure, or control signal problems. In some cases, safety shutdowns from overheating or pressure imbalance also stop the compressor from running.
Problem 7: Internal Reed Valve Failure
Reed valves control refrigerant intake and discharge inside the compressor. When they weaken or break, compression efficiency drops and system operation declines.
Insight: Timely refrigerant leak repair with correct recharging and inspection helps ensure safe and consistent system function.
Planning to upgrade your home with energy-efficient heat pumps? Shop HVAC parts and supplies from PartsHnC. We offer heat pump parts, including compressors, fans, thermostats, coils etc... from top brands like Climatemaster, Goodman, Rheem, Lennox, and York, with fast delivery straight to your door!
What Causes Heat Pump Compressors to Fail Prematurely?
Heat pump compressors may fail prematurely when internal operating conditions remain outside optimal design limits. These hidden stresses reduce system performance. Here are the causes:
-
Low Refrigerant Levels: Refrigerant leaks reduce cooling inside the compressor, increase operating temperature, and accelerate internal wear.
-
Refrigerant Overcharging: Excess refrigerant can force liquid refrigerant back into the compressor, damaging valves and compression components.
-
Moisture or Acid Contamination: Moisture inside the system reacts with refrigerant and oil, creating corrosive acids that damage internal components.
-
Power Surges and Voltage Fluctuations: Sudden voltage spikes place excessive stress on electrical components and can cause the compressor motor to burn out.
-
Faulty Capacitors or Wiring: Weak capacitors and loose wiring increase heat buildup and electrical strain on the compressor.
-
Lack of Lubrication: Low or incorrect oil circulation increases friction between moving parts causing mechanical damage.
-
Dirty Filters and Condenser Coils: Restricted airflow from dirty filters or coils increases system pressure and operating temperature, overloading the compressor.
How Much Does Heat Pump Compressor Replacement Cost?
A heat pump compressor replacement usually costs $1,500 to $3,000 for parts and installation. With additional services like refrigerant recharge and labor, total costs can rise to $2,500–$4,500+ based on system capacity.
Find out how to troubleshoot ClimateMaster heat pump issues quickly.
How to Prevent Expensive Heat Pump Compressor Repairs
Preventing expensive heat pump compressor repairs depends on regular maintenance, proper airflow, and early detection of issues. Below are the most effective ways to prevent them:
DIY Preventative Care
-
Change Air Filters Regularly: Dirty filters restrict airflow, forcing the compressor to work harder. Replace or clean filters every 1–3 months.
-
Keep The Outdoor Unit Clear: Maintain at least 2 feet of space around the unit and remove leaves, dust, and debris to ensure proper airflow.
-
Clean Condenser Coils: Dirty coils reduce heat transfer and increase the strain on the compressor. Gently rinse with a garden hose when needed.
-
Keep Indoor Vents Open: Avoid blocking vents with furniture or curtains, as this disrupts airflow and system balance.
-
Watch for Ice Buildup: Heavy ice on the outdoor unit may signal a problem. Turn off the system and contact a technician if it persists.
Professional Maintenance
-
Schedule HVAC Inspections: Have a technician inspect your system once or twice a year to clean components and detect early issues.
-
Check Refrigerant Levels: Low refrigerant increases compressor stress and may indicate leaks that require professional repair.
-
Inspect Wiring and Vibration issues: Loose parts or damaged wiring can lead to compressor failure if not fixed early.
Summary: How to Extend the Life of Your Heat Pump Compressor
Extending a heat pump compressor’s life depends on minimizing system stress and maintaining stable operating conditions. Most failures develop gradually from load instability, pressure imbalance, and repeated thermal cycling. Keeping the system within optimal limits and addressing inefficiencies early helps extend compressor lifespan significantly.
Key Takeaways
-
Avoid frequent short cycling, as repeated start-stop stress is one of the fastest ways to degrade compressor windings.
-
Maintain stable indoor load conditions instead of constantly adjusting thermostat settings drastically.
-
Ensure correct refrigerant charge precision, since even small deviations alter compression ratios and strain components.
-
Protect the system from voltage fluctuations using proper electrical safeguards or stabilizers where needed.
-
Reduce thermal shock by avoiding sudden mode switching between heating and cooling.
-
Monitor early operational changes (longer run time, delayed heating) as indicators of compressor stress.
FAQs
What is the $5000 rule for HVAC?
The $5000 rule is a general guideline used to decide whether to repair or replace an HVAC system. Multiply the system’s age by the repair cost—if the result exceeds $5000, replacement is often more cost-effective.
What is the life expectancy of a heat pump compressor?
A typical heat pump compressor lasts around 10 to 15 years with proper maintenance. Poor upkeep or heavy usage can shorten its lifespan.
How much does a new compressor cost for a heat pump?
The cost varies widely depending on system size and brand, but compressor replacement is generally one of the more expensive HVAC repairs, often ranging from moderate to high installation costs.
How much does it cost to replace a 2 ton heat pump and air handler?
Replacement costs depend on efficiency rating, brand, and labor, but a full 2-ton system replacement typically falls within a broad range and should always include professional installation estimates.
|
Disclaimer: This article is for general informational purposes only. Heat pump compressor performance may vary based on system type, installation, and maintenance conditions. |