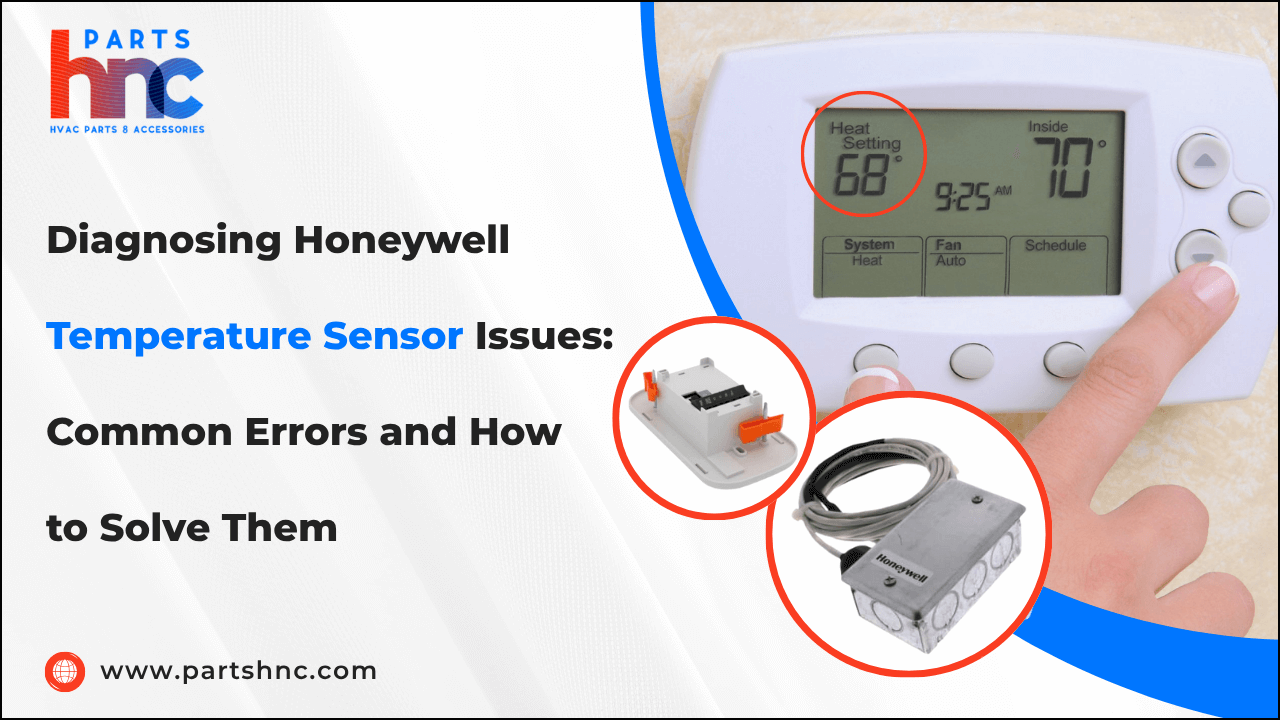
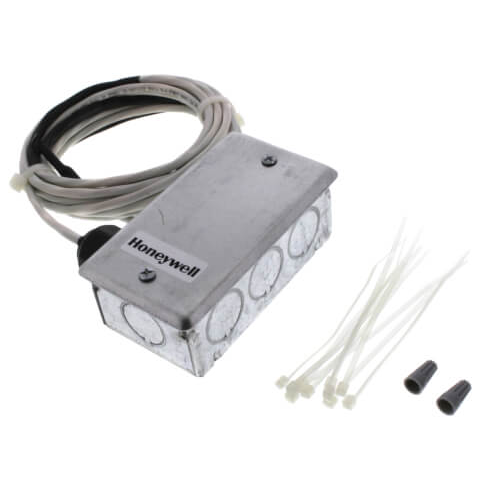
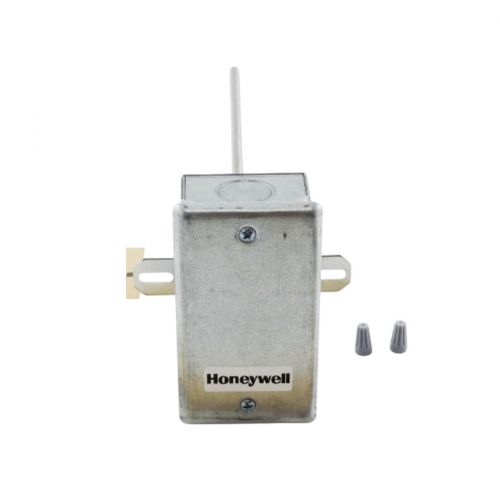
Diagnosing Honeywell Temperature Sensor Issues: Common Errors and How to Solve Them
Diagnosing issues with Honeywell temperature sensors is essential for maintaining accurate and reliable temperature readings in various applications. These sensors are widely used in HVAC systems, industrial processes, and building automation, making their proper functioning critical. However, common errors such as inaccurate readings, sensor drift, or complete Honeywell sensor failure can disrupt operations and lead to costly downtime.
Understanding the root causes of these issues and knowing how to troubleshoot them effectively can save time and resources. This guide explores the most frequent problems encountered with Honeywell temperature sensors and provides practical solutions to resolve them quickly. Whether it’s wiring faults, calibration errors, or environmental factors, addressing these challenges ensures optimal sensor performance and system reliability.
| Table of Contents: How Honeywell Temperature Sensors Work: Understanding Their Functionality Common Problems Faced by Honeywell Temperature Sensors Identifying Frequent Errors in Honeywell Temperature Sensors Diagnosing the Root Causes of Honeywell Temperature Sensor Errors Step-by-Step Process to Resolve Honeywell Temperature Sensors Problems Preventative Measures to Avoid Future Problems with Honeywell Temperature Sensors Ensure Long-Term Accuracy with Your Honeywell Temperature Sensor |
How Honeywell Temperature Sensors Work: Understanding Their Functionality
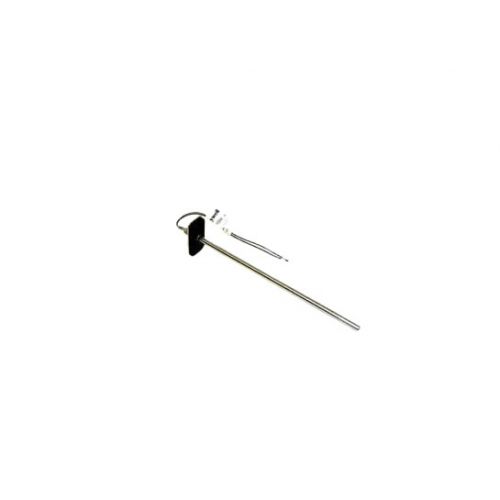
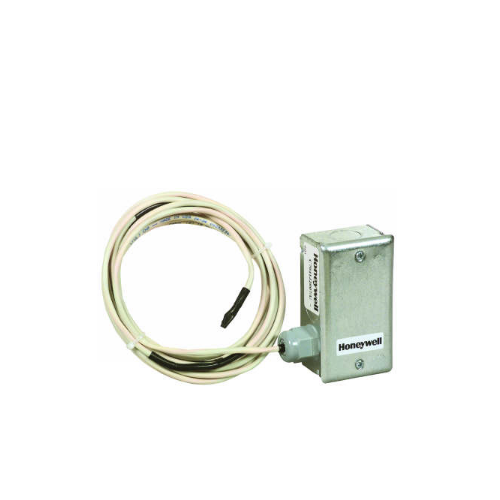
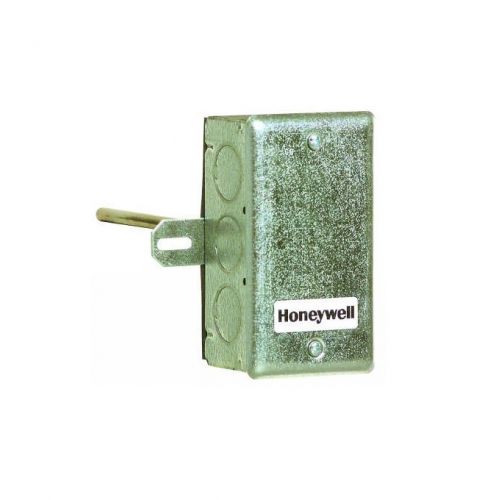
Honeywell temperature sensors are designed to accurately measure temperature changes and convert them into readable signals for control systems. Their functionality is based on precise sensing elements and reliable signal processing.
Key aspects of how Honeywell temperature sensors work include:
-
Sensing Element: Most Honeywell temperature sensors use thermistors or resistance temperature detectors (RTDs). These components change their electrical resistance in response to temperature variations.
-
Signal Conversion: The sensor converts the resistance change into an electrical signal, typically voltage or current, which corresponds to the temperature.
-
Calibration: Sensors are calibrated to ensure the electrical output accurately reflects the temperature within a specified range.
-
Signal Conditioning: Many sensors include built-in circuitry to filter noise and stabilize the output signal, improving accuracy and reliability.
-
Communication: The processed signal is sent to control units or monitoring systems, which interpret the data to adjust HVAC settings, industrial processes, or safety mechanisms.
-
Durability: Honeywell sensors are designed to withstand environmental factors like humidity, vibration, and temperature extremes, ensuring long-term performance.
Understanding these elements helps in selecting the right sensor type and troubleshooting common Honeywell temperature sensor issues effectively.
Looking for temperature sensors and replacement parts? PartsHnC offers a wide selection of high-quality sensors, wiring harnesses, and calibration tools to keep your system running perfectly. Explore our brands, Honeywell, Trane, and York today for fast shipping and expert support!
Common Problems Faced by Honeywell Temperature Sensors
Honeywell temperature sensors are widely used for their precision, but can face common issues affecting accuracy. Recognizing these problems early helps maintain reliable performance.
Common Honeywell Temperature Sensor Issues:
-
Inaccurate Temperature Readings: Caused by sensor drift, environmental factors, or aging components.
-
Sensor Drift: Gradual deviation from true temperature due to long-term use or thermal stress.
-
Signal Loss or Interruption: Often results from faulty wiring, loose connections, or electromagnetic interference.
-
Calibration Errors: Sensors may require recalibration if factory settings are lost or environmental conditions change.
-
Corrosion or Contamination: Dirt, dust, or corrosive chemicals can degrade sensor elements.
-
Wiring problems: Loose, corroded, or broken wires can disrupt the signal path.
-
Electrical interference: Electromagnetic interference (EMI) or ground loops can corrupt sensor signals.
Regular inspections and preventive maintenance help reduce these issues and extend sensor life.
Identifying Frequent Errors in Honeywell Temperature Sensors
Honeywell temperature sensors error can occur due to several common issues that affect their performance and data reliability. Understanding these frequent faults helps in faster diagnosis and repair.
-
Response Time Delay: Sensors may react slowly to temperature changes, causing delayed readings.
-
Output Signal Noise: Electrical noise can cause fluctuating or jittery sensor outputs.
-
Power Supply Issues: Inconsistent or incorrect power can lead to sensor malfunction.
-
Connector Problems: Faulty or dirty connectors can interrupt proper communication.
-
Firmware or Software Glitches: Sensor-related software errors can cause misreporting or communication failures.
Diagnosing the Root Causes of Honeywell Temperature Sensor Errors
Identifying the root causes of Honeywell temperature sensor errors ensures accurate readings. Quick diagnosis helps maintain reliable sensor performance.
Root Cause: Sensor Element Aging
Problem: Reduced sensitivity and output drift as sensor materials degrade.
Symptoms: Gradual inaccuracies and inconsistent temperature readings.
Fix: Regularly recalibrate the sensor to maintain accuracy. Replace the sensor if performance continues to decline.
Root Cause: Improper Sensor Placement
Problem: Exposure to heat sources or poor airflow causes false readings.
Symptoms: Erratic or consistently high/low temperature data.
Fix: Move the sensor to a proper location following installation guidelines. Avoid placing it near heat sources or stagnant air.
Root Cause: Moisture Ingress
Problem: Water or humidity penetrating the sensor housing causes corrosion or short circuits.
Symptoms: Sudden sensor failure or fluctuating output.
Fix: Use sealed enclosures to protect the sensor from moisture. Regularly inspect seals and replace if damaged.
Root Cause: Electromagnetic Interference (EMI)
Problem: Nearby electrical equipment induces noise in sensor signals.
Symptoms: Spikes, jitter, or loss of signal intermittently.
Fix: Shield sensor cables and improve grounding. Keep sensor wiring separate from power lines.
Root Cause: Wiring Faults
Problem: Loose, broken, or corroded wires disrupt communication.
Symptoms: Intermittent or no sensor data.
Fix: Inspect wiring thoroughly for damage or corrosion. Repair or replace faulty wiring promptly.
Root Cause: Calibration Drift
Problem: Sensor calibration drifts due to environmental changes or aging.
Symptoms: Systematic errors in temperature reporting.
Fix: Schedule regular recalibration to ensure accuracy. Adjust calibration after environmental changes.
Step-by-Step Process to Resolve Honeywell Temperature Sensors Problems
Resolving issues with Honeywell temperature sensors is key to maintaining accurate and reliable temperature monitoring. Follow this step-by-step process to quickly identify and fix common problems.
Advanced Component and Controller-Side Diagnostics
Signs:
-
Unexpected error codes on the controller
-
Inconsistent or missing sensor data
-
Controller is failing to communicate with the sensor
Step-by-Step Solutions:
-
Check Controller Settings: Ensure the controller’s configuration matches the specific Honeywell sensor model. Incorrect settings cause communication failures.
-
Review Sensor Data Logs: Analyze historical data for anomalies or sudden changes indicating sensor/controller issues.
-
Run Built-in Self-Diagnostics: Utilize any self-test functions in the controller or sensor to detect internal faults.
-
Test Communication Protocol: Verify signals (4-20mA, RTD, digital) are within expected ranges using a multimeter or diagnostic tool.
-
Update Firmware: Apply firmware updates to both sensor and controller to fix bugs and improve compatibility.
Electrical and Wiring Diagnostics
Signs:
-
Fluctuating or no sensor readings
-
Intermittent sensor output
-
Visible damage or corrosion on wiring
Step-by-Step Solutions:
-
Power Off Equipment: Safely shut down the system before inspecting wiring.
-
Visual Inspection: Check for damaged wires, loose connections, corrosion, or burnt spots.
-
Continuity Testing: Use a multimeter to check for breaks or shorts in sensor wiring.
-
Measure Voltage and Signal: Confirm correct voltage supply and sensor output at the controller terminals.
-
Tighten and Repair: Secure loose connections, clean corroded contacts, and replace damaged wires.
-
Power On and Test: Restart the system and verify sensor readings are stable and accurate.
Troubleshooting Complete Loss of Signal (Open/Short Circuits)
Signs:
-
Sensor reading shows zero or no response on the display
-
Controller error indicating sensor disconnection
-
No change in readings despite environmental changes
Step-by-Step Solutions:
-
Identify Symptom: Confirm complete loss of sensor output on the controller interface.
-
Inspect Wiring for Opens: Use a multimeter to check continuity, locating any breaks in wiring causing open circuits.
-
Check for Shorts: Test for shorts between sensor wires or to ground using the multimeter.
-
Repair Wiring: Replace or fix broken or shorted wires identified during testing.
-
Test Sensor and Controller: After repairs, confirm signal restoration and stable sensor output.
-
Replace Sensor if Needed: If wiring is intact but no signal is detected, replace the sensor as it may be defective.
Check out this guide on how to reset Honeywell thermostat for step-by-step instructions to quickly and easily reset your device.
Preventative Measures to Avoid Future Problems with Honeywell Temperature Sensors
To ensure long-term performance and reliability of Honeywell temperature sensors, it's important to adopt preventative strategies during installation, use, and maintenance.
1. Correct Installation Practices
-
Follow the Honeywell temperature sensor manual and technical specifications for proper setup.
-
Avoid mounting sensors near heat sources, vents, windows, or equipment that could affect accurate readings.
-
Use proper mounting brackets or fixtures to ensure sensor stability.
2. Environmental Protection
-
Use weatherproof or industrial-grade enclosures in outdoor or harsh environments.
-
Protect sensors from moisture, dust, vibration, corrosive gases, and chemical exposure.
-
Ensure good airflow around the sensor for accurate ambient temperature readings.
3. Regular Calibration
-
Calibrate sensors at regular intervals based on application requirements.
-
Use certified calibration tools and follow Honeywell's guidelines.
-
Document calibration results for quality assurance.
4. Electrical Protection
-
Install surge protectors or voltage regulators to guard against power surges or electrical noise.
-
Ensure proper grounding and shielding of sensor wiring, especially in industrial environments.
5. Scheduled Maintenance and Inspections
-
Perform periodic visual inspections for physical damage, loose connections, or corrosion.
-
Clean sensors and surrounding areas to prevent the buildup of dust or debris.
-
Replace damaged or aging cables or connectors promptly.
6. Firmware and Software Updates
-
Keep related control systems, monitoring software, and firmware updated.
-
Check for compatibility updates or patches from Honeywell, especially for digital or smart sensors.
7. Documentation and Maintenance Records
-
Maintain detailed logs of sensor installation dates, calibration records, and maintenance activities.
-
Use records for trend analysis and early identification of recurring issues.
Check out this guide on Honeywell thermostat maintenance for essential tips to keep your system running smoothly and efficiently.
Ensure Long-Term Accuracy with Your Honeywell Temperature Sensor
Maintaining the accuracy and reliability of your Honeywell temperature sensor requires careful attention to installation, regular calibration, and timely troubleshooting. Common issues such as sensor drift, inaccurate readings, or signal interruptions often result from environmental factors, wiring problems, or electrical interference. Addressing these root causes promptly helps preserve sensor functionality and prevents system disruptions.
Preventative measures like protecting the sensor from moisture and contaminants, performing scheduled inspections, and updating firmware can significantly extend its operational life. Consistent maintenance and monitoring ensure that the sensor continues to provide precise temperature measurements, which are critical for efficient system performance.
FAQs
How to Test Honeywell Temperature Sensor
Use a multimeter to check the voltage output and compare it to the expected values. Ensure the sensor is properly calibrated and positioned for accurate readings.
How to Connect Honeywell Temperature Sensor to Thermostat
Follow the thermostat manual’s wiring instructions to connect the sensor. Ensure the wires are securely attached to the correct terminals for proper communication.
How Do I Replace the Battery in My Honeywell Temperature Sensor?
Open the battery compartment, remove the old battery, and insert a new one according to the polarity indicated. Always use the recommended battery type from the Honeywell temperature manual.
Can I troubleshoot a Honeywell temperature sensor myself?
Yes, basic troubleshooting involves checking wiring connections, inspecting the sensor for physical damage, ensuring proper placement, and verifying power supply and signal integrity.
Why is my Honeywell temperature sensor showing no signal?
Possible reasons include broken or loose wiring, power supply issues, damaged sensor elements, or electrical interference disrupting communication.
 Loyalty Program

