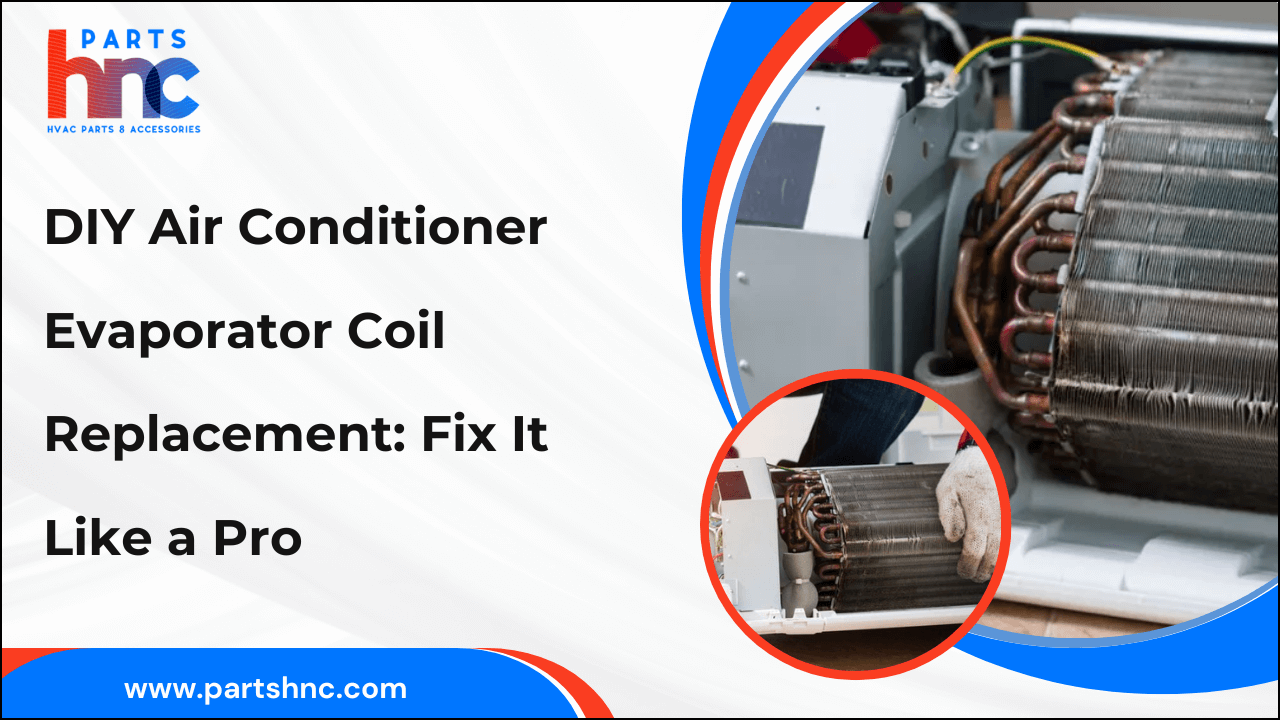
DIY Air Conditioner Evaporator Coil Replacement: Fix It Like a Pro
Replacing the evaporator coil in your air conditioner may sound like a daunting task, but with the right tools and a little know-how, it's a manageable DIY project. The evaporator coil plays a crucial role in cooling your home, and when it becomes damaged or clogged, your AC system can suffer from reduced efficiency or even complete failure. Understanding the step-by-step process will empower you to fix the issue and avoid costly professional repair fees.
This guide will walk you through the entire process of air conditioner evaporator coil replacement, from identifying a faulty evaporator coil to safely removing and replacing it. Whether you're looking to save money or just enjoy the satisfaction of fixing it yourself, following these steps will help you restore your air conditioner to its optimal performance quickly and safely.
Why Replacing Your Evaporator Coil Matters in Air Conditioner
The evaporator coil is essential for your AC’s cooling efficiency. When it malfunctions, it can cause increased energy usage and system strain. Replacing it restores performance, saves money, and prevents further damage to your unit.
A faulty evaporator coil can cause reduced cooling and higher bills. Signs of a bad evaporator coil include poor cooling, ice buildup, and increased humidity. Replacing it ensures efficiency and prevents further damage to your system.
Here’s why replacing the evaporator coil is crucial for maintaining your air conditioner's efficiency:
-
Restores Cooling Efficiency: A new evaporator coil ensures your AC cools the air effectively, restoring comfort to your home.
-
Improves Energy Efficiency: A damaged coil forces the system to work harder, raising electricity bills. Replacing it reduces energy consumption and helps save money.
-
Prevents Further Damage: Ignoring a bad coil can stress other components, such as the compressor, potentially causing costly repairs.
-
Extends System Lifespan: Replacing the evaporator coil prevents the early wear and tear of your entire HVAC system, prolonging its useful life.
If you're looking for a step-by-step approach, check out this air conditioner coil replacement guide to understand what’s involved.
Looking to replace your AC’s evaporator coil like a pro? PartsHnC offers replacement parts like the evaporator coil, blower motor, and expansion valve from leading brands Carrier, Trane, and Rheem, you’ll get everything you need to fix your AC efficiently and professionally.
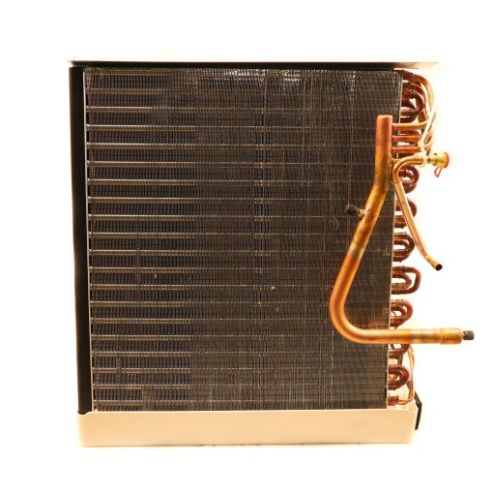
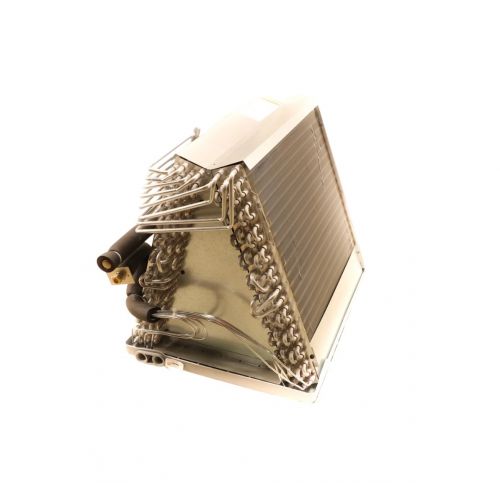
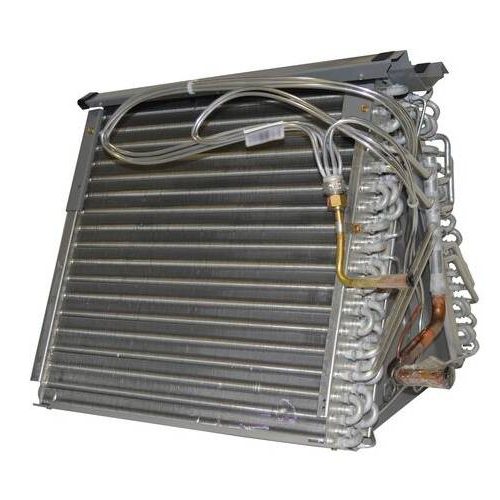
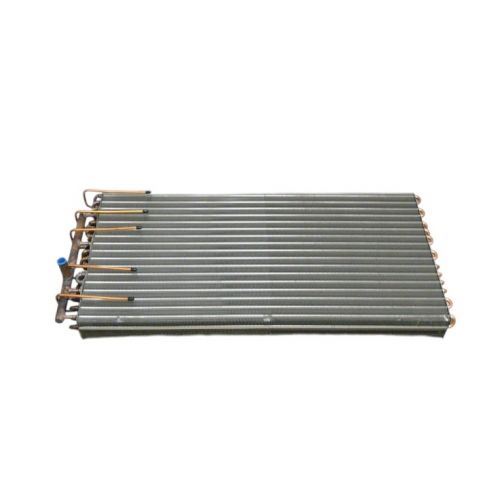
Understanding the Air Conditioner Evaporator Coil and Its Function
The evaporator coil is essential for cooling your home by absorbing heat from the air. If it malfunctions, you’ll need to know how to replace an AC evaporator coil to restore efficiency. Proper replacement ensures your system runs smoothly and prevents further damage.
Here’s how the evaporator coil works and its function in your air conditioning system:
-
Heat Absorption: The coil absorbs heat from the indoor air, transferring it to the refrigerant.
-
Cooling Process: The refrigerant then carries the heat to the outdoor unit, where it's released.
-
Moisture Removal: As the air cools, the evaporator coil helps remove humidity, contributing to a more comfortable indoor environment.
-
System Efficiency: Proper coil performance is critical for maintaining the overall efficiency and lifespan of the AC system.
If you're facing issues, understanding AC evaporator coil troubleshooting can help identify problems. Replacing the coil ensures the repair restores efficiency.
Tools and Safety Equipment You’ll Need to Replace Air Conditioner Evaporator Coil
Attempting a DIY evaporator coil replacement demands specific tools and safety precautions. Here is what you need:
Essential Tools:
-
Screwdrivers and socket wrenches for panel removal
-
Pipe cutter to sever copper tubing
-
Tubing flaring tool for tubing connections
-
Brazing torch and solder for copper line joints
-
Refrigerant gauges and recovery equipment (usually handled by professionals)
-
A multimeter for electrical testing of connections
Safety Equipment:
-
Safety glasses and thick gloves to protect hands and eyes
-
Respirator or mask to avoid inhaling dust or refrigerant fumes
-
Proper clothing to shield from burns and sharp objects
Safety Precautions:
-
Always disconnect power to the AC unit via the circuit breaker before beginning work
-
Certified technicians handle refrigerant evacuation and recharge per regulations—never release refrigerants into the environment
-
Work in a well-ventilated area to avoid inhalation risks
-
Follow AC coil replacement safety tips meticulously to avoid injury or damage
Equipping yourself adequately improves safety and efficiency, making the job more manageable.
Step-by-Step Process to Replace Air Conditioner Evaporator Coil
This is the core section combining the best of air handler evaporator coil steps for DIY coil replacement:
Step 1: Turn Off Power
Shut off power at the circuit breaker to ensure no electricity flows to the AC system.
Step 2: Access the Air Handler
Remove the access panel or panels on your air handler or furnace to reach the evaporator coil section.
Step 3: Drain and Recover Refrigerant
If you are certified, recover refrigerant safely using proper equipment. Otherwise, hire a licensed HVAC professional for this step, as handling refrigerant requires certification.
Step 4: Disconnect Lines and Wiring
Carefully label and disconnect all electrical wiring and refrigerant lines attached to the evaporator coil.
Step 5: Remove the Old Coil
Unscrew mounting brackets and use the pipe cutter to sever copper tubing connections. Carefully remove the damaged coil without bending or damaging adjacent components.
Step 6: Install the New Coil
Position the new evaporator coil properly within the air handler. Reattach mounting brackets securely.
Step 7: Reconnect Refrigerant Lines
Using the brazing torch, carefully join the copper tubing to the new coil. Make sure joints are leak-free by using appropriate soldering techniques.
Step 8: Reconnect Electrical Connections
Reconnect wiring according to labels or the system’s wiring diagram.
Step 9: Seal the Air Handler
Replace air handler panels and ensure they are sealed tightly to prevent air leaks, which can affect system efficiency.
Step 10: Recharge Refrigerant and Leak Test
A certified technician should recharge refrigerant to manufacturer specifications and perform leak and pressure tests.
Step 11: Restore Power and Test
Turn on the power. Run the system and verify cooling performance, airflow, and listen for unusual sounds.
Following these detailed steps ensures a successful AC evaporator coil installation and functional air conditioning.
Check out this guide on how much it costs to replace an AC evaporator coil to get a detailed breakdown of labor, parts, and potential expenses.
Testing and Troubleshooting After Installing Air Conditioner Evaporator Coil
Proper testing after installation is vital. Use this checklist to confirm your coil replacement success:
-
Check the airflow across vents is strong and consistent
-
Confirm steady cooling temperature corresponding to thermostat settings
-
Inspect for any refrigerant leaks using leak detection tools
-
Listen for unusual noises that may indicate loose connections or compressor strain
-
Observe that the system cycles normally and does not short-cycle cycle
If you encounter problems, refer to AC evaporator coil troubleshooting tips, such as verifying electrical continuity, checking blower fan operation, or inspecting for blockage in ductwork.
Air Conditioner Evaporator Coil Maintenance Tips to Extend Coil Life
Prevention through maintenance reduces the need for future replacements and optimizes cooling, including:
-
Clean evaporator coils once or twice a year using gentle coil cleaners or mild detergents to remove dust and debris
-
Replace or clean air filters regularly to maintain airflow and prevent coil freezing
-
Schedule professional HVAC inspections yearly to detect early signs of leaks or corrosion
-
Keep the surrounding areas clean and ensure proper drainage of condensate pans
-
Monitor refrigerant levels and repair leaks promptly to avoid coil frost or damage
Well-maintained coils improve system lifespan and reduce energy usage, making them more cost-effective over time.
Check out this DIY guide on cleaning AC evaporator coils indoors for step-by-step instructions to maintain your system and boost its efficiency.
Conclusion
Replacing an evaporator coil is a rewarding but demanding task. Armed with an understanding of how your AC works, knowledge of tools and safety, and this detailed air conditioner coil replacement guide, you can complete a DIY AC coil repair with confidence. Always prioritize safety and consult professionals when handling refrigerants.
By recognizing signs of a bad evaporator coil early and maintaining your system, you nurture a comfortable and energy-efficient home environment. Whether opting for DIY or professional service, replacing a faulty coil restores your air conditioner’s optimal performance and peace of mind.
FAQs
Is it worth it to replace an AC evaporator coil?
Yes. Replacing a damaged coil restores cooling efficiency and avoids further system damage, making it a worthwhile investment.
How to fix a broken evaporator coil?
Small leaks can be sealed using special AC sealants, but extensive damage usually necessitates a coil replacement.
How long does it take to change an evaporator coil?
Typically, 3 to 6 hours, depending on experience and system complexity, including disassembly, brazing, refrigerant handling, and testing.
What is the best material for an evaporator coil?
Copper tubing with aluminum fins is preferred for its excellent heat transfer and corrosion resistance.