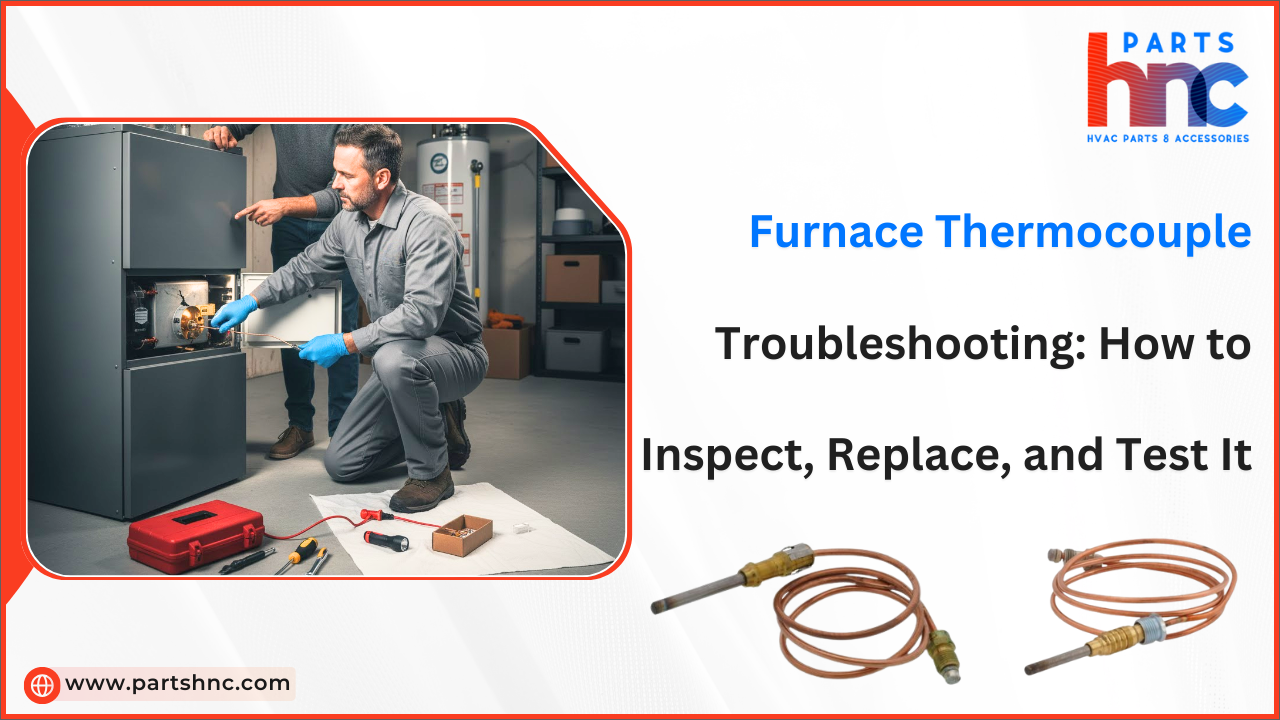
Furnace Thermocouple Troubleshooting: How to Inspect, Replace, and Test It
A furnace thermocouple may be small, but it plays a crucial role in keeping your heating system safe and functional. Serving as a key safety component, the thermocouple senses whether the pilot light is lit and tells the gas valve to remain open. When it fails, the furnace may not ignite or could shut down without warning, leaving your home chilly. Routine inspection and upkeep of this part can help you avoid costly repairs and keep your furnace operating smoothly.
In this guide, we’ll walk you through how to inspect, test, and replace a furnace thermocouple. By following these clear, step-by-step instructions, even beginners can troubleshoot issues confidently and maintain a reliable, warm home.
What Safety Steps Should You Follow Before Working on a Furnace?
Handling a furnace without the right precautions can be risky. To protect yourself and your home, it’s essential to follow key furnace safety tips before attempting any repair work.
-
Check Carbon Monoxide Detectors: Ensure they’re working to prevent gas exposure.
-
Turn Off Power and Gas: Always shut off electricity and the gas supply to avoid shocks or leaks during your DIY furnace repair steps.
-
Clear the Workspace: Remove clutter and flammable materials to reduce hazards.
-
Use Proper Tools and Gear: Wear gloves, goggles, and use insulated tools.
-
Label Wires and Components: Prevent mistakes when reassembling your furnace.
-
Ventilate the Area: Keep air flowing to avoid inhaling fumes.
-
Keep Emergency Contacts Ready: Have local gas and emergency numbers on hand.
By following these furnace safety tips and carefully following your DIY furnace repair steps, you can ensure a safer and more efficient maintenance process while minimizing the risk of injury or damage.
Looking to replace your furnace thermocouple? PartsHnC has you covered with high-quality HVAC replacement parts. From durable thermocouples and igniters to gas valves, flame sensors, and control boards, from leading brands like Carrier, Rheem, and Goodman, we ensure your furnace performs at its best all season long.
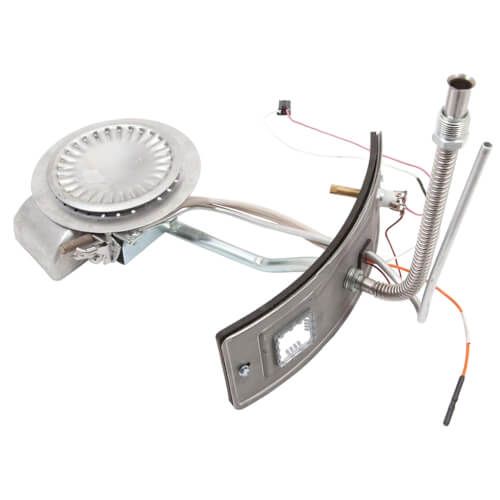
How to Locate and Inspect the Thermocouple in Your Furnace
The thermocouple is a key safety component in your furnace that monitors the pilot flame. Regular checks help prevent malfunctions and gas hazards. Here are some essential thermocouple inspection tips to keep your furnace running safely.
Locating the Thermocouple:
-
Open the Furnace Panel: Remove the access cover to reach the pilot assembly.
-
Identify the Thermocouple: Look for a thin, metal rod positioned directly in the pilot flame.
-
Trace Its Connection: Follow the rod to the gas control valve, usually secured with a small nut or fitting.
Inspecting the Thermocouple:
-
Check for Corrosion or Rust: Surface corrosion can reduce effectiveness.
-
Examine the Tip: The tip should be clean, without soot or burnt residue.
-
Look for Bends or Damage: Bent, cracked, or broken rods cannot detect the pilot flame correctly.
-
Verify Connections: Ensure the thermocouple is tightly connected to the gas valve.
-
Test for Heat Exposure: Overheating may discolor the rod or weaken it.
-
Check for Loose Mounting: Make sure it is properly positioned in the pilot flame.
-
Inspect Wiring: If applicable, check any wires for wear or fraying.
Learning how to test a furnace thermocouple ensures it works properly and helps prevent costly repairs or hazards.
Common Signs That Your Furnace Thermocouple Is Failing
A faulty thermocouple can disrupt your furnace’s performance and safety. Recognizing the early signs of a bad furnace thermocouple can help prevent bigger problems down the line.
-
Furnace Pilot Light Keeps Going Out: The pilot keeps going out because the thermocouple isn’t detecting heat properly.
-
Furnace Shuts Off Frequently: The furnace turns off unexpectedly as the thermocouple fails to maintain the flame.
-
Weak or Flickering Flame: A yellow or flickering pilot flame signals the thermocouple isn’t working correctly.
-
Gas Odor: A failing thermocouple may let gas escape, creating a dangerous smell near the furnace.
-
Furnace Refuses to Start: A completely failed thermocouple stops the furnace from igniting at all.
-
Clicking Sound Before Shutdown: Repeated clicking may occur as the furnace struggles to light the pilot.
-
Reduced Heating Efficiency: Inconsistent heating or longer cycles can indicate thermocouple issues.
Step-by-Step Process on How to Replace a Furnace Thermocouple
Replacing a thermocouple doesn’t have to be complicated if you follow careful, methodical steps. These furnace thermocouple replacement tips make the process smoother and safer.
Tools You’ll Need:
-
Compatible replacement thermocouple (check your furnace model)
-
Adjustable wrench
-
Screwdriver (flathead or Phillips, depending on your furnace panel)
-
Needle-nose pliers (for tight spaces)

Step 1: Power and Gas Safety First
Turn off the furnace power at the breaker and shut off the gas supply. Never attempt to replace a thermocouple while gas is flowing.
Step 2: Access the Burner Assembly
Remove the furnace access panel carefully to expose the burner assembly. Take a photo of the internal setup to remember the arrangement of parts.
Step 3: Remove the Old Thermocouple
Locate the thermocouple by the pilot flame and unscrew it from the gas valve. Detach the other end, noting its position.
Step 4: Install the New Thermocouple
Insert the new thermocouple into the pilot flame and attach it to the gas valve. Tighten gently, matching the old thermocouple’s position.
Step 5: Test the Thermocouple
Restore the gas supply and power, then light the pilot according to instructions. Check that the flame stays lit to confirm proper installation.
Step 6: Close the Furnace
Replace the access panel securely once the thermocouple is working correctly. Your furnace should now operate safely and efficiently.
Quick Notes & Timeframe
-
Typical replacement time: 15–30 minutes.
-
Advantages of replacement: restores proper pilot operation, prevents gas leaks, and improves furnace reliability.
-
Additional checks: While the panel is open, inspect the pilot assembly and burners for dust or corrosion. Small maintenance now can prevent larger problems later.
Following these steps lets you replace a thermocouple safely. Learning how to fix a furnace thermocouple can prevent costly repairs.
Explore how to inspect your furnace flue pipe for each heating season to ensure proper ventilation and safe furnace operation.
How to Reconnect Furnace Components After Installing the New Thermocouple
After installing a new thermocouple, properly reconnecting the gas furnace components ensures safe and efficient operation:
-
Secure the Thermocouple: Thread the connecting nut onto the gas valve and tighten it snugly without over-tightening.
-
Reposition Brackets and Clips: Ensure the thermocouple and nearby components are aligned so the pilot flame heats the thermocouple consistently.
-
Check Wiring and Connections: Verify that all nearby wires and connections are intact and have not loosened during installation.
-
Reattach the Access Panel: Replace the furnace panel and tighten all screws to fully enclose the unit.
-
Restore Gas and Power: Open the gas supply and turn the furnace back on.
-
Light the Pilot: Follow manufacturer instructions and ensure the pilot flame remains steady.
-
Test Furnace Operation: Run a short heating cycle to confirm that all components function properly and safely.
Properly reconnecting gas furnace components ensures safety, efficiency, and reliable furnace operation.
How to Test Your Furnace After Thermocouple Replacement
After replacing your thermocouple, proper testing ensures the furnace functions safely and efficiently:
-
Reactivate Fuel and Power: Gradually open the gas supply and restore electricity to the furnace.
-
Ignite the Pilot Light: Follow manufacturer guidance; observe that the flame remains steady and fully engages the thermocouple.
-
Observe Startup Behavior: Watch how quickly the furnace burner ignites and reaches operating temperature.
-
Evaluate Flame Consistency: Confirm the pilot flame does not flicker, drift, or extinguish unexpectedly.
-
Inspect System Performance: Check airflow through vents and listen for any unusual sounds indicating mechanical issues.
-
Confirm Safe Shutdown: Allow the furnace to turn off automatically; verify that the system stops without delay or irregularities.
These checks ensure the thermocouple works properly and prevent a gas furnace not heating.
Maintenance Tips to Extend the Life of Your Furnace Thermocouple
Proper thermocouple maintenance is essential for safety and efficiency, and following a furnace maintenance guide helps prevent premature wear.
-
Check Flame Position Daily: Even a slightly off-center pilot flame can gradually reduce thermocouple efficiency and trigger inconsistent furnace operation.
-
Inspect for Heat Stress Signs: Look for subtle discoloration, warping, or bending in the thermocouple rod, which may indicate prolonged exposure to uneven heat.
-
Minimize Draft Exposure: Drafts or sudden airflow around the pilot flame can destabilize it, so ensure the burner compartment is properly sealed.
-
Secure Connections Carefully: Tighten the thermocouple connection snugly, but avoid forcing it. Over-tightening can stress the metal and cause premature wear.
-
Protect from Residual Moisture: Condensation, leaks, or humidity in the furnace cabinet can corrode the thermocouple; keep the area dry at all times.
-
Rotate Inspection Angles: Observing the pilot assembly from multiple viewpoints helps detect alignment issues that may not be visible from the front.
-
Document Observations: Keep a brief log of flame behavior, pilot performance, and thermocouple condition to catch subtle declines before failure.
Proper thermocouple maintenance ensures safety and efficiency. Following a furnace maintenance guide helps prevent premature wear.
Check out DIY furnace burner maintenance: proven techniques for homeowners to keep your heating system running safely and efficiently.
Conclusion: Ensuring Safe and Reliable Furnace Operation
Maintaining your furnace thermocouple goes beyond simple replacement; it’s about creating a system that operates safely and consistently. Attention to detail, routine checks, and proactive care ensure your heating system functions efficiently while minimizing risks. A well-maintained thermocouple contributes to both comfort and peace of mind.
Key Takeaways:
-
Prioritize Safety First: Always cut power and gas before any furnace work.
-
Monitor Flame Interaction: Ensure the pilot flame makes full, consistent contact with the thermocouple.
-
Detect Subtle Wear: Watch for discoloration, bending, or signs of heat stress.
-
Control Environmental Factors: Protect from drafts, moisture, and debris that can degrade performance.
-
Handle Components with Care: Secure connections properly without over-tightening to prevent damage.
-
Track Performance Over Time: Keep a simple log of flame behavior and furnace cycles to catch early irregularities.
A furnace thermocouple functions best when observed, maintained, and treated with care. Regular attention prevents failures and prolongs its lifespan. By implementing these strategies, your furnace remains reliable, safe, and efficient for years.
FAQs
How do I know if my furnace thermocouple is bad?
A bad thermocouple often causes the pilot light to go out repeatedly or prevents the furnace from staying lit. You may also notice inconsistent heating or difficulty starting the system.
Will a pilot stay lit if the thermocouple is bad?
No, the pilot will not stay lit if the thermocouple is faulty. The thermocouple’s job is to detect flame and allow gas flow, so a bad one shuts the gas off for safety.
Why won't my furnace stay lit after fixing the thermocouple?
If the furnace still won't stay lit, the issue may be with the gas valve, dirty pilot assembly, incorrect thermocouple installation, or poor flame contact. Further inspection of related components may be needed.
How many ohms should a thermocouple have?
A typical thermocouple should show around 20–30 ohms of resistance, though readings can vary slightly by type. Significantly higher or lower readings may indicate a failing component.