How to Install a Window Air Conditioner: The Ultimate Step-by-Step Guide
Are you tired of sweltering in the scorching summer heat? It's time to welcome the cooling relief of a window air conditioner! In this comprehensive guide, we'll walk you through the simple yet crucial steps of window air conditioning installation, allowing you to enjoy the benefits of a cool and comfortable living space.
From lower energy consumption to targeted cooling, a window air conditioner can transform your home's climate. However, to ensure its optimal performance, proper installation is key. Learn how to install air conditioner for window effortlessly and beat the heat!
Top Selling Products -
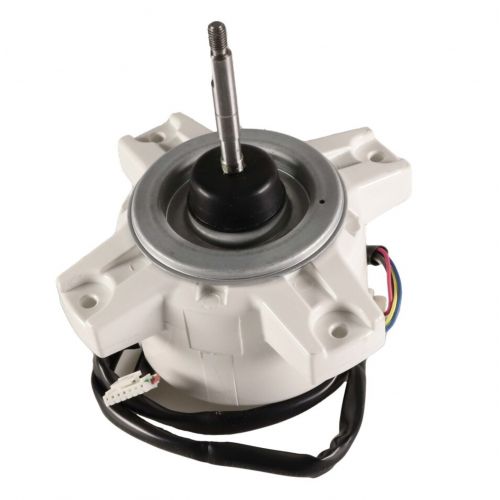
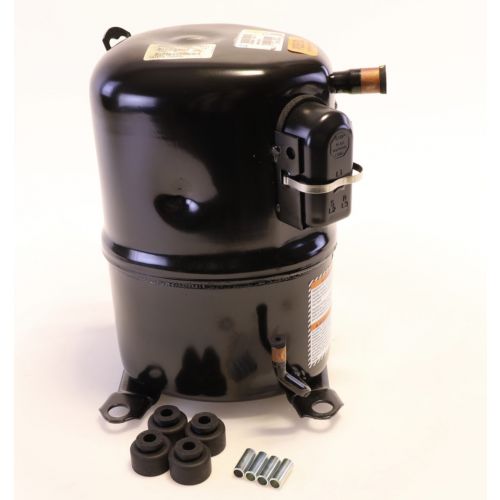
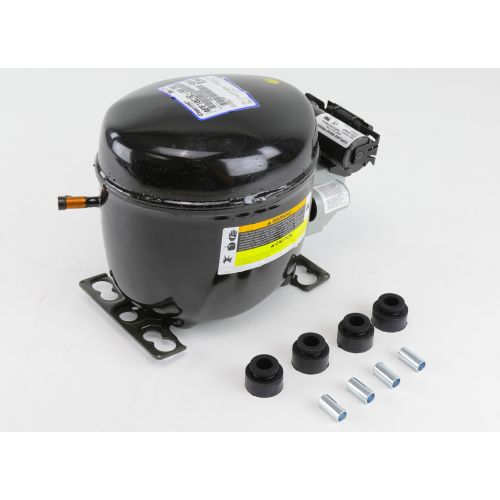 Copeland AFF10C1E-IAA-901 Compressor 1000BTU 115V/1PH Special Price $500.19 Regular Price $555.21
 -
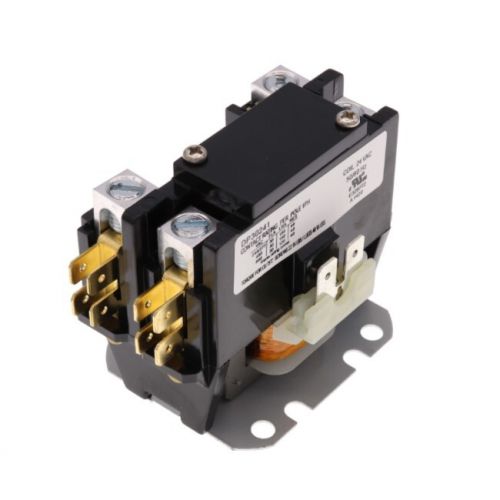 Supco DP30241 1-1/2 Pole Definite Purpose Contactor 30 Amp 24V Special Price $17.11 Regular Price $22.24
 -
- Copeland AFF10C1E-IAA-901 Compressor 1000BTU 115V/1PHSpecial Price $500.19 Regular Price $555.21
- Supco DP30241 1-1/2 Pole Definite Purpose Contactor 30 Amp 24VSpecial Price $17.11 Regular Price $22.24
-
How Does a Window Air Conditioner Work?
A window air conditioning unit operates on a simple and effective mechanism to cool indoor spaces. The unit consists of key components: a compressor, condenser, evaporator, and a refrigerant-filled closed loop. Warm indoor air is drawn in through the unit's front grille and passes over the evaporator coil, where the refrigerant absorbs the heat from the air. This process cools the air, which is then blown back into the room. Simultaneously, the heat absorbed by the refrigerant is released outside as the fan blows air over the condenser coil. This continuous cycle ensures a steady flow of cool air while efficiently removing heat from the room.
Have a look at the video & find out how to install a window air conditioner:
Window Air Conditioner Pre-Installation Preparations
Before diving into the installation process, it's essential to prepare adequately to ensure a smooth and successful setup of your AC unit for window. Paying attention to a few key factors will save you time and ensure optimal performance.
Choosing the right window and location:
Selecting the appropriate window for your air conditioner is crucial. Consider the window type, such as double-hung or sliding, and ensure that it can accommodate the dimensions of your AC unit. Additionally, the location within the room matters. Placing the unit on the shadier side of your home can help improve its efficiency, as direct sunlight can increase energy consumption. Moreover, consider the size of the room to determine the capacity of the AC unit for window required for adequate cooling.
Gathering necessary tools and materials:
Before starting the installation of window air conditioning unit, gather all the necessary tools and materials. Typically, you will need a measuring tape, screwdriver, level, air conditioner bracket, foam insulation, and any additional support materials, as specified by the manufacturer. Having everything at hand will make the process more efficient and less prone to interruptions.
Safety precautions:
Safety should always be a top priority during the installation process. Make sure to have a helping hand, as window air conditioners can be heavy and unwieldy to handle alone. Use proper lifting techniques and wear appropriate personal protective equipment, like gloves and safety glasses. Also, be cautious when working at heights or dealing with electrical components. If you're uncertain about any step, don't hesitate to seek professional assistance.
Read about How to clean an Air Conditioner yourself.
How to Mount a Window Air Conditioner?
To mount a window air conditioner securely, follow these steps:
-
Prepare the window: Choose a double-hung window that is wide enough to fit the AC unit. Remove the screen and clean the window frame.
-
Check the window dimensions: Measure the width and height of the window to ensure the AC fits snugly. Most units come with adjustable side panels that extend to cover gaps.
-
Install mounting brackets (if included): Some units require mounting brackets for extra support. Attach these to the window frame, following the manufacturer’s instructions.
-
Lift and position the AC: With help, carefully lift the AC into the window and place it on the windowsill. Ensure it's tilted slightly outward (about 1/4 inch) to allow for water drainage.
-
Secure the AC: Lower the window down onto the air conditioner to hold it in place. Screw the window down into the unit to prevent movement.
-
Seal gaps: Use weather stripping or foam to seal any gaps between the unit and the window frame.
-
Test the unit: Plug in and test the air conditioner to ensure it is cooling properly.
Steps for Installing a Window AC Unit
Here is the step-by-step guide for installing a window AC unit
Step 1: Prepare the window for the AC unit
To kickstart the installation process, clear the window sill of any obstructions and fully open the window from the bottom. Remove the window screen and consider removing any alarm sensors that might interfere with the unit placement. Place a stool or bench nearby to provide a convenient resting spot for the AC unit during installation.
Step 2: Unbox and assemble the window-mount AC unit
Unbox the AC unit for window, being cautious with the sharp aluminum fins at the back. Assemble the extendable side panels and corresponding window AC bracket following the instructions provided. Use a screwdriver to attach them securely, and ensure not to overtighten to avoid damaging the unit.
Step 3: Place the AC unit in the window opening
Lift the window air conditioning unit from both sides with care, using proper lifting techniques to avoid back injuries. The bottom window AC bracket should rest outside the window's bottom lip, while the top bracket should be inside the window. Steadily lower the window sash while holding the unit in place. Verify that the top bracket is flush against the bottom of the window sash and use a torpedo level to ensure the unit is level and pitched slightly backward for proper drainage.
Step 4: Extend and secure the side panels
Extend the side panels to block the openings on either side completely. Follow the manufacturer's instructions to secure the side panels, which may involve attaching air conditioner bracket to the window sash or using screws through holes in the panels.
Step 5: Screw the window AC unit in place
Use the window AC bracket provided in the installation kit to anchor the AC unit in place. Most kits include an L-shaped bracket that keeps the window sashes locked. Install air conditioner where the sashes meet, placing the air conditioner bracket on top of the lower sash and attaching it to the upper sash with a screw. This will ensure the AC unit is securely in place and won't fall out of the window.
Step 6: Plug in the window AC unit
Finally, plug the AC unit into a nearby outlet and power it on. Be patient as it may take a few minutes for the AC condenser to kick on and start cooling the air. With your window AC unit successfully installed, you can now enjoy a cool and comfortable environment indoors, even during the hottest days of summer. So, sit back, relax, and revel in the refreshing breeze from your newly installed air conditioner.
Know more about the Installation process of Ductless mini split air conditioner.
Window Air Conditioner Testing and Troubleshooting
Once you've successfully installing an AC unit for window, it's essential to perform thorough testing to ensure it functions optimally. Additionally, familiarizing yourself with common installation issues and their solutions can help you troubleshoot any problems that may arise.
Testing the air conditioner:
- Power it on: Plug in the AC unit and turn it on. Listen for any unusual noises and check if the fan and compressor are running smoothly.
- Adjust the settings: Test all the settings, including fan speed and temperature controls, to ensure they are responsive and functional.
- Check the cooling performance: Place a thermometer in the room and monitor the temperature. The AC should gradually cool the room to the desired temperature.
Common window AC installation issues and solutions:
- Air leaks: Inspect the gaps around the unit and window for any air leaks. Seal them with weatherstripping or foam insulation to improve energy efficiency.
- Improper drainage: Ensure that the unit is pitched slightly backward, allowing proper water drainage outside. Clogged drainage channels can be cleared with a soft brush.
- Electrical problems: If the unit doesn't turn on, check the power supply and make sure the outlet is functioning. Inspect the cord for any damages.
- Reduced cooling efficiency: Clean the air filters regularly and remove any debris from the condenser and evaporator coils. A dirty unit can result in reduced cooling performance.
Window Air Conditioner Maintenance and Tips
Regular maintenance is key to ensuring the optimal performance and longevity of your window air conditioner. Here are some essential tips to keep your AC unit in top condition:
- Clean or replace air filters every month to maintain efficient airflow.
- Keep the exterior and condenser coils clean from dirt and debris.
- Ensure proper drainage and check for any water leakage.
- Inspect and tighten electrical connections for safety.
- Seal gaps around the unit to prevent air leaks.
- Schedule professional servicing annually to address any potential issues.
Mastering the window AC installation process is easier than it seems. By following our step-by-step guide, you can cool your space efficiently and enjoy the comfort it brings. Remember to measure your window, select the right unit size, clean and prepare the area, and carefully install the AC. Don't hesitate to take action and start the installation process today!
FAQs
Can I install a window air conditioner myself?
Yes, you can install an AC unit for window yourself if you have the necessary tools and follow the manufacturer's instructions carefully. Otherwise, handyman install window air conditioner hassle-freely.
How do you vent a window air conditioner without a window?
If you don't have a window, you can vent a window air conditioner through a specially designed wall vent or a portable venting kit.
Do you need to brace a window AC unit?
Yes, it is recommended to brace a window air conditioning unit for added stability and safety, especially for larger and heavier models.
Do AC units work with sliding windows?
Yes, AC units can work with sliding windows. Window AC for sliding windows can work with specially designed installation kits or proper adjustments.