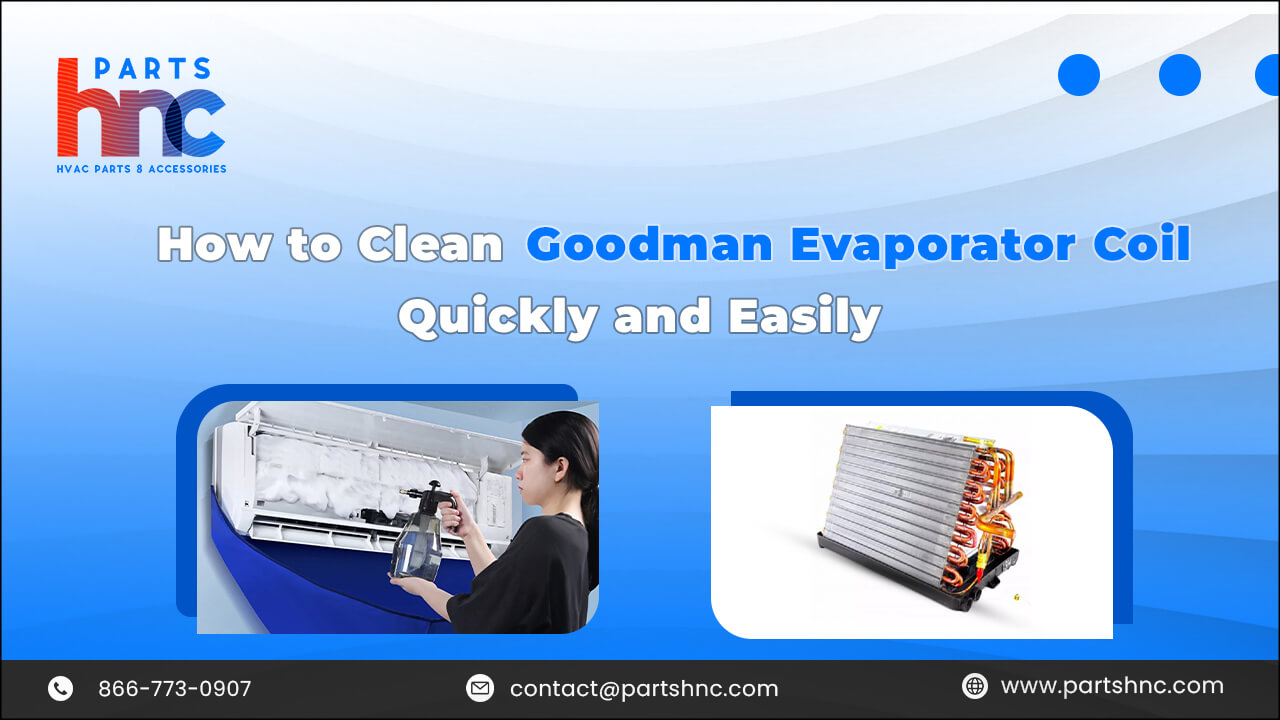
How to Clean Goodman Evaporator Coil Quickly and Easily
Goodman HVAC systems rely on clean evaporator coils to operate efficiently. Regular maintenance of these coils is crucial for optimal performance, efficient cooling, and energy savings. A clean evaporator coil ensures that the HVAC system operates at its best, providing consistent and efficient cooling throughout the home. By keeping the evaporator coil clean, the HVAC system doesn't have to work as hard to cool the air, leading to potential energy savings on utility bills. In this guide, we will discuss a quick and easy method to clean the hvac evaporator coil in your Goodman HVAC system, helping you maintain its efficiency and prolong its lifespan.
Table of Contents
- Types of Goodman evaporator coils
- Symptoms of a dirty Goodman evaporator coil
- How do you clean a Goodman evaporator coil without removal?
- How do you clean a Goodman evaporator coil with removal?
- How often should Goodman evaporator coil be cleaned?
- How much does it cost to have a Goodman evaporator coil cleaned?
- FAQs
-
 Nordyne 621919 1/10HP Condenser Fan Motor CW 1100 RPM 208-230V/1PH 42 FrameSpecial Price $185.08 Regular Price $212.85Out of stock
 -
 Lennox 59W47 Control Board Replacement KitSpecial Price $893.48 Regular Price $1,491.95
 -
 York S1-363-90016-703 5-Tube Heat ExchangerSpecial Price $2,488.76 Regular Price $2,762.52Out of stock
Types of Goodman evaporator coils
- Uncased evaporator coils: These are the most common types of evaporator coils designed to be installed inside an air handler or furnace cabinet. They are versatile and can be used in different configurations.
- Cased evaporator coils: Cased coils come enclosed in a metal casing, providing protection and insulation for the coil. They are generally easier to handle and install due to their enclosed design.
- Upflow/downflow cased coils: These coils are designed specifically for either upflow or downflow installations, ensuring proper airflow direction within the HVAC system.
- Horizontal cased coils: Horizontal coils are suitable for installations where space restrictions or specific airflow configurations require a horizontal orientation of the coil.
- Multi-position cased coils: These coils offer flexibility as they can be installed in multiple orientations - upflow, downflow, or horizontal, depending on the needs of the HVAC system.
Symptoms of a dirty Goodman evaporator coil
|
Symptom |
Description |
Consequences |
|
Reduced cooling efficiency |
Dirty evaporator coil symptoms hamper the heat exchange process, making the HVAC system work harder to cool the home. |
Higher energy consumption reduces comfort |
|
Increased energy bills |
The system's increased workload due to dirty coils results in higher energy consumption and utility bills. |
Financial strain due to higher operating costs |
|
Uneven cooling |
Accumulated dirt and debris on the coil cause uneven cooling throughout the home, leading to comfort issues. |
Discomfort, inconsistent temperatures |
|
Ice buildup |
A dirty coil may not absorb heat properly, leading to ice formation on the coil and system performance issues. |
Reduced cooling capacity, potential damage to the system |
|
Poor indoor air quality |
A dirty coil may not effectively remove moisture and airborne particles from the air, affecting air quality. |
Health concerns and discomfort due to poor air quality |
|
Frequent system cycling |
A system with a dirty coil may cycle on and off more frequently, leading to increased wear and tear. |
Potential damage to HVAC parts, reduced lifespan |
How do you clean a Goodman evaporator coil without removal?
Cleaning the evaporator coil without removing it involves a specialized process to ensure thorough cleaning without disassembling the unit. Here are the steps involved in cleaning the evaporator coil without removal:
- Turn off power: Begin by turning off the power to the HVAC system to ensure safety during the cleaning process.
- Accessing the coil: If feasible, access the coil by removing the access panel on the air handler. In some cases, a professional may use a coil-cleaning access port for this purpose.
- Use of non-acidic Cleaner: Apply a non-acidic foaming coil cleaner specifically designed for evaporator coils. Follow the manufacturer's instructions for the proper application and dwell time of the cleaner.
- Rinse: Rinse the coil with water to remove the cleaning solution thoroughly. Allow the water to drain away from the coil to prevent moisture buildup.
- Repeat if necessary: If the coil is heavily soiled, the cleaning process may need to be repeated to ensure the proper removal of contaminants.
- Air dry and restore power: Allow the coil to air dry completely before restoring power to the HVAC system. Ensure that the coil is fully dry to prevent any operational issues.
Cleaning the evaporator coil without removal involves specific cleaning agents and techniques to safely and effectively remove dirt and debris. It's important to refer to the manufacturer's guidelines and, if necessary, seek professional HVAC service for thorough and meticulous coil cleaning.
How do you clean a Goodman evaporator coil with removal?
Cleaning a Goodman AC evaporator coil with removal involves a comprehensive process to ensure the effective cleaning of the coil. Here are the steps involved in cleaning the evaporator coil:
- Turn off power: Begin by turning off the power to the HVAC system to ensure safety during the cleaning process.
- Accessing the coil: Remove the necessary panels and access doors to gain access to the evaporator coil. Carefully follow the manufacturer's instructions for safely removing the coil.
- Use of coil cleaner: Apply a specialized non-acidic coil cleaner to the coil according to the manufacturer's instructions. It's crucial to use coil cleaners specifically formulated for evaporator coils to avoid damage.
- Brushing and rinsing: Gently brush the coil to remove any stubborn dirt or debris. Then, rinse the coil thoroughly with water to flush out the cleaning solution and dislodged contaminants.
- Inspect and dry: Inspect the coil for any remaining dirt or debris, and ensure it is completely dry before reinstallation.
- Reassembly and restoration: Carefully reassemble the unit, ensuring all components are properly secured. Once reassembled, restore power to the HVAC system.
How often should Goodman evaporator coil be cleaned?
The recommended frequency for cleaning a Goodman evaporator coil largely depends on environmental factors and usage. In general, it's advisable to clean the evaporator coil at least once a year to maintain optimal performance and efficiency. However, if your HVAC system operates in a particularly dusty environment or encounters heavy usage, more frequent cleaning, such as every six months, may be beneficial.
Regular visual inspections of the coil can also help determine the buildup of dirt and debris, which can guide the frequency of cleaning. Additionally, following the manufacturer's guidelines and recommendations for maintenance can provide valuable insights into the specific cleaning requirements for your Goodman evaporator coil.
Refer: Ac compressor replacement cost
How much does it cost to have a Goodman evaporator coil cleaned?
The Goodman evaporator coil replacement cost can vary based on several factors, including the location, the condition of the coil, and the service provider. Generally, professional services for evaporator coil cleaning cost between range from 100-400, with the actual cost dependent on the complexity of the job, any additional repairs or maintenance required, and the prevailing labor rates in your area.
Factors influencing the cost may include:
If the coil is heavily soiled or has extensive buildup, it may require more time and effort to clean, potentially affecting the overall cost. The ease of access to the evaporator coil can impact the cost. If the coil is located in a hard-to-reach area, additional labor may be required, affecting the overall cost. In some cases, additional services such as mold remediation or refrigerant recharge may be needed, which can contribute to the overall cost.
Checkout: How To Clean An Air Conditioner Yourself: A Step-By-Step Guide
Maintenance tips for keeping your Goodman evaporator coil clean
|
Maintenance tip |
Description |
|
Regular inspections |
Perform visual inspections regularly to check for dirt, debris, or mold on the evaporator coil. |
|
Replacement evaporator coil |
Regularly replace or clean air filters to prevent debris buildup on the evaporator coil. |
|
Scheduled cleaning |
Adhere to a predetermined cleaning schedule based on usage and environmental factors. |
|
Use non-acidic cleaners |
Use specialized coil cleaners designed for evaporator coils, avoiding acidic cleaners. |
|
Professional maintenance |
Schedule the best evaporator coil cleaner professional HVAC maintenance annually for a comprehensive inspection and cleaning. |
|
Monitor airflow |
Ensure unobstructed airflow around the evaporator coil to maintain efficient heat exchange. |
|
Keep surrounding area clean |
Maintain cleanliness around the coil to prevent dirt and debris accumulation. |
|
Trim vegetation |
Regularly trim foliage near the outdoor unit to prevent debris from accumulating on the coil. |
Maintaining a clean Goodman evaporator coil is essential for the efficient operation of your HVAC system. By following the quick and easy steps outlined in the guide, you can effectively remove dirt, debris, and buildup from the coil, ensuring optimal heat exchange and airflow. Regular maintenance of the evaporator coil not only improves the system's performance but also helps enhance indoor air quality and extend the lifespan of your HVAC unit. PartsHnC provides an entire range of Amana Goodman Parts and Accessories at affordable prices with same-day shipping.
FAQs
How do I know if my Goodman evaporator coil drain pan needs replacement?
Signs that your Goodman evaporator coil drain pan replacement include visible rust or corrosion, water leaks, and mold or mildew growth.
What tools and materials do I need for the evaporator coil replacement?
The tools and materials include replacing and cleaning a coil cleaner, a soft-bristle brush, a vacuum, gloves, safety goggles, and a water sprayer.
What are the signs that my Goodman evaporator coil needs cleaning?
Signs that your Goodman evaporator coil needs cleaning include reduced cooling efficiency, increased energy bills, uneven cooling, ice buildup, poor indoor air quality, and frequent system cycling.