How to Troubleshoot and Replace Window Air Conditioner Brackets: A Step-by-Step Guide
Window air conditioner brackets play a crucial role in keeping your unit stable, secure, and properly aligned. Over time, exposure to weather, frequent use, or improper installation can lead to issues like rust, loosening, or misalignment, which may compromise the performance and safety of your AC unit. Ignoring these signs can result in costly damage or even accidents. This guide will help you identify the warning signs of faulty window air conditioner brackets and walk you through the process of troubleshooting and replacing them. Whether you're a seasoned DIYer or a first-timer, following these clear, step-by-step instructions will help you maintain a safe and efficient cooling setup in your home. Let’s dive into the process of securing your AC the right way.
Why Brackets Matter in Window Air Conditioners
Brackets are essential for securely installing window air conditioners in both commercial and residential spaces. Whether you’re cooling an office, retail store, or your home, brackets provide the necessary support and stability for the unit. Here’s why brackets matter for all settings:
-
Safety and Stability: Brackets securely anchor the AC unit, preventing falls and protecting both people and property in homes and commercial spaces.
-
Weight Distribution: Residential AC units weigh 40-100 lbs, while commercial ones can exceed 150 lbs. Proper brackets evenly distribute this weight to protect window frames.
-
Bracket Sizes and Capacity: Brackets come in different sizes to fit AC depths from under 8 inches to larger commercial units. Always choose brackets rated for your unit’s size and weight.
-
Vibration Reduction: Correctly installed brackets minimize vibrations and noise, improving efficiency and comfort in both workplaces and homes.
-
Weather Protection: Secure brackets help seal gaps around the unit, preventing drafts, water leaks, and pests from entering your space.
-
Longevity of the Unit: By reducing strain on components, brackets help extend the lifespan of your AC in any environment.
In both commercial and residential settings, maintaining strong, properly sized, and rated brackets is key to safe, efficient, and long-lasting window air conditioner performance.
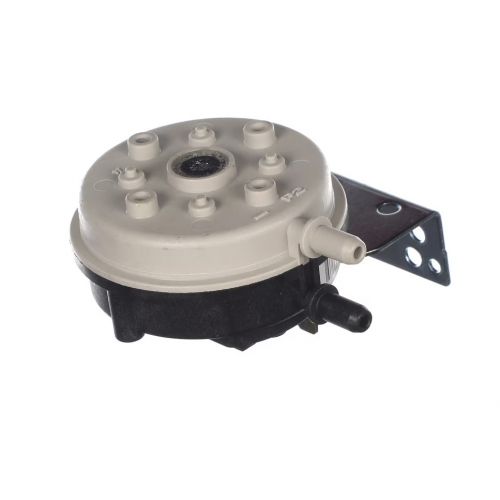
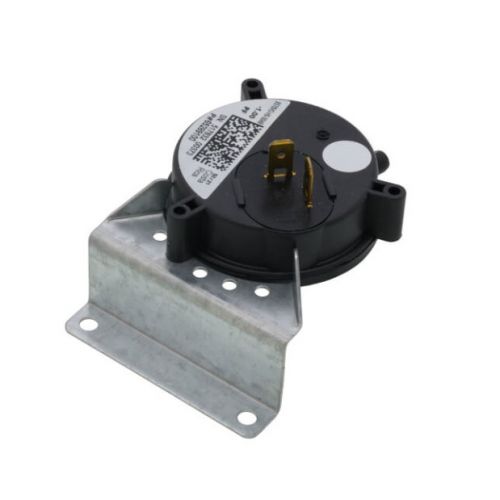
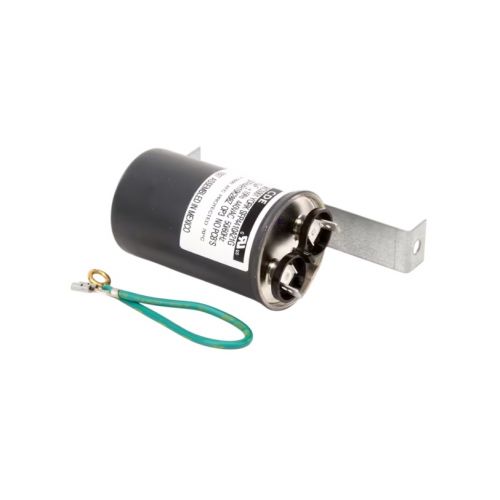
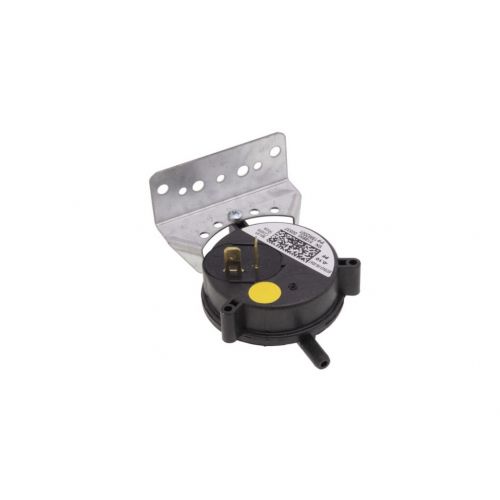
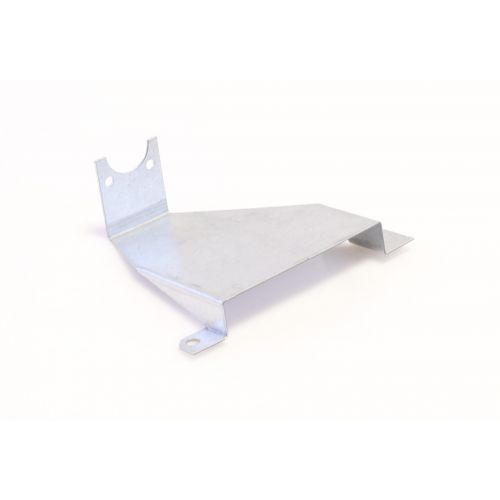
Looking for top-quality parts for your window air conditioner repair? PartsHnC offers durable Components, such as the mounting bracket, the compact yet sturdy anti-rotation bracket, capacitors, fan blades, condenser coils, and the ventor bracket, from leading brands DiversiTech, Belimo, and Reznor.
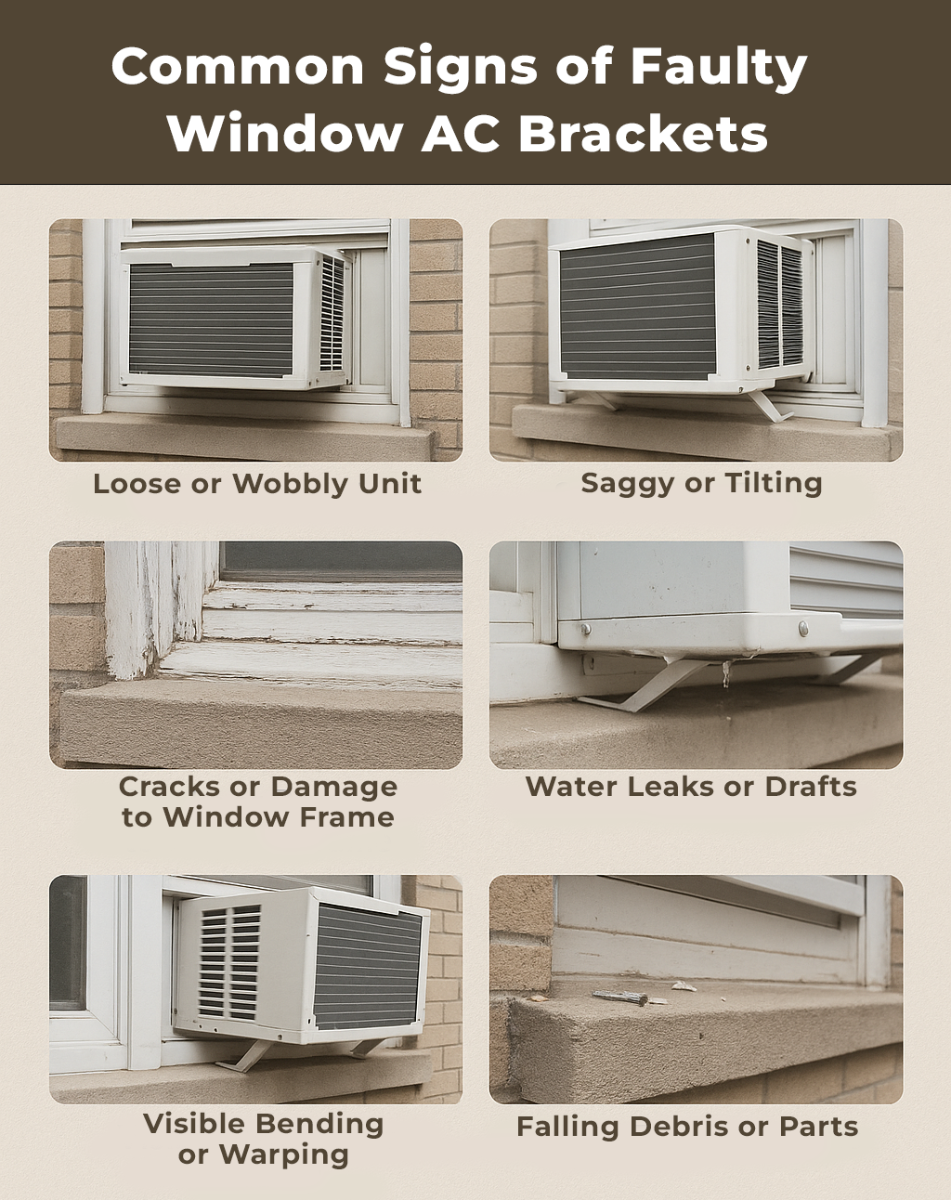
Common Signs of Faulty Window AC Brackets
Recognizing the early signs of faulty window AC brackets can help prevent accidents and costly repairs. Here are some common indicators to watch for:
-
Loose or Wobbly Unit: If your air conditioner feels unstable or moves when touched, the brackets may be loose or damaged.
-
Sagging or Tilting: A unit that is no longer level is a clear sign the brackets are failing to provide proper support.
-
Cracks or Damage to Window Frame: Excessive stress from faulty brackets can cause visible damage to the window sill or frame.
-
Water Leaks or Drafts: Poorly supported units can create gaps, allowing water or air to enter and reducing efficiency.
-
Visible Bending or Warping: Bent or warped brackets signal that the metal is weakened and may soon fail.
-
Falling Debris or Parts: Pieces of rust or broken bracket parts near the window could mean the brackets are deteriorating.
Noticing any of these signs means it’s time to inspect and possibly replace your window AC brackets to maintain safety and performance.
Identifying Common Problems with Window AC Brackets
Window AC brackets provide essential support, but some less obvious issues can affect their performance and safety. Spotting these early helps protect your unit and home. Here are some additional problems to watch for:
-
Bracket Fatigue: Over time, metal fatigue can set in, causing the brackets to lose strength even if no visible damage is present.
-
Incorrect Installation Angle: Brackets installed at the wrong angle can cause water to pool inside the unit, leading to damage and leaks.
-
Insufficient Anchoring: If the brackets are not properly anchored to the window frame or wall, they may fail under the AC unit’s weight.
-
Wear on Mounting Hardware: Bolts, nuts, or clips securing the brackets can wear out or strip, weakening the overall structure.
-
Environmental Damage: Exposure to extreme weather, such as freezing temperatures or intense heat, can cause metal brackets to become brittle or warp.
By addressing these problems proactively, you can ensure your window AC brackets provide reliable support and prolong the life of your cooling unit.
Essential Tools and Safety Precautions for Bracket Repairs
Before replacing a bracket, gather the necessary tools and understand the safety measures.
Essential Tools:
-
Cordless drill or screwdriver
-
Socket wrench set or adjustable wrench
-
Measuring tape
-
Level
-
Stud finder (if mounting into a wall or sill)
-
Replacement bracket kit (specific to your AC model)
-
Rust remover or wire brush (for old brackets)
-
Caulking gun (for sealing gaps)
-
Protective gloves
-
Safety goggles
-
Pliers (for gripping or bending metal parts)
Safety Precautions:
-
Unplug the air conditioner before starting work to avoid electrical shock.
-
Have a partner assist you when removing or installing the unit to prevent injury.
-
Avoid leaning too far out of the window; use a sturdy ladder or platform if needed.
-
Use brackets rated for your unit’s weight to ensure safety and stability.
-
Secure your work area to avoid accidents from dropped tools or parts.
How to Inspect and Troubleshoot Window AC Bracket Issues Effectively
Regular inspection and troubleshooting of window AC bracket issues are essential to prevent safety hazards and maintain unit stability. Identifying key issues early helps avoid costly repairs and ensures efficient cooling.
Structural Failure Due to Metal Fatigue or Overloading
Over time, brackets can weaken or crack from continuous stress, especially if supporting an AC unit heavier than their rated capacity, risking sudden failure.
How to Inspect:
-
Look for small cracks, hairline fractures, or signs of metal fatigue on brackets.
-
Check if the unit feels unstable or if brackets show visible stress marks or bending.
How to Troubleshoot:
-
Immediately replace any bracket showing fatigue or cracks with a heavy-duty, properly rated model.
-
Verify the bracket’s weight rating matches or exceeds your AC unit’s weight.
Improper Installation or Incorrect Bracket Type
Using the wrong size or type of window AC mounting brackets, or poor installation can cause uneven weight distribution and instability.
How to Inspect:
-
Check if the bracket size matches your AC unit’s dimensions and weight.
-
Look for uneven mounting, tilted angles, or missing components during installation.
How to Troubleshoot:
-
Remove incorrect brackets and replace them with properly sized, manufacturer-recommended ones.
-
If the AC brackets won’t screw in, inspect the screw holes for damage or obstruction and repair or replace as needed.
-
Ensure level installation using a spirit level and follow mounting instructions carefully.
Window Frame Structural Damage Affecting Bracket Support
Severe window frame rot, warping, or damage reduces the bracket’s anchoring strength, risking the unit falling out.
How to Inspect:
-
Test for softness or give in the wood near mounting points.
-
Inspect for deep cracks, splits, or significant warping around the bracket area.
How to Troubleshoot:
-
Repair minor damage with strong wood fillers and sealants.
-
Replace severely damaged frame sections.
-
Add additional reinforcement, like braces or plates, for extra support.
Vibration-Induced Loosening or Damage
Excessive vibration from the AC unit can loosen fasteners or cause metal fatigue, weakening bracket stability over time.
How to Inspect:
-
Look for loose screws or bolts after the AC has been running.
-
Check for signs of wear or metal fatigue near attachment points.
How to Troubleshoot:
-
Tighten all fasteners regularly, especially after the unit has operated for some time.
-
Use lock washers or thread-locking compounds to secure screws.
-
Consider adding vibration-damping pads if vibrations are excessive.
Step-by-Step Process to Replace Window Air Conditioner Brackets
Replacing worn or damaged window AC brackets is essential for safe and stable installation. Follow this step-by-step process to ensure a secure setup.
Step 1: Remove the AC Unit
-
Get Assistance: Enlist a helper to support the weight.
-
Unplug and Lift: Unplug the unit, get help to lift it out safely, and begin the window air conditioner bracket installation process.
-
Place Securely: Place it on a flat, stable surface.
Step 2: Remove the Old Brackets
-
Unscrew Mounting Hardware: Use a screwdriver or drill to remove all mounting screws and anchors.
-
Free Rusted Parts: If rusted or painted over, apply rust remover or use a wire brush to free them.
-
Remove Sealant: Carefully remove any caulking or sealant around the bracket.
Step 3: Clean the Area
-
Clear Debris: Wipe down the window sill or wall to remove debris, rust, or old sealant.
-
Inspect for Damage: Inspect for rot or damage in the window frame. Repair if necessary.
Step 4: Measure and Mark New Bracket Placement
-
Use Template or Measure: Use the manufacturer’s template (often included in the bracket kit) or measure the appropriate distance from the window.
-
Ensure Level Positioning: Use a level to ensure correct positioning.
Step 5: Install the New Brackets
-
Secure Brackets: Secure the brackets using the provided screws or bolts. If you're using window air conditioner brackets with no drilling, follow the manufacturer’s instructions to ensure a tight, secure fit without damaging the window frame.
-
Anchor for Strength: For added strength, anchor into wall studs or use heavy-duty toggle bolts if no studs are present.
-
Check Alignment: Double-check alignment and slope for proper drainage.
Step 6: Reinstall the AC Unit
-
Lift and Position: With your helper, lift the unit back into place.
-
Secure and Level: Ensure it’s securely seated in the bracket and check that it’s level (with a slight backward tilt).
-
Seal Gaps: Seal any gaps around the window with weatherstripping or caulk.
Check out this guide on how to replace your AC compressor for expert tips and safety precautions to keep your system running smoothly.
Preventive Maintenance Tips to Extend the Life of AC Brackets
Regular maintenance not only keeps your AC unit secure but also extends the lifespan of its support brackets. These simple habits can help prevent early failure.
-
Inspect Brackets Seasonally: Examine the brackets at the start and end of each cooling season. Look for rust, cracks, or loose fasteners that may need attention.
-
Clean Dirt and Debris: Wipe down the brackets regularly with a dry or damp cloth. Removing dirt and dust prevents buildup that can trap moisture and cause corrosion.
-
Apply Anti-Rust Coating: Use a rust-inhibiting spray or protective paint on exposed metal parts. This creates a barrier against rain, humidity, and other environmental damage.
-
Tighten Loose Hardware: Check screws and bolts every few months. Tightening them prevents shifting and avoids an AC bracket broken issue.
-
Ensure Proper Weight Support: Always confirm the bracket is rated for your specific AC unit's weight. Overloaded brackets wear out faster and may suddenly fail.
-
Seal Around the Unit: Use caulk or foam insulation to seal any gaps around the air conditioner. This keeps water and pests out while protecting the mounting area.
-
Avoid Year-Round Exposure: Remove the AC and brackets during the off-season if possible. This reduces exposure to snow, ice, and UV damage that weakens materials.
Check out this step-by-step guide on how to clean an air conditioner yourself for better performance and longer appliance life.
Conclusion
Troubleshooting and replacing window air conditioner brackets is essential for ensuring your unit stays securely installed and functions safely. By identifying key issues like rust, improper installation, or structural damage early, you can prevent costly repairs or accidents. Following a clear step-by-step replacement process will restore stability and extend the life of your AC. Whether you’re handling a simple fix or a full bracket replacement, addressing these problems promptly keeps your cooling system running smoothly and your home or business safe.
FAQs
How do I know if my window AC brackets need replacement?
If your AC unit feels unstable, wobbles, or the brackets show rust, bending, or cracks, it’s time to inspect and possibly replace them.
Can I replace window air conditioner brackets myself?
Yes, with basic tools and safety precautions, most DIYers can replace brackets by following step-by-step instructions carefully.
How long does it take to replace window AC brackets?
Replacing brackets typically takes 1-2 hours, depending on your experience and whether the AC unit needs removal.
Can I install window air conditioner brackets without drilling?
Some brackets offer no-drill installation options, ideal for renters or those who want to avoid damaging window frames.