Facebook Pixel

Utica-Dunkirk 550001907 Replacement Coil Gasket Kit

Special Price $141.22 Regular Price $162.41
In stock
SKU
550001907

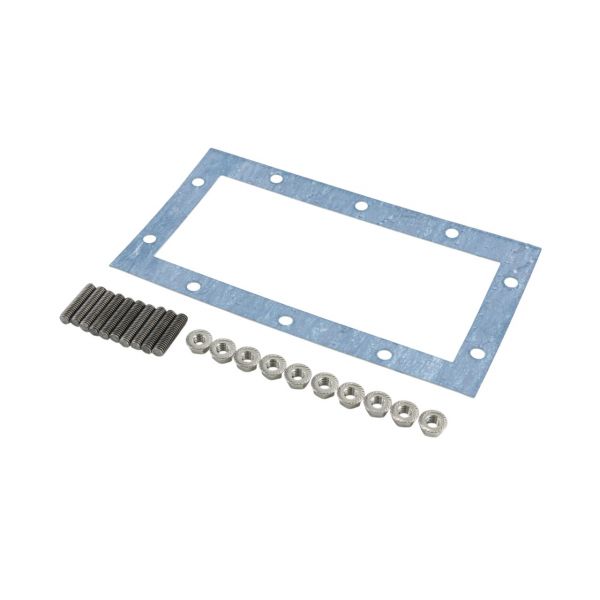
The Utica-Dunkirk 550001907 Replacement Coil Gasket Kit is a critical component designed to ensure the optimal performance and durability of HVAC systems. This gasket set, designed especially for coil systems, successfully insulates and seals important joints, avoiding leaks and preserving optimal heat transfer. It is made to work with a variety of Utica-Dunkirk heating and cooling systems, making it a trustworthy option for both contractors and homeowners. It improves total HVAC efficiency by securely sealing coil connections, resulting in energy savings and lower operating costs. The Utica-Dunkirk 550001907 Replacement Coil Gasket Kit ensures constant performance and excellent comfort in both home and commercial settings.

https://www.partshnc.com/media/catalog/product/5/5/550001907.jpg

Manufacturer Name: Utica-Dunkirk
Product Number: 550001907
OEM Part Number: 550001907
Product Description:  The Utica-Dunkirk 550001907 Coil Gasket Kit is a set of replacement gaskets for certain Utica-Dunkirk furnaces. The kit includes gaskets for the inducer, blower, and combustion chamber. The gaskets help to seal the furnace and prevent air leaks, which can improve the efficiency of the furnace and reduce energy costs. If your Utica-Dunkirk furnace is leaking air, you can replace the gaskets with the kit. To do this, you will need to disconnect the power to the furnace and remove the old gaskets. Then, you can install the new gaskets and reconnect the power.

Here are some of the symptoms that may indicate that your Utica-Dunkirk furnace's coil gaskets need to be replaced:

  • The furnace is not heating properly.
  • There is a whistling or hissing noise coming from the furnace.
  • There is a burning smell coming from the furnace.
  • There is condensation on the furnace coil.
  • There is carbon monoxide present in the air.

Weight:0.97lbs/439.98g

Choose the best HVAC equipment parts and supplies from PartsHnC!

  • Same Day Shipping

  • Best Quality And Best Price

  • Wide Range of Inventory

  • Best Customer Service

Have More Questions or Need Help to Place The Order?
Reach us at (866)773-0907 or [email protected]


Write Your Own Review
You're reviewing:Utica-Dunkirk 550001907 Replacement Coil Gasket Kit
Your Rating
Customer Questions
Can I install the Coil Gasket Kit myself?

If you have experience working with heating systems and gaskets, you might be able to install the kit. However, for proper installation and to avoid damaging the coils, it's recommended to consult a professional HVAC technician.

Can the Coil Gasket Kit be used with other brands of heating systems?

The Utica-Dunkirk 550001907 Coil Gasket Kit is likely designed specifically for Utica-Dunkirk systems. Using it with other brands might not guarantee proper fit or functionality.

How do I properly maintain the gaskets after installation?

Proper maintenance involves regular inspections for signs of wear, ensuring proper sealing, and addressing any issues promptly. Follow any maintenance guidelines provided by the manufacturer.

What maintenance is required for the Utica‑Dunkirk 550001907 Replacement Coil Gasket Kit?

Periodically inspect the coil gasket for wear, cracks, or compression set that might allow leaks. Ensure the mating surfaces are clean and free of debris before reinstalling. Replace the gasket during scheduled service or when leaks are detected. Proper installation and sealing prevent loss of efficiency and refrigerant leakage.

What are common issues with the Utica‑Dunkirk 550001907 Replacement Coil Gasket Kit?

  • Leaks due to worn or damaged gaskets.
  • Improper sealing from misaligned installation.
  • Cracking or deterioration of gasket material.
  • Air or fluid bypass reducing system efficiency.

Installation Steps

Step1: Shut off power and water supply before beginning work.

Step2: Remove the access panel and take out the old gasket from the coil assembly.

Step3: Clean the sealing surface thoroughly to remove residue and ensure proper fit.

Step4: Place the new gasket evenly and align it correctly with the mounting surface.

Step5: Reassemble the unit and inspect for leaks before restoring power and operation.