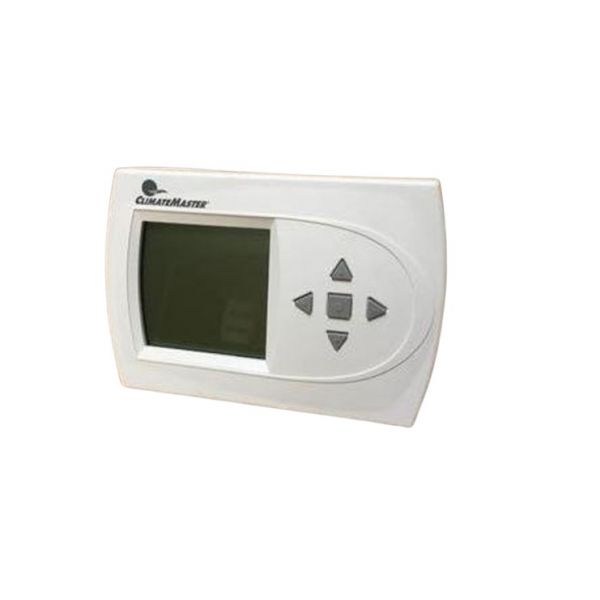
Controls multi-stage heating and cooling operation in Integrates with 24 VAC water-source heat pump systems. The ClimateMaster ATP32U03 Programmable Thermostat 3H/2C monitors indoor temperature conditions and sends operating commands according to programmed settings. The thermostat supports up to three heating stages and two cooling stages, along with 7-day scheduling, four programmable periods per day, a backlit dot matrix LCD display, automatic or manual changeover, selectable °F or °C temperature display, and a 12- or 24-hour clock for supported system configurations.
Control Operation:
The thermostat compares measured room temperature with the selected temperature setpoint to determine the required heating or cooling response. It processes programmed schedules and user-selected settings to control available heating and cooling stages. Temporary overrides allow scheduled settings to be changed without altering the programmed schedule, while stored programming remains available following normal power interruptions.
System Regulation:
Within a Integrates with water-source heat pump system, the thermostat coordinates heating, cooling, and fan commands according to the selected operating mode and programmed schedule. Stage operation responds to system demand, while automatic or manual changeover determines how the control transitions between heating and cooling modes. The thermostat can also present available operating status and fault information received from Integrates with equipment controls.
Replacement Guidelines:
Replacement of the ClimateMaster ATP32U03 Programmable Thermostat is necessary when visible damage, deterioration, or other physical conditions affect the thermostat's intended control role. Inspect the programmable thermostat and related connection areas for conditions that could affect proper control within the equipment. Replace the component when it can no longer maintain its intended control operation within the equipment assembly.
Common Signs of Wear:
- Blank or intermittent display operation.
- Keypad buttons that do not respond consistently.
- Programmed schedules not being retained or executed.
- Heating or cooling stages not responding to thermostat commands.
- Temperature settings that cannot be adjusted.
- Loss of available operating status or fault information display on Integrates with systems.
Equipment Compatibility:
The ClimateMaster ATP32U03 Programmable Thermostat must match the thermostat configuration required by the equipment. Confirm the existing thermostat configuration, 3H/2C requirements, and part number before purchase to ensure compatibility with the intended system.
Technical Specifications:
Brand: ClimateMaster
Part Number: ATP32U03
Product Type: Programmable Thermostat
Heating Stages: 3 Heat
Cooling Stages: 2 Cool
 Loyalty Program