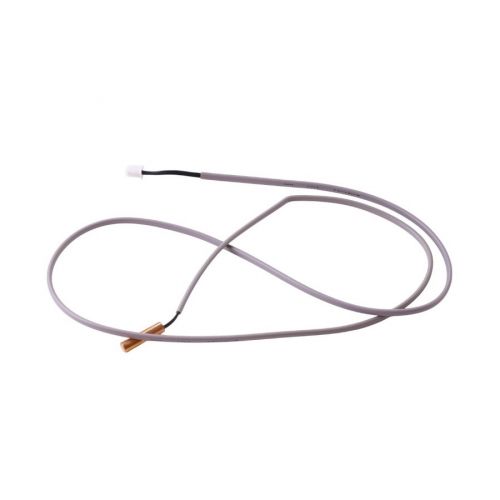
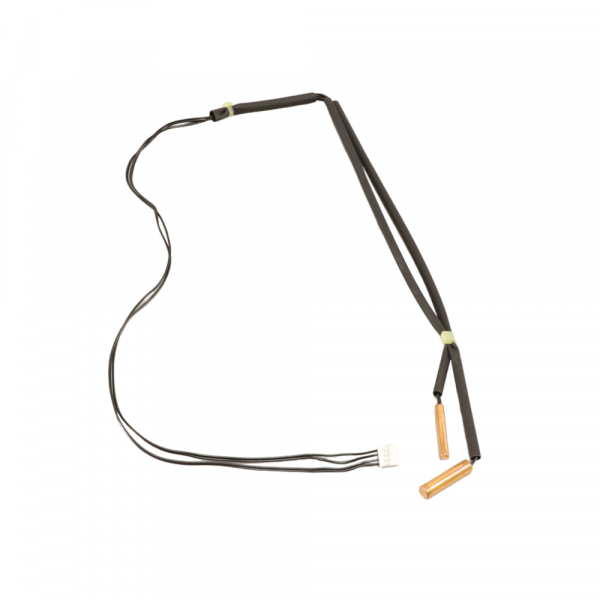
Mitsubishi Electric U01A01307 Indoor Coil Thermistor
Specifications
- Operating temperature range: -55°C to 150°C
- Length: 26"
- Type: Thermistor
- Weight: 0.03lbs
Loyalty ProgramTemperature Monitoring:
At the indoor coil, the thermistor detects changes in the thermal condition surrounding its sensing element. Its temperature-sensitive construction responds according to the heat level present at the monitored location, providing a measurable representation of the coil condition. This function is dedicated to temperature detection at the designated sensing point and does not address the subsequent handling of the resulting information.
Signal Transmission:
The sensing element provides an electrical input that travels through the connected circuit toward the equipment’s control electronics. This pathway carries the information generated by the thermistor so the receiving circuitry can recognize the monitored condition. The transmission function concerns movement of the electrical input between the sensing component and control system rather than the temperature-detection process itself.
Replacement Guidelines:
Replacement requires matching Mitsubishi Electric U01A01307 Indoor Coil Thermistor sensing characteristics, connection arrangement, physical configuration, equipment requirements, and specified control-system parameters. The replacement should also suit the existing indoor coil sensing arrangement and associated electronic controls.
Common Failure Symptoms:
Equipment Compatibility:
The Mitsubishi Electric U01A01307 Indoor Coil Thermistor is intended for Integrates with equipment requiring the corresponding indoor coil sensing configuration. Verify the equipment model, thermistor characteristics, connection arrangement, and manufacturer’s documentation before purchasing.
Technical Specifications:
Brand: Mitsubishi Electric
Part Number: U01A01307
Product Type: Indoor Coil Thermistor
Function: Temperature Sensing
Step1: Turn off power to the HVAC system before starting to avoid shock.
Step2: Open the access panel where the existing thermistor is located.
Step3: Disconnect wiring and remove the old thermistor from its mounting.
Step4: Install the new thermistor, reconnect wiring to matching terminals, replace panel, restore power, and test temperature sensing.