
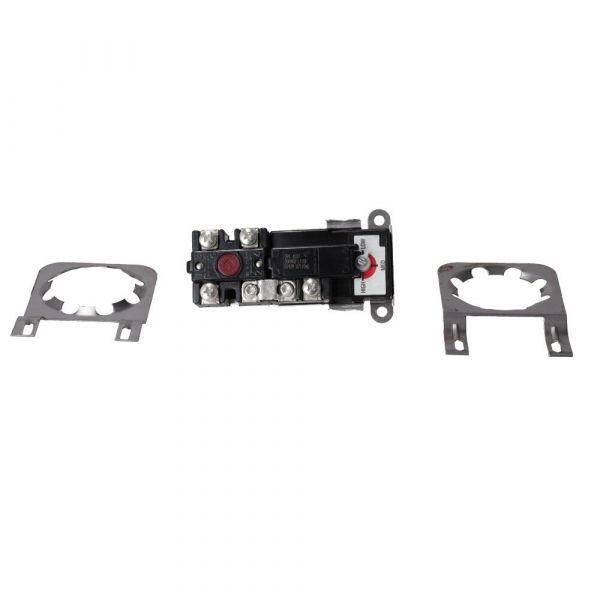
Rheem-Ruud SP21032 Thermostat Kit W/2-Bracket
Special Price $31.84 Regular Price $41.39
In stock
SKU
SP21032

The Rheem-Ruud SP21032 Thermostat Kit is designed to provide steady HVAC system control. The kit has two mounting bracket to make sure the thermostat is installed safely. It keeps track of water temperature in electric water heater and turns on the heating element when required. If the water gets too cold the thermostat tells the heating element to turn on and heat the water. It is made for electric water heaters and ensures better performance in systems. Provide better energy efficiency, the heater lasts longer, and users always have hot water without having to adjust anything.
Manufacturer:

Specifications
- Voltage : 240V
- Weight: 0.43lbs
- Dimensions: 4.95" H x 7.25" L x 6.35" W
- Type: Thermostat Kit with 2 Thermostats
- hermostat Type: Dual Element
- Upper Thermostat: 90°F to 150°F
- Lower Thermostat: 90°F to 150°F
- Mounting Type: Surface mount