
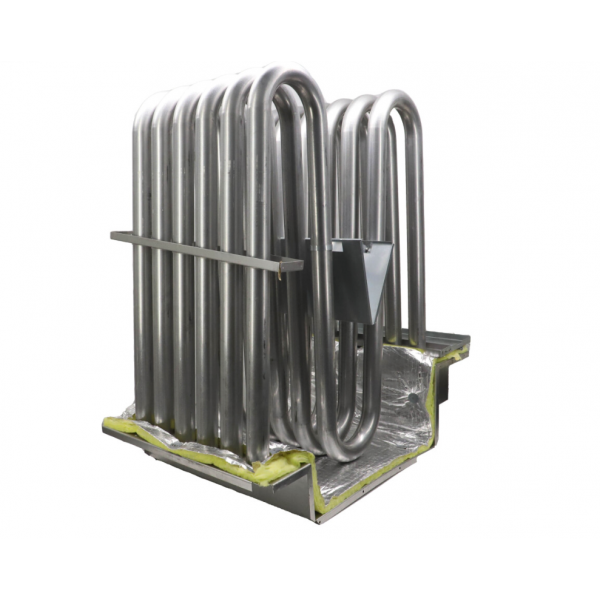
Lennox 60G78 Heat Exchanger
Special Price $3,346.40 Regular Price $3,714.51
Out of stock
SKU
60G78

The Lennox 60G78 Heat Exchanger is a component of your heating and cooling system because it is intended to exchange heat in both the HVAC system. It is a stainless steel and can therefore be used for years without signs of rusting or any other sign of wear out. This heat exchanger can be installed with most of the Lennox furnaces and air conditioners that are available in the market today. During cooling mode, it absorbs heat from the refrigerant and expels it to the air that blows During cooling, the process is reversed and the heat is taken from outside air into your home hence cooling it.
Manufacturer:
Specifications
- Height: 34.4 Inch
- Width: 44.4 Inch
- Measure: Unit
- Type: Heat Exchanger Assembly
- Material: Stainless Steel
- Weight: 124lbs