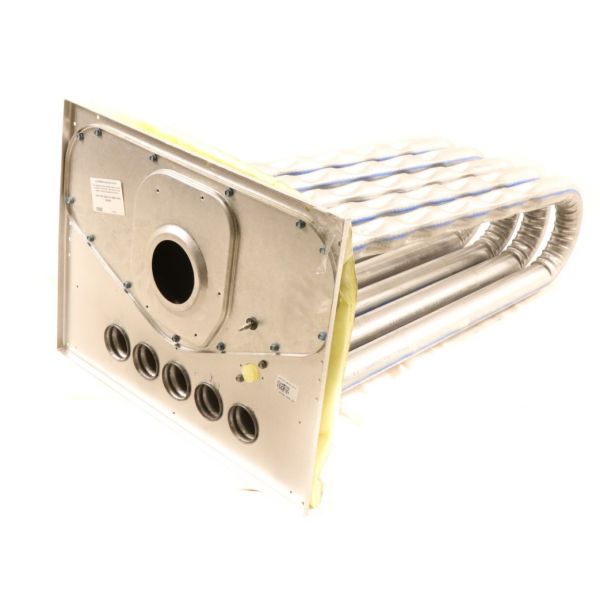
Lennox 99W42 5-Tube Heat Exchanger 108K BTUH Aluminum

An integral part of HVAC setups, the Lennox 99W42 108K Btuh Al 5Tube Heat Exchanger is purposefully crafted to enable the efficient exchange of heat between different mediums. This heat exchanger operates by transferring thermal energy from hot gases to the surrounding air, thereby heating it. Typically integrated into furnaces, the 99W42 Heat Exchanger plays a critical role in the heating process by efficiently transferring heat from combustion gases to the air circulated throughout the building. Through its efficient heat capture and distribution mechanisms, it guarantees ideal comfort conditions in both residential and commercial environments. Additionally, the advanced design and construction of the 99W42 Heat Exchanger contribute to improved energy efficiency and system performance, ultimately reducing operating costs and enhancing the lifespan of HVAC equipment.