
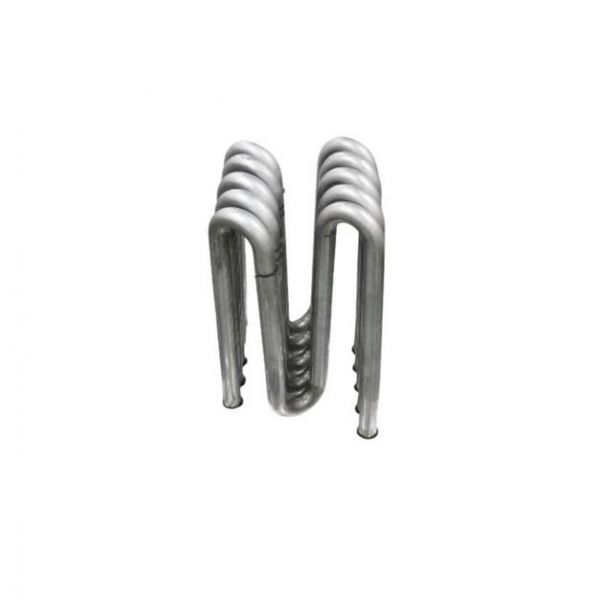
Trane EXC1388 Heat Exchanger
Special Price $1,555.45 Regular Price $1,726.55
In stock
SKU
EXC1388

The Trane EXC1388 Heat Exchanger is one of the core components that helps in heat exchange within the Trane HVAC system. A power plant heat exchanger is well constructed to facilitate the exchange of heat between two fluids without them coming into contact with each other. In contrast to the method of using an open flame or water boiler, this heat exchanger is a closed circuit. The hot fluid is in the internal tubes of the exchanger while the cooler fluid flows through the different channels in the particular unit.
Manufacturer:

Specifications
- Type: Heat Exchanger
- Weight: 188lbs
- Length: 42"