 Loyalty Program


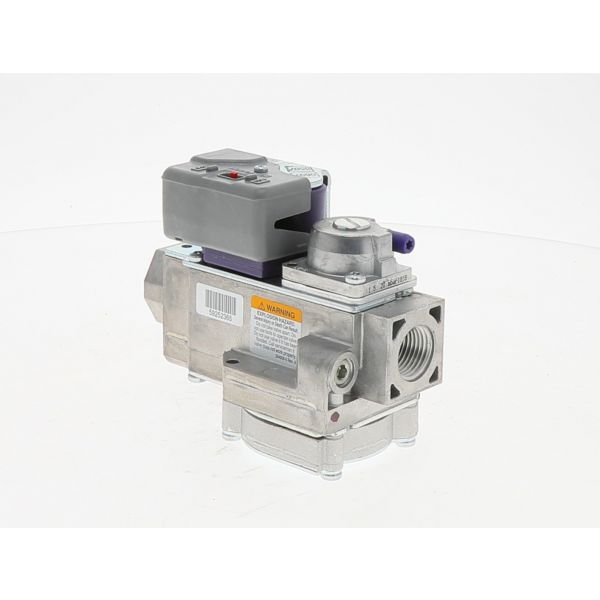
Trane VAL10381 3 Stage Modulating Gas Valve 24V
Special Price $306.89 Regular Price $382.64
In stock
SKU
VAL10381

The Trane VAL10381 is a key component in natural gas-fired HVAC systems, specifically modulating gas valves. Unlike traditional on/off valves, it precisely controls the flow of gas by adjusting in three stages. This 1modulation is achieved using a 24V electrical signal that regulates a built-in pressure regulator. By varying the pressure, the valve delivers the exact amount of gas needed to meet fluctuating heating demands. This translates to increased comfort and efficiency in your HVAC system. Made of aluminum for lightweight durability (weighing only 2.32lbs) and featuring a standard 1/2 inch NPT connection for easy installation, the Trane VAL10381 is a reliable choice for various Trane HVAC equipment. With its precise gas control, this valve helps optimize comfort by providing consistent heating, reduces energy consumption by matching heating output to demand, and potentially extends the lifespan of your HVAC system by minimizing wear and tear from constant on/off cycling.
Manufacturer:

Specifications
- Size: 1/2 Inch
- Material: Aluminium
- Pressure Regulator(psi): 680Psi
- Connection Type: NPT
- Weight: 2.32lbs
- Frequency: 60Hz
- Type of Gas: Natural Gas
- Voltage:24V