
Facebook Pixel

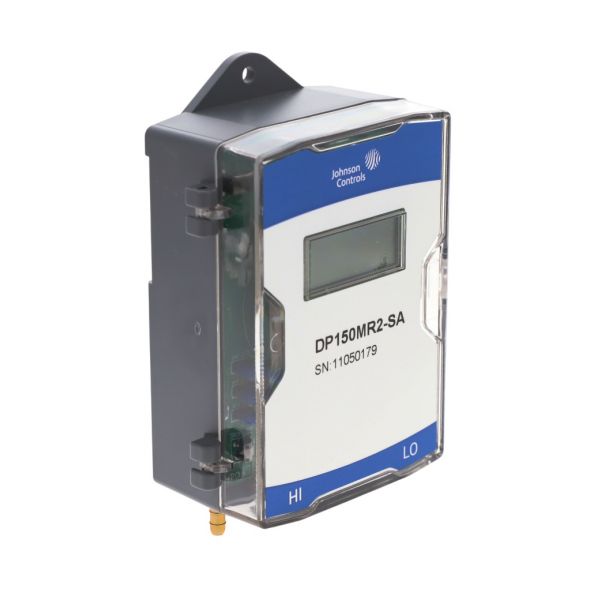
Johnson Controls DP150MR2-SA Pressure Transducer 0-10 PSI 0" To 1", 2.5", 5", & 10" WC

Special Price $234.80 Regular Price $260.62
In stock
SKU
DP150MR2-SA
The Johnson Controls DP150MR2-SA Pressure Transducer is a sensing part used to measure low-pressure applications with a range from 0" to 1", 2.5", 5", and 10" 0-10 PSI. This pressure transducer is a pressure to proportional electrical signal 0-10V or 4-20mA converter which makes it perfect for HVAC systems like air handling units, ventilation systems and building automation controls. It provides accurate pressure monitoring to improve the system's performance and to ensure optimum pressure regulation. It has wide range of operating temperature and durable polycarbonate housing and provides better control, reduces maintenance and improves system reliability to enhance energy efficiency.
https://www.partshnc.com/media/catalog/product/d/p/dp150mr2-sa.jpg

Specifications

  • Type: Pressure Transducer
  • Pressure Range: 0" to 1",2.5",5" and 10", 0-10 PSI
Write Your Own Review
You're reviewing:Johnson Controls DP150MR2-SA Pressure Transducer 0-10 PSI 0" To 1", 2.5", 5", & 10" WC
Your Rating
Customer Questions
What maintenance is required for the Johnson Controls DP150MR2-SA Pressure Transducer?

Regularly inspect the sensor for dust, debris, or condensation buildup. Ensure proper calibration according to the manufacturer’s instructions. Avoid overpressure situations and check electrical connections for secure contact. Proper care maintains measurement accuracy and prevents false readings.

What are common issues with the Johnson Controls DP150MR2-SA Pressure Transducer?

  • Inaccurate or drifting readings.
  • Sensor failing to respond to pressure changes.
  • Electrical connection faults or intermittent signals.
  • Physical damage to the sensing diaphragm.

Installation Steps

Step 1: Turn off power and relieve system pressure before installation.

Step 2: Mount the transducer securely in the correct orientation per labeling.

Step 3: Connect pressure tubing to the proper ports without leaks.

Step 4: Wire the unit according to the manufacturer’s wiring diagram.

Step 5: Restore power and check for proper signal output and calibration.