Facebook Pixel

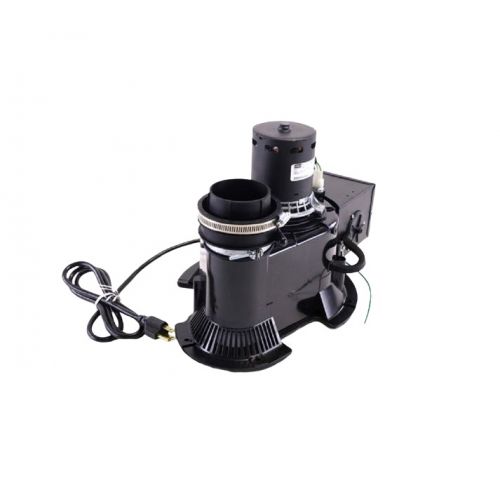
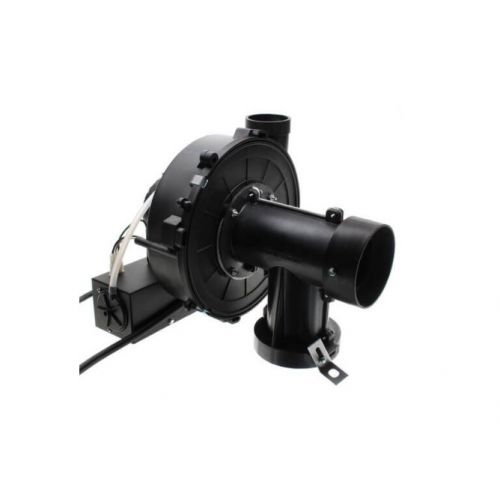
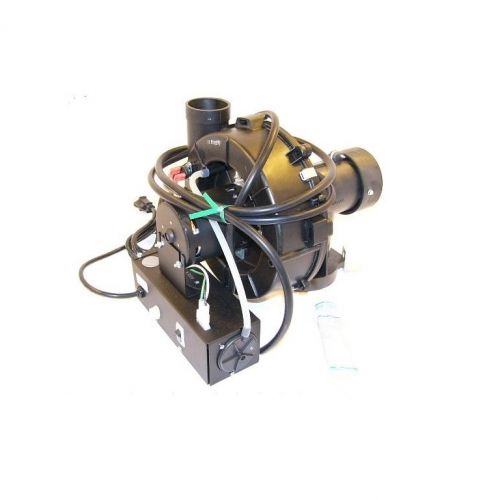
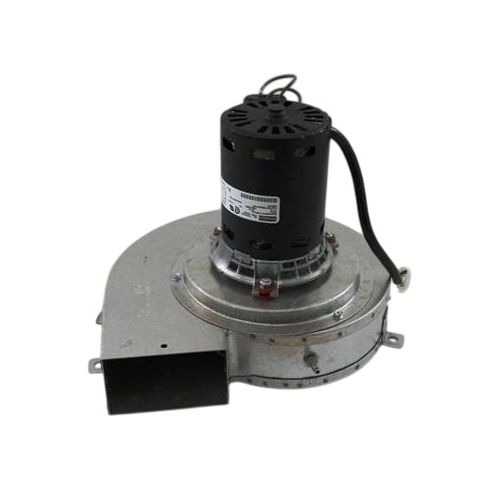
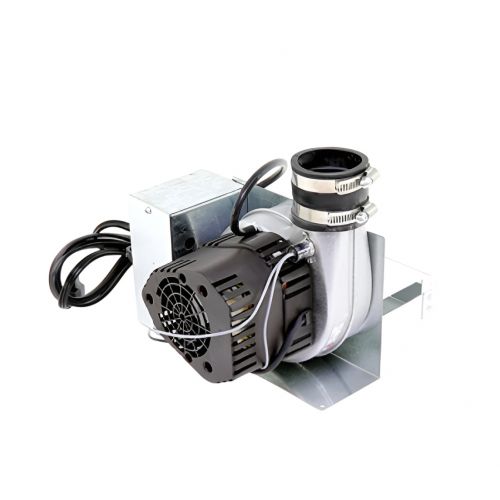
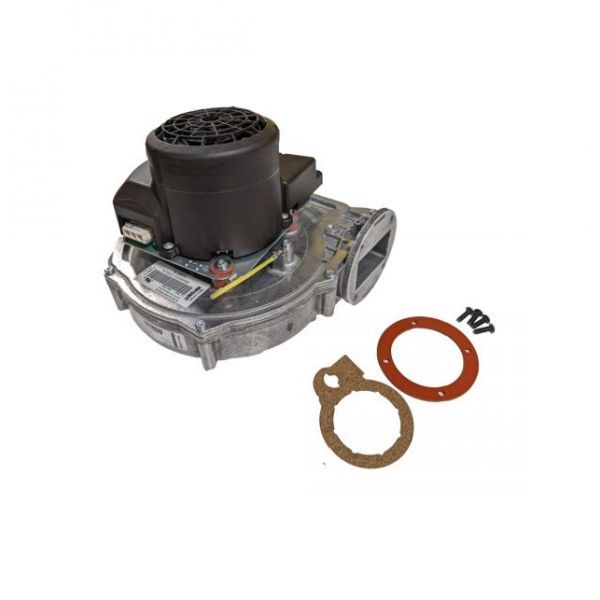
Lochinvar & A.O. Smith 100187864 Blower Assembly 120V

Special Price $1,106.27 Regular Price $1,227.96
In stock
SKU
100187864
The Lochinvar & A.O. Smith 100187864 is a Blower Assembly an essential part of HVAC systems, which is used for water heaters and boilers. This blower assembly runs on 120V and effectively removes combustion gases to provide the expected competence and safety standards. Improving the airflow, helps to serve the purpose of the heating system better and improve the efficiency thusly commendable by relationship to the energy point of view. This assembly is easy to install and works with many Lochinvar and A.O. Smith models which makes it a safe bet for heating equipment maintenance.
https://www.partshnc.com/media/catalog/product/1/0/100187864_1.jpg

Specifications

  • Type: Blower Assembly
  • Voltage: 120V
Provides a coordinated air-moving section within applicable heating equipment. The Lochinvar & A.O. Smith 100187864 Blower Assembly is positioned in the designated air path to support airflow between connected equipment sections. Its grouped construction brings together related parts that operate together for the assigned function. The assembly serves as a unified component within the equipment rather than an individual standalone part.

Airflow Generation:
Generates airflow through the operation of the blower's rotating elements. The rotating section draws air from its intake area and directs it into the connected passage. The movement produced at the blower establishes the airstream required by the associated equipment arrangement.

Assembly Integration:
Combines blower-related components into an interconnected operating unit. Each section occupies its defined position within the overall arrangement and interfaces with the adjoining parts. Their coordinated placement establishes the physical structure required for the assembly to function as a complete grouped component.

Replacement Guidelines:
Replacement of the Lochinvar & A.O. Smith 100187864 Blower Assembly is necessary when visible damage, excessive wear, deterioration, or other physical conditions affect the assembly's intended air-moving role. Inspect the blower assembly and related mounting and connection areas for conditions that could affect proper operation within the equipment. Replace the component when it can no longer maintain its intended air-moving operation within the equipment assembly.

Common Failure Symptoms:

  • Air movement becomes weak or inconsistent.
  • The blower produces unusual operating noise.
  • Airflow stops unexpectedly during equipment operation.
  • The associated equipment does not receive the expected air movement.
  • Blower operation becomes intermittent.

Equipment Compatibility:
The Lochinvar & A.O. Smith 100187864 Blower Assembly is intended for equipment applications specifically documented for this component. Verify the equipment model number, existing blower assembly identification, and manufacturer's parts documentation before purchase.

Technical Specifications:
Brand: Lochinvar & A.O. Smith
Part Number: 100187864
Product Type: Blower Assembly

Write Your Own Review
You're reviewing:Lochinvar & A.O. Smith 100187864 Blower Assembly 120V
Your Rating
Customer Questions
How do I maintain the Blower Assembly for optimal performance?

Regular maintenance is essential. Clean or replace air filters as recommended, and keep the Blower Assembly and surrounding area free from dust and debris.

Can I use this Blower Assembly to improve the energy efficiency of my heating system?

Yes, upgrading your Blower Assembly can contribute to improved energy efficiency. It helps distribute heat more effectively, potentially leading to lower energy bills.


How often should I replace the Blower Assembly in my heating system?

The frequency of replacement can vary depending on usage and maintenance. As a general guideline, consider inspecting and potentially replacing the Blower Assembly every 5-10 years to ensure optimal performance.

What are the signs that my Blower Assembly might need replacement?

Common signs include unusual noises, reduced airflow, uneven heating, or increased energy consumption. If you notice any of these issues, it's better to inspect or replace the Blower Assembly.

What maintenance is required for the Lochinvar & A.O. Smith 100187864 Blower Assembly?

Regularly clean the blower assembly and housing to remove dust, lint, and debris that can reduce airflow. Inspect the motor, bearings, and electrical connections for wear or looseness. Ensure secure mounting and proper alignment to prevent vibration. Routine maintenance helps maintain efficiency and prevents overheating or premature failure.

What are common issues with the Lochinvar & A.O. Smith 100187864 Blower Assembly?

  • Reduced airflow or uneven distribution.
  • Excessive vibration or noise during operation.
  • Motor overheating or tripping breakers.
  • Loose or worn fan components affecting performance.

What role does the 100187864 blower assembly play in heating equipment?

The 100187864 operates in the designated air path as part of the equipment's air-moving section.

Why is the 100187864 supplied as a blower assembly rather than a single component?

The assembly groups related parts in their defined arrangement so they operate together for the assigned air-moving function.

How does the rotating section of the blower generate airflow?

The rotating blower section moves air from the intake area toward the connected passage.

What happens to air after it enters the blower intake?

The rotating section draws the air through the blower and directs it into the connected equipment passage.

How does the 100187864 support airflow through connected equipment sections?

The 100187864 facilitates the movement of air through connected sections of applicable heating equipment.

Installation Steps

Step1: Turn off and lock out power before beginning work.

Step2: Remove the access panel and disconnect the old blower wiring.

Step3: Unscrew and remove the old blower assembly carefully.

Step4: Install the new blower assembly and secure all mounting hardware.

Step5: Reconnect wiring, replace the panel, restore power, and test operation.