
Facebook Pixel

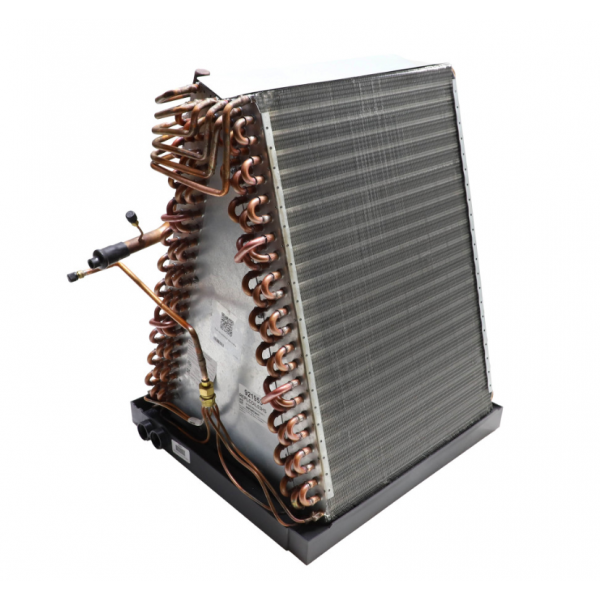
Nordyne 921953 Tube/Fin Coil Assembly

Special Price $1,342.28 Regular Price $1,489.94
In stock
SKU
921953
The Nordyne 921953 Tube/Fin Coil Assembly is an essential part of air conditioning and heat pump equipment. Its main function is to exchange heat between the refrigerant and either the indoor or outdoor air depending on the units operation. In coil assembly, the copper tubes are covered in aluminum fins to increase the co-efficient of heat transfer. Coolant circulate through the tubes either to cool the air that is inside in cooling mode or to warm the air inside in heating mode. It is applicable with numerous Nordyne HVAC products and other benefits such as heat transfer, durability, and performance. It provides the highest cooling and heating capacity in addition to energy efficiency making it a reliable structure.
Manufacturer:

https://www.partshnc.com/media/catalog/product/9/2/921953_.png

Specifications

  • Type: Tube/Fin Coil Assembly
    Manufacturer Name: Nordyne
    Product Number: 921953
    OEM Part Number: 921953
    Product Description: Coil Assembly
    Weight:42.64lbs/19341.16g

    Choose the best HVAC equipment parts and supplies from PartsHnC!

    • Same Day Shipping

    • Best Quality And Best Price

    • Wide Range of Inventory

    • Best Customer Service

    Have More Questions or Need Help to Place The Order?
    Reach us at (866)773-0907 or [email protected]

    Write Your Own Review
    You're reviewing:Nordyne 921953 Tube/Fin Coil Assembly
    Your Rating
    Customer Questions
    What maintenance is required for the Nordyne 921953 Tube/Fin Coil Assembly?

    Clean the tube and fin surfaces regularly to prevent dust buildup and maintain efficient heat transfer. Inspect for corrosion, refrigerant leaks, and bent fins that restrict airflow. Schedule periodic system servicing to ensure accurate operation and safe performance.

    What are common issues with the Nordyne 921953 Tube/Fin Coil Assembly?

    • Corrosion on tubes leading to reduced heat exchange.
    • Fin damage or bending restricting airflow.
    • Refrigerant leaks causing cooling inefficiency.
    • Coil clogging from dust or debris buildup.
    • Uneven cooling due to restricted coil performance.

    Installation Steps

    Step 1: Turn off power and shut off the refrigerant flow.

    Step 2: Recover refrigerant and disconnect coil lines carefully.

    Step 3: Remove access panels and take out the old coil assembly.

    Step 4: Install the new coil, securing it in place and aligning connections.

    Step 5: Reconnect refrigerant lines and pressure-test for leaks.

    Step 6: Evacuate system, recharge refrigerant, restore power, and test operation.