Facebook Pixel

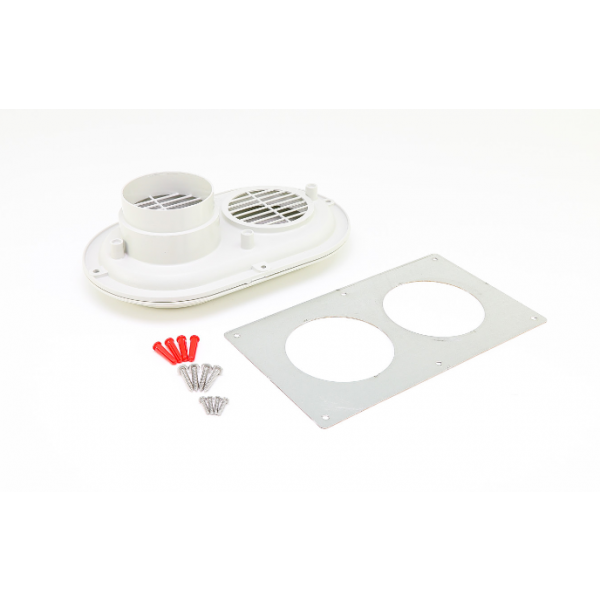
Lochinvar & A.O. Smith 100157611 4" Side Wall Vent Kit

Special Price $163.43 Regular Price $187.94
In stock
SKU
100157611
The Lochinvar & A.O. Smith 100157611 4″ Side Wall Vent Kit is a venting system that safely expels combustion products from the heaters and water heaters that use gas as their source of energy. It enables the gasses to be expelled to the outside environment thus meeting all requirements on indoor air quality as well as safety of operations. This kit usually includes a vent pipe, termination cap, and mounting brackets, which makes it easy to install through a sidewall. The vent pipe is made to be highly heat resistant and resistant to the corrosive gasses that will be passing through it.
https://www.partshnc.com/media/catalog/product/1/0/100157611_lochinvar--a.o.-smith_partshnc_1.png

Specifications

  • Type: Side Wall Vent Kit
  • Size: 4"
Manufacturer Name: Lochinvar & A.O. Smith
Product Number: 100157611
OEM Part Number: 100157611
Product Description: 4" Side Wall Vent Kit
Weight:3.91lbs/1773.54g

Choose the best HVAC equipment parts and supplies from PartsHnC!

  • Same Day Shipping

  • Best Quality And Best Price

  • Wide Range of Inventory

  • Best Customer Service

Have More Questions or Need Help to Place The Order?
Reach us at (866)773-0907 or [email protected]

Write Your Own Review
You're reviewing:Lochinvar & A.O. Smith 100157611 4" Side Wall Vent Kit
Your Rating
Customer Questions
What maintenance is required for the Lochinvar & A.O. Smith 100157611 Side Wall Vent Kit?

Inspect the vent kit regularly for corrosion, loose fittings, or seal deterioration. Ensure the vent path remains clear of debris, nests, or blockages to maintain proper exhaust flow. Check joints and gaskets for airtight integrity to prevent leaks. Regular inspection helps ensure better and efficient system operation.

What are common issues with the Lochinvar & A.O. Smith 100157611 Side Wall Vent Kit?

  • Blocked or restricted airflow due to debris buildup.
  • Corrosion or rust on vent components over time.
  • Loose connections causing exhaust leakage.
  • Improper sealing leading to efficiency loss or backdraft issues.

Installation Steps

Step 1: Turn off power and gas supply to the unit before installation.

Step 2: Select an exterior sidewall location that meets manufacturer clearance and local venting requirements.

Step 3: Cut the wall opening and install the vent pipe and termination components included in the kit.

Step 4: Secure all vent sections and mounting brackets, ensuring proper support and airtight connections.

Step 5: Maintain the required vent pitch for condensate drainage and safe exhaust flow.

Step 6: Restore utilities and verify proper venting, draft, and leak-free operation.