Facebook Pixel

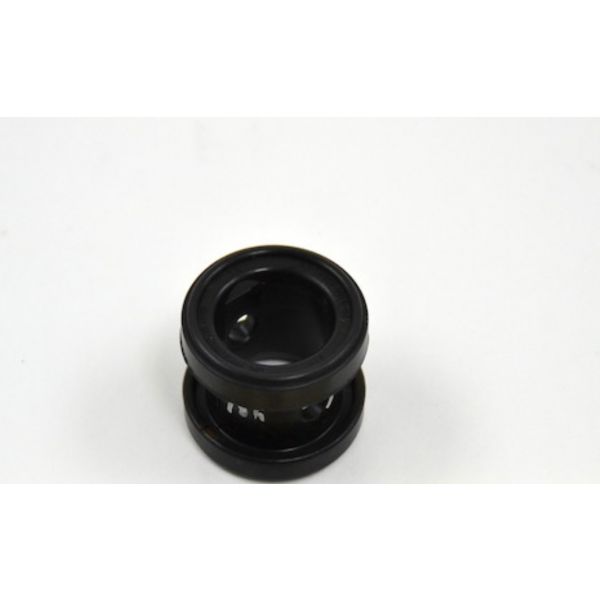
Bray Commercial 200100-92801561 1" EPDM Valve Seat

Special Price $14.74 Regular Price $19.16
In stock
SKU
200100-92801561
The Bray Commercial 200100-92801561 1" Valve Seat is a sealing element designed for butterfly valves to create a leak-resistant barrier between the valve disc and body during flow control. Its EPDM construction flexes against the disc surface as the valve closes, forming a tight sealing interface that restricts fluid bypass while allowing repeated opening and closing cycles. Inserted into the unit body assembly of butterfly valves in HVAC systems to the designated sealing surface for the valve closure path. This sealing arrangement supports dependable shutoff, minimizes internal leakage, maintains flow control accuracy, and preserves fluid containment throughout the element assembly.
https://www.partshnc.com/media/catalog/product/2/0/200100-92801561.jpg
Manufacturer Name: Bray Commercial
Product Number: 200100-92801561
OEM Part Number: 200100-92801561
Product Description: 1" Epdm Valve Seat
Weight:0.06lbs/27.22g

Choose the best HVAC equipment parts and supplies from PartsHnC!

  • Same Day Shipping

  • Best Quality And Best Price

  • Wide Range of Inventory

  • Best Customer Service

Have More Questions or Need Help to Place The Order?
Reach us at (866)773-0907 or [email protected]

Write Your Own Review
You're reviewing:Bray Commercial 200100-92801561 1" EPDM Valve Seat
Your Rating
Customer Questions
What maintenance is required for the Bray Commercial 200100-92801561 Valve Seat?

Inspect the EPDM valve seat regularly for damage, cracking, or deformation and clean debris buildup. Proper lubrication and correct installation pressure maintains sealing efficiency. Routine checks prevent leakage and ensure safe valve operation.

What are common issues with the Bray Commercial 200100-92801561 Valve Seat?

  • EPDM seat hardening or swelling due to chemical exposure.
  • Leakage from worn sealing surface.
  • Reduced flow control due to deformation.
  • Improper seating causing valve chatter.
  • Cracks from temperature or pressure extremes.

Installation Steps

Step 1: Isolate valve and depressurize system fully before starting.

Step 2: Disassemble valve and remove worn seat carefully.

Step 3: Clean sealing surfaces thoroughly to ensure proper fit.

Step 4: Install new valve seat aligned in correct orientation.

Step 5: Reassemble valve and tighten components evenly.

Step 6: Restore pressure gradually and check for leaks.