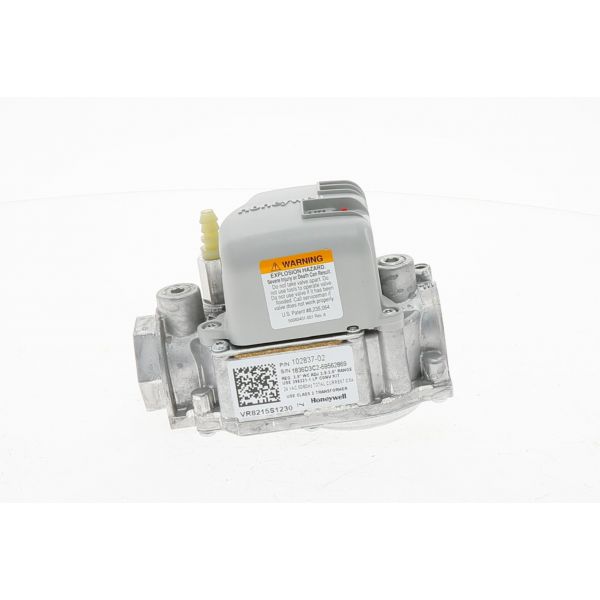
Lennox 74W26 Directign Gas Valve 1/2" 24V
Specifications
- Size: 1/2 Inch
- Voltage: 24V
- Frequency: 50/60Hz
- Type of Gas: Natural Gas
- Connection Type: NPT
- Measure: Unit
- Weight: 1.46 Lbs
Loyalty ProgramProduct Overview:
Provides controlled gas delivery for residential gas furnace and heating equipment. The LENNOX 74W26 Directing Gas Valve regulates fuel admission to the main burner according to the furnace's heating and ignition sequence. Its direct spark ignition configuration supports coordinated burner startup, while the 1/2" connection integrates the valve into the equipment's gas supply path. The valve operates as an electrically controlled fuel and safety shut-off component during heating cycles.
Gas Flow Control:
Regulates the passage of natural gas through the valve toward the burner circuit. The internal valve mechanism controls fuel admission according to the heating equipment's operating sequence, establishing the required gas-delivery condition during a call for heat.
Fuel Passage Control:
Controls the internal gas passage leading toward the main burner assembly. The valve establishes a controlled fuel path during burner operation and interrupts gas delivery when the heating sequence removes the required control command.
Replacement Guidelines:
Replacing the Directing Gas Valve is appropriate if it is damaged, malfunctioning, excessively worn, or otherwise deteriorated. Verify the LENNOX part number 74W26 and the complete furnace model number before replacement. Replace the valve if deterioration affects gas delivery, valve actuation, ignition coordination, sealing, or normal heating operation.
Common Failure Symptoms:
Equipment Compatibility:
The LENNOX 74W26 is intended for equipment that specifies part number 74W26. Verify the complete furnace model number and manufacturer's parts documentation before purchasing to help confirm the correct application.
Technical Specifications:
Brand: LENNOX
Part Number: 74W26
Product Type: Gas Valve
Step 1: Turn off gas supply and electrical power for safety.
Step 2: Remove old valve and clean mounting surface, inspect fittings and surrounding piping.
Step 3: Install new valve in correct flow direction, using proper sealant, hand-tighten securely.
Step 4: Connect wiring per diagram, ensure tight secure connections and proper grounding.
Step 5: Restore gas and power, check for leaks with approved solution, and test ignition operation.