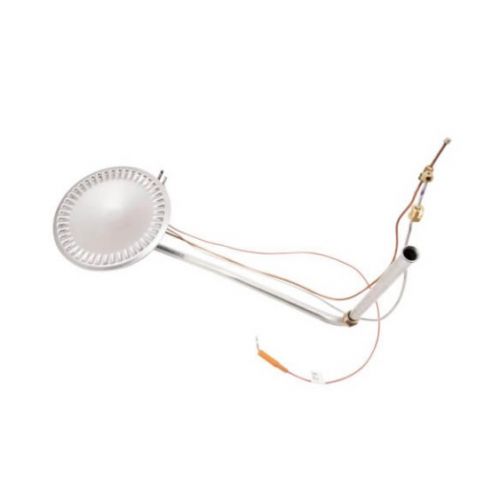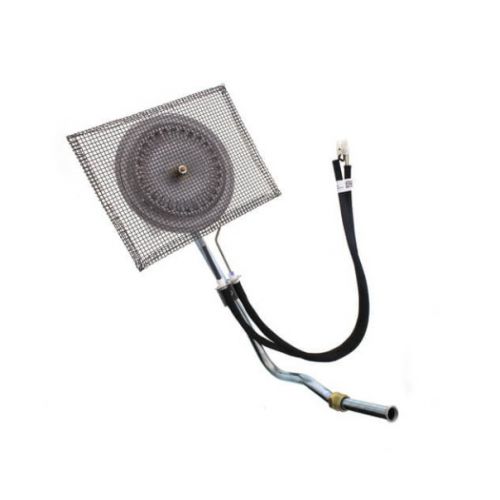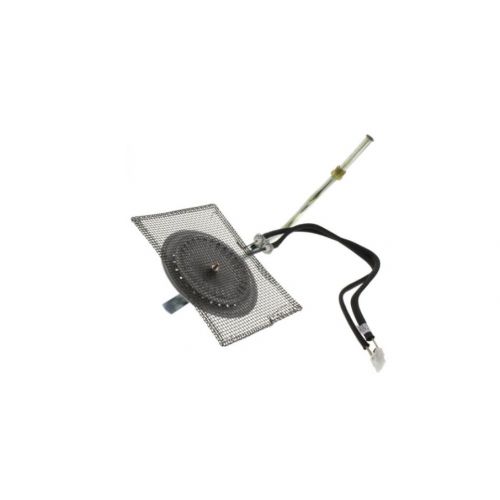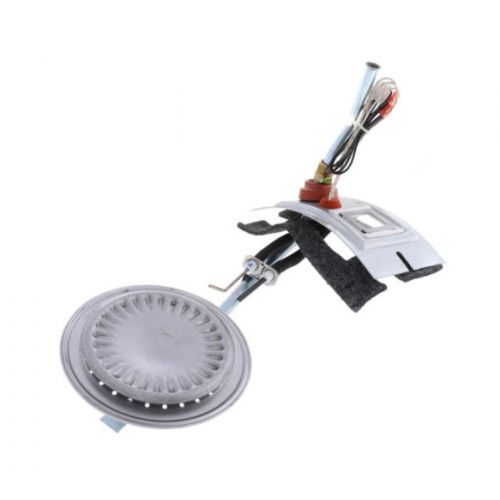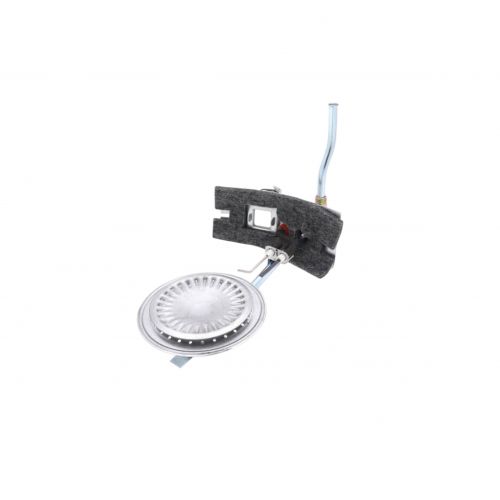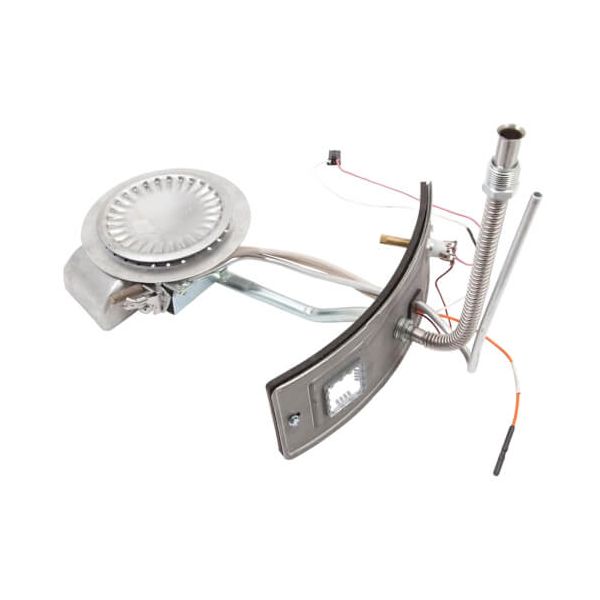
Lochinvar & A.O. Smith 100265719 Natural Gas Burner Assembly
Specifications
- Type: Burner Assembly
- Fuel Type: Natural Gas
Loyalty ProgramGas Distribution:
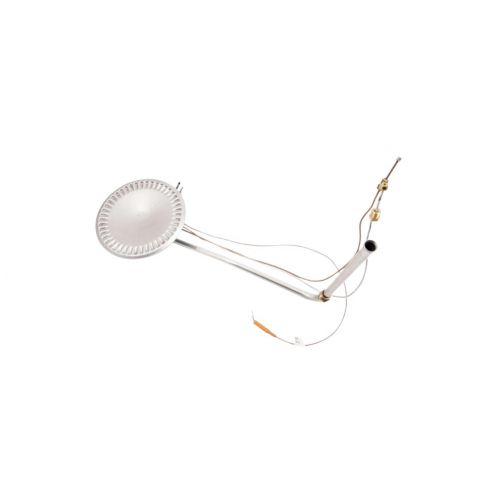
Travels through the internal pathway toward the burner’s distribution area. The passage arrangement maintains a defined route for the incoming natural gas and distributes the fuel across the internal portion of the burner assembly. Internal channels and connected passages help maintain an organized fuel pathway before the gas reaches the designated release locations. The distribution arrangement concerns fuel movement within the assembly and the way the incoming supply is directed across the internal gas pathway.
Burner Ports:
Individual openings serve as designated exit points for natural gas entering the combustion zone. Their spacing and placement establish multiple release locations across the burner surface, allowing fuel to emerge at defined points along the combustion area. The port arrangement creates the physical interface between the internal burner structure and the surrounding combustion space. Each opening contributes to the organized release pattern across the burner surface during operation.
Replacement Guidelines:
Replacement of the Lochinvar & A.O. Smith 100265719 Natural Gas Burner Assembly requires matching the burner assembly’s physical configuration, gas connection arrangement, burner design, and equipment requirements. The replacement should also suit the existing equipment and designated burner configuration.
Common Failure Symptoms:
Equipment Compatibility:
The Lochinvar & A.O. Smith 100265719 Natural Gas Burner Assembly is intended for compatible water-heating equipment requiring the corresponding natural-gas burner configuration. Verify the equipment model, burner arrangement, gas connection requirements, physical configuration, and manufacturer’s documentation before purchasing.
Technical Specifications:
Brand: Lochinvar & A.O. Smith
Part Number: 100265719
Product Type: Natural Gas Burner Assembly
Step1: Turn off gas and power to the boiler/water heater to prevent leaks or shock.
Step2: Remove access panels and disconnect gas line and wiring from the old burner assembly.
Step3: Unbolt and extract the old assembly, position the new burner assembly, and secure mounting.
Step4: Reconnect gas line and wiring per schematic, restore gas/power, check for leaks, and test safe ignition/operation.