Facebook Pixel

Venstar VST4800 7-Day 3H/2C Programmable Thermostat

Special Price $126.78 Regular Price $145.80
In stock
SKU
VST4800
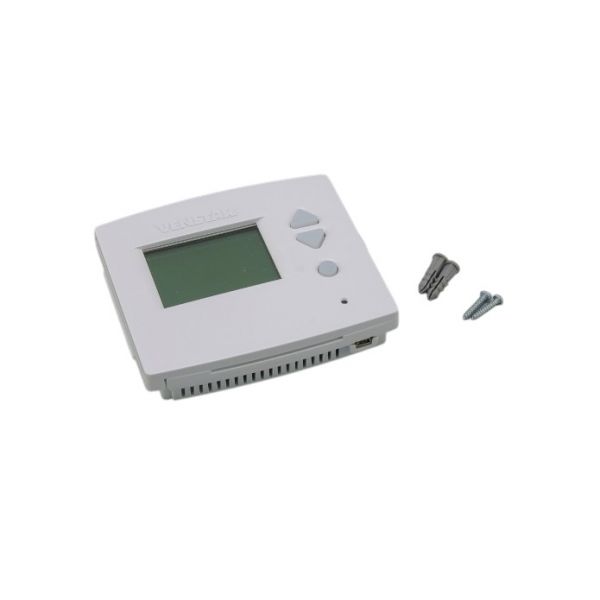
The Venstar VST4800 7-Day Programmable Thermostat enables HVAC systems temperature control through three heating stages and two cooling stages. The thermostat work for homes and businesses and enables users to personalize their schedules for maximum comfort and power conservation. Users can program this device through its intuitive interface which results in energy savings and perfect indoor climate maintenance. This thermostat functions with heat pumps and conventional systems to improve system performance and deliver dependable climate control for the entire week.
https://www.partshnc.com/media/catalog/product/v/s/vst4800.jpg
Manufacturer Name: Venstar
Product Number: VST4800
OEM Part Number: VST4800
Product Description: Venstar 7-Day 3H/2C Prog Tstat
Weight:0.68lbs/308.44g

Choose the best HVAC equipment parts and supplies from PartsHnC!

  • Same Day Shipping

  • Best Quality And Best Price

  • Wide Range of Inventory

  • Best Customer Service

Have More Questions or Need Help to Place The Order?
Reach us at (866)773-0907 or [email protected]

Write Your Own Review
You're reviewing:Venstar VST4800 7-Day 3H/2C Programmable Thermostat
Your Rating
Customer Questions
What maintenance is required for the Venstar VST4800 Programmable Thermostat?

Clean the thermostat regularly to remove dust from the display and buttons. Verify proper wiring connections, and ensure settings are correct. Regular maintenance supports accurate temperature control and operation.

What are common issues with the Venstar VST4800 Programmable Thermostat?

  • Incorrect temperature readings.
  • Display malfunction or screen blanking.
  • Difficulty programming schedules.
  • Intermittent or inconsistent HVAC system response.

Installation Steps

Step 1: Turn off power to your HVAC system at the breaker.

Step 2: Remove the old thermostat, labeling wires for correct reconnection.

Step 3: Mount the new thermostat on the wall using provided screws.

Step 4: Connect wires according to the labeled terminals and attach the thermostat display.

Step 5: Restore power and test heating/cooling functions.