Facebook Pixel

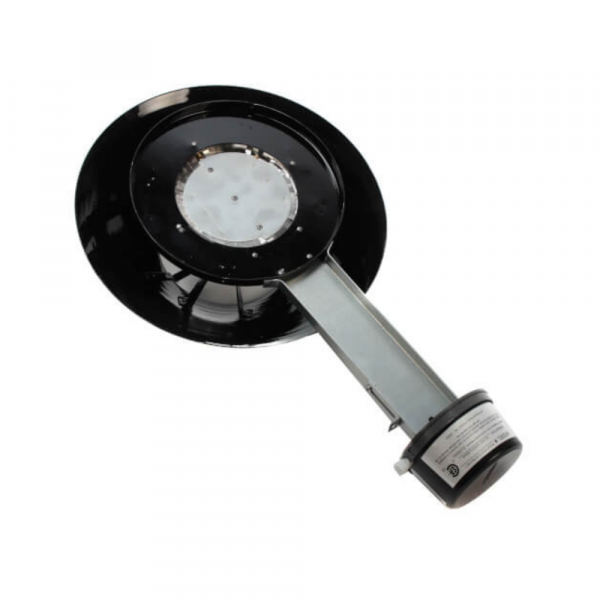
Rheem-Ruud AP13145-1 Vent Hood Damper Assembly

Special Price $694.86 Regular Price $771.30
Out of stock
SKU
AP13145-1
The Rheem-Ruud AP13145-1 Vent Hood Damper Assembly is an efficient way of achieving optimal air flow in the HVAC systems. This assembly is done using galvanized steel thus giving it the capacity to resist rusting for a long time. This maintains the levels of air flow accurately with help of vent hood by regulating the air flow through it. This helps in regulating the level of ventilation accurately in catering for the demand through the vent hood. It also runs to provide the exhaust air with a chance to be released outside when the HVAC is on and to avoid outside air from closing in when its off. This help in regulating the status of the quality of air and temperature and this is through stopping draught of air from outside.
Manufacturer:

https://www.partshnc.com/media/catalog/product/a/p/ap13145-1_rheem-ruud_partshnc.png

Specifications

  • Type: Vent Hood Damper Assembly
  • Weight: 7.18lbs
  • Material: Galvanized Steel
Manufacturer Name: Rheem-Ruud
Product Number: AP13145-1
OEM Part Number: AP13145-1
Product Description: Vent Hood Damper Assembly
Weight:7.18lbs/3256.79g

Choose the best HVAC equipment parts and supplies from PartsHnC!

  • Same Day Shipping

  • Best Quality And Best Price

  • Wide Range of Inventory

  • Best Customer Service

Have More Questions or Need Help to Place The Order?
Reach us at (866)773-0907 or [email protected]

Write Your Own Review
You're reviewing:Rheem-Ruud AP13145-1 Vent Hood Damper Assembly
Your Rating
Customer Questions
What maintenance is required for the Rheem-Ruud AP13145-1 Vent Hood Damper Assembly?

The vent hood damper assembly should be inspected for dust, corrosion, and smooth damper movement. Clean regularly to maintain airflow and prevent sticking. Light lubrication and tightening fittings ensures safe, efficient operation.

What are common issues with the Rheem-Ruud AP13145-1 Vent Hood Damper Assembly?

  • Damper sticking due to dust or grease buildup.
  • Corrosion on metal components affecting movement.
  • Restricted airflow from blockage.
  • Misaligned damper preventing proper closure.
  • Unusual noise or vibration during operation.
  • Broken or weakened spring mechanism.

Installation Steps

Step 1: Turn off HVAC system and disconnect electrical power at breaker to ensure safety.

Step 2: Carefully remove old damper assembly from vent hood housing.

Step 3: Clean mounting area and inspect duct for debris or damage.

Step 4: Align new damper assembly with vent opening and position correctly.

Step 5: Secure using provided screws, tighten firmly but avoid overtightening.

Step 6: Ensure damper flap moves freely without obstruction.

Step 7: Restore power and test airflow for proper operation.