Facebook Pixel

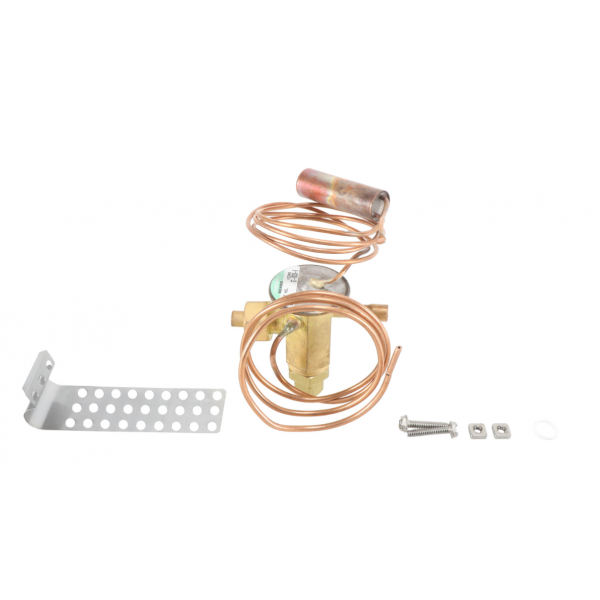
Trane VAL7558 5-Ton Thermal Expansion Valve (TXV) 36" Capillary

Special Price $238.00 Regular Price $264.18
In stock
SKU
VAL7558
The Trane VAL7558 5-Ton Thermal Expansion Valve (TXV) is Designed to optimize refrigerant flow in air conditioning and refrigeration systems. It uses a capillary tube of 36 inches in length to control the flow of the liquid refrigerant according to the evaporating temperature. This helps in achieving the better performance of the system and at the same time, it will have the right superheat. It can handle R-22, R-407C, and R-410A refrigerants and is suitable for several commercial and industrial uses. This valve helps to optimize system performance, use less energy, and increase reliability through proper measurement of refrigerant flow.
Manufacturer:

https://www.partshnc.com/media/catalog/product/v/a/val7558.png

Specifications

  • Type: Thermal Expansion Valve
  • Capacity: 5-Ton
  • Capillary Tube Length: 36"
  • Compatible Refrigerants: R-22, R-407C, R-410A
Write Your Own Review
You're reviewing:Trane VAL7558 5-Ton Thermal Expansion Valve (TXV) 36" Capillary
Your Rating
Customer Questions
What maintenance is required for the Trane VAL7558 Thermal Expansion Valve?

Regularly inspect the valve and capillary for leaks or damage. Keep surrounding areas free of debris to ensure proper refrigerant flow. Check system pressures and connections for secure fitting. Always follow safety protocols when handling pressurized HVAC components.

What are common issues with the Trane VAL7558 Thermal Expansion Valve?

  • Valve may stick or not open fully under load.
  • Uneven cooling due to inconsistent refrigerant flow.
  • Seepage at connections or seals.
  • Capillary tube bending or obstruction reducing system performance.

Installation Steps

Step 1: Turn off power to the HVAC system and close the refrigerant service valves.

Step 2: Recover refrigerant safely if replacing an existing valve.

Step 3: Remove the old TXV carefully, avoiding damage to the capillary tube.

Step 4: Install the new TXV in the correct orientation; secure with proper fittings.

Step 5: Reconnect the capillary tube without kinks or sharp bends.

Step 6: Evacuate and recharge the system according to manufacturer specs.

Step 7: Check for leaks and restore system power.