
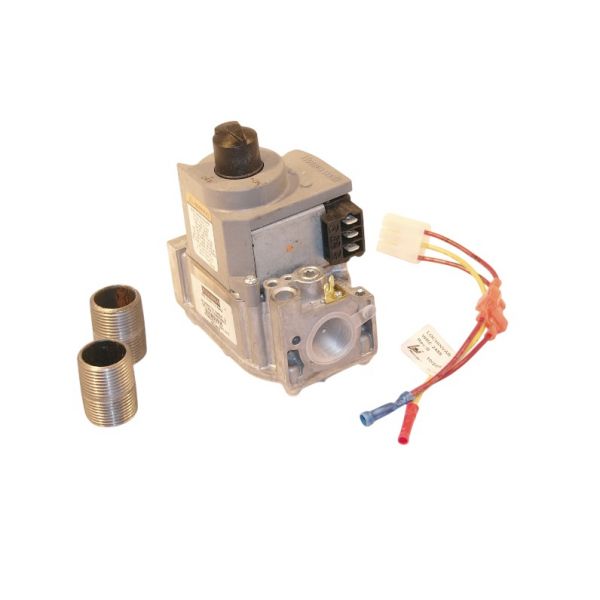
Lochinvar & A.O. Smith VAL3403 Gas Valve Assembly VR8303M4897 100172016
Special Price $248.09 Regular Price $275.38
In stock
SKU
VAL3403

The Lochinvar & A.O. Smith VAL3403 Gas Valve Assembly is a high-quality replacement part that will give safe and efficient control of the gas to the burner of HVAC systems. This valve is designed to fit select Lochinvar and A.O. Smith water heaters and boilers and enhances system efficiency and durability. It is accurately controlled to increase energy conservation, decrease the use of gas, and increase safety as it eliminates gas emission. Perfect for keeping heating smooth, this gas valve assembly is crucial for keeping equipment efficient and consistent in their performance.
Manufacturer:

Specifications
- Type: Gas Valve Assembly