
Facebook Pixel

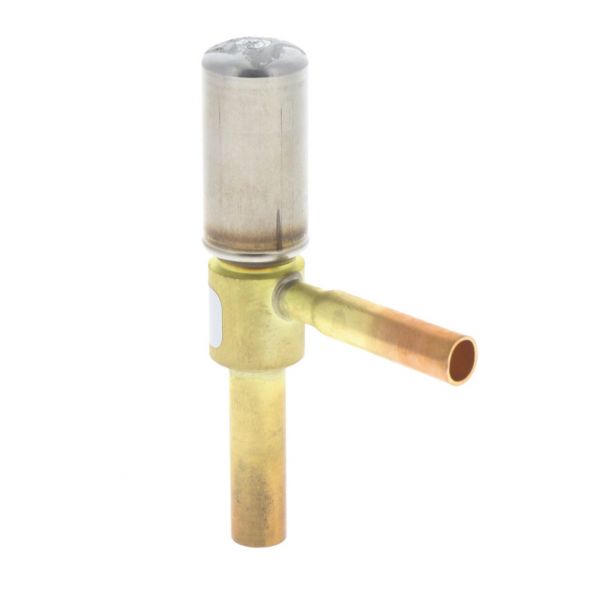
Trane VAL11153 Valve

Special Price $96.37 Regular Price $110.83
Out of stock
SKU
VAL11153
The Trane VAL11153 is an Electronic Expansion Valve designed for use in HVAC systems like refrigerators and air conditioners. It controls the refrigerant flow inside the system carefully. Sensors are used to track refrigerator pressure and temperature. Using this information, the valve then electrically changes the opening. If it gets too cold, it prevents the evaporator coil from getting too cold, which helps prevent ice buildup, which lowers efficiency. Its pressure rating of 650 PSI guarantees dependability, and its small size 12" long makes it compatible with all types of Trane HVAC equipment.
Manufacturer:

https://www.partshnc.com/media/catalog/product/v/a/val11153.jpg

Specifications

  • Length: 12"
  • Inlet Size: 0.3126"
  • Outlet Size: 0.375"
  • Type: Valve
  • Pressure Rating: 650 PSI
  • Weight: 0.58lbs
Manufacturer Name: Trane
Product Number: VAL11153
OEM Part Number: VAL11153
Product Description: Valve
Weight:0.58lbs/263.08g

Choose the best HVAC equipment parts and supplies from PartsHnC!

  • Same Day Shipping

  • Best Quality And Best Price

  • Wide Range of Inventory

  • Best Customer Service

Have More Questions or Need Help to Place The Order?
Reach us at (866)773-0907 or [email protected]

Write Your Own Review
You're reviewing:Trane VAL11153 Valve
Your Rating
Customer Questions
What maintenance is required for the Trane VAL11153 Valve?

Regularly inspect the valve for leaks, corrosion, or physical damage. Ensure all connections are tight and secure. Check for smooth operation during opening and closing cycles. Follow safety procedures and isolate the system pressure before performing any maintenance operation.

What are common issues with the Trane VAL11153 Valve?

  • Leakage from seals or connections.
  • Valve sticking or restricted movement.
  • Wear or damage to internal components.
  • Inconsistent flow control or pressure regulation.

Installation Steps

Step 1: Shut off power and isolate system, completely relieve pressure for safety.

Step 2: Drain line and confirm valve orientation and compatibility carefully before proceeding.

Step 3: Remove old valve, clean pipe threads thoroughly to ensure proper sealing.

Step 4: Apply sealant, install valve aligned with flow direction as marked.

Step 5: Tighten fittings, avoid over-torquing connections to prevent damage.

Step 6: Restore system, check for leaks, and test operation carefully. Wear protective gear.