Facebook Pixel

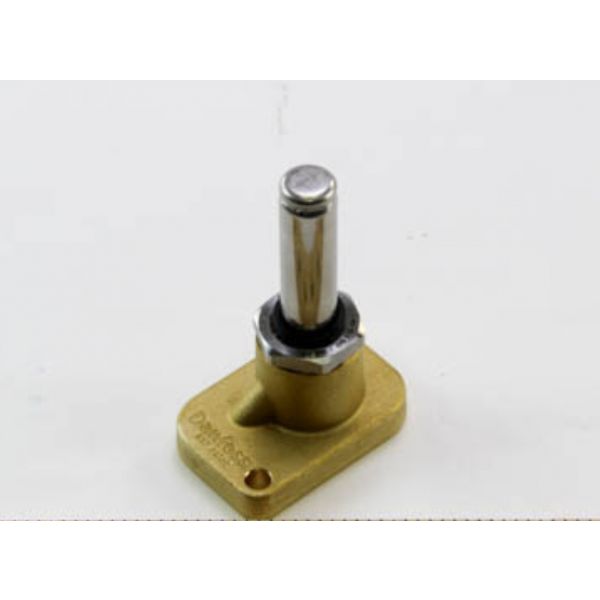
Trane VAL10643 Valve Solenoid 3-Way Coil

Special Price $224.54 Regular Price $249.24
In stock
SKU
VAL10643
Trane VAL10643 Valve Solenoid Coil is a part of the Trane HVAC equipment, especially in screw chiller type RTAC, RTAD, RTAF and RTWD/RTUD. It operates as an electromagnetic switch controlling the circulation of refrigerant in the entire system. When the coil is supplied with 110 volts, it in turn energizes a plunger within the valve. This plunger then regulates certain passages, so that the refrigerant can only pass through certain paths. This fine control of the refrigerant flow is critical to the proper functioning of chillers and to achieving the right temperature in your building. This valve solenoid coil can often be made of strong stuff that makes its service time quite long.
https://www.partshnc.com/media/catalog/product/v/a/val10643.jpg

Specifications

  • Length: 2"
  • Width: 1.6"
  • Height: 3.5"
  • Weight: 0.97lbs
  • Voltage: 110 V
  • Size: 3/8"
Manufacturer Name: Trane
Product Number: VAL10643
OEM Part Number: VAL10643
Product Description: 3Way Solenoid Valve Lesscoil
Weight:0.97lbs/439.98g

Choose the best HVAC equipment parts and supplies from PartsHnC!

  • Same Day Shipping

  • Best Quality And Best Price

  • Wide Range of Inventory

  • Best Customer Service

Have More Questions or Need Help to Place The Order?
Reach us at (866)773-0907 or [email protected]

Write Your Own Review
You're reviewing:Trane VAL10643 Valve Solenoid 3-Way Coil
Your Rating
Customer Questions
What maintenance is required for the Trane VAL10643 Solenoid Valve?

Regularly inspect the solenoid valve for debris, wear, or damage that may affect operation. Check electrical connections for tightness and corrosion. Verify proper valve actuation and response. Always disconnect power before servicing to ensure safe handling and prevent electrical hazards.

What are common issues with the Trane VAL10643 Solenoid Valve?

  • Coil overheating or electrical failure.
  • Valve failing to open or close properly.
  • Delayed or inconsistent actuation response.
  • Debris causing internal blockage or sticking.

Installation Steps

Step 1: Shut off power and isolate system; depressurize before starting.

Step 2: Remove old valve noting flow direction and wiring connections.

Step 3: Mount valve aligned with flow arrow, use compatible fittings and sealant.

Step 4: Connect electrical leads per wiring diagram; ensure insulation and grounding.

Step 5: Restore pressure check for leaks test valve operation.