Facebook Pixel

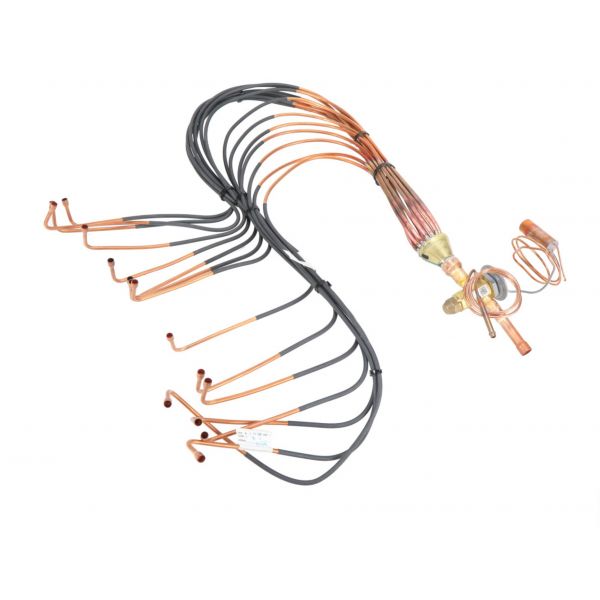
Trane VAL10600 Thermal Expansion Valve Assembly

Special Price $1,413.75 Regular Price $1,569.26
In stock
SKU
VAL10600
The Trane VAL10600 Thermal Expansion Valve is an essential part of refrigeration and air conditioning systems. This thermal expansion valve assembly adjusts the flow of refrigerant to the evaporator to ensure efficient cooling was performed. It worked by detecting the evaporator temperature and pursuing the appropriate flow rate of the refrigerant. This dynamic control optimizes the cooling thus reducing energy consumption while protecting the system. This applied in chillers, air conditioners and refrigeration equipment. Some of the benefits which can be attributed to the use of the system include, increased energy efficiency, increased system reliability and increased cooling capacity.
Manufacturer:

https://www.partshnc.com/media/catalog/product/v/a/val10600.jpg

Specifications

  • Type: Thermal Expansion Valve Assembly
    Write Your Own Review
    You're reviewing:Trane VAL10600 Thermal Expansion Valve Assembly
    Your Rating
    Customer Questions
    What maintenance is required for the Trane VAL10600 Thermal Expansion Valve Assembly?

    Regularly inspect for leaks, corrosion, and proper seating of the valve. Ensure surrounding piping is clean and free of debris to maintain proper refrigerant flow. Check system pressures for correct operation. Always follow safety precautions when working with pressurized systems.

    What are common issues with the Trane VAL10600 Thermal Expansion Valve Assembly?

    • Valve sticking or failing to open/close properly.
    • Improper refrigerant flow leading to cooling inefficiency.
    • Leaks around connections or seals.
    • Erratic temperature control in the system.

    Installation Steps

    Step 1: Turn off power and recover refrigerant from the system to ensure safety.

    Step 2: Remove the existing TXV assembly carefully, noting inlet and outlet connections.

    Step 3: Clean the piping and valve seat area to remove debris or corrosion.

    Step 4: Install the new TXV assembly in the correct orientation and secure all fittings.

    Step 5: Evacuate and recharge the system with refrigerant according to manufacturer specifications.

    Step 6: Restore power and test the system for proper superheat and operation.