Facebook Pixel

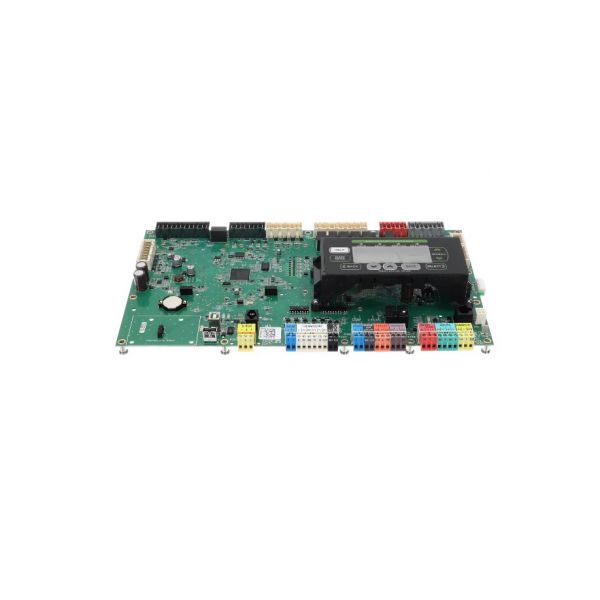
Lennox 14V60 Unit Controller M3

Special Price $1,197.09 Regular Price $2,032.95
In stock
SKU
14V60
The Lennox 14V60 is a Unit Controller M3, used as a replacement part for Prodigy HVAC systems only. It is the control center of the heating and cooling system and it controls temperature and air circulation within the house. This makes certain system runs optimally and keeps the home environment as comfortable as possible. The unit controller is designed for connection to 12/24VAC or 12VDC power supply.If the Prodigy HVAC system is not working properly, may fix it by replacing a unit controller.
https://www.partshnc.com/media/catalog/product/1/4/14v60.jpg

Specifications

  • Measure: Units
  • Type: M3 Unit Controller Replacement Kit
  • Family: Prodigy
  • Voltage: 12/24VAC, 12VDC
  • Size: 15.75 x 9.45 x 2.75 Inch
  • Weight: 2.86lbs
Manufacturer Name: Lennox
Product Number: 14V60
OEM Part Number: 14V60
Product Description: Unit Controller M3
Weight:2.86lbs/1297.27g

Choose the best HVAC equipment parts and supplies from PartsHnC!

  • Same Day Shipping

  • Best Quality And Best Price

  • Wide Range of Inventory

  • Best Customer Service

Have More Questions or Need Help to Place The Order?
Reach us at (866)773-0907 or [email protected]

Write Your Own Review
You're reviewing:Lennox 14V60 Unit Controller M3
Your Rating
Customer Questions
What maintenance is required for the Lennox 14V60 Unit Controller?

Inspect the unit controller regularly for dust buildup and loose electrical connections. Clean terminals carefully to ensure accurate performance. Regular maintenance prevents control failures and system downtime while ensuring safe HVAC operation.

What are common issues with the Lennox 14V60 Unit Controller?

  • Communication failure between controller and HVAC unit.
  • Intermittent system shutdowns due to faulty wiring.
  • Sensor misreadings causing incorrect temperature control.
  • Relay or board malfunction leading to unresponsive operation.
  • Power supply fluctuations affecting consistent performance.

Installation Steps

Step 1: Disconnect all power to HVAC system before installation to prevent electrical shock.

Step 2: Mount controller in a dry accessible panel location.

Step 3: Wire according to schematic and terminal labels carefully.

Step 4: Connect sensors and communication lines securely as per manual.

Step 5: Configure switches or software settings as required for correct operation.

Step 6: Restore power and check indicator LEDs verify signals.

Step 7: Test full system operation for proper control ensure stable control loop all checks.