Facebook Pixel

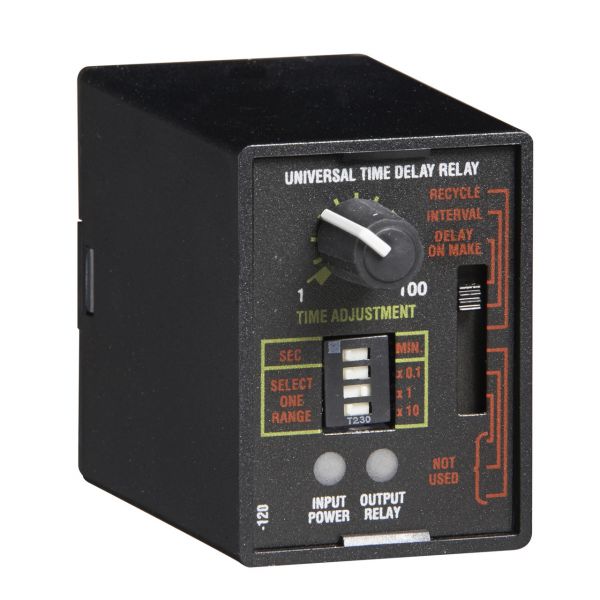
Littelfuse TRU2 Universal Time Delay Relay

Special Price $130.19 Regular Price $149.72
In stock
SKU
TRU2
The Littelfuse TRU2 Universal Time Delay Relay functions as a multi-purpose part that enables HVAC system applications to manage essential timing functions. Six adjustable timing functions on this part can be selected through a slide switch for delays ranging from 0.1 seconds to 1000 minutes. This relay accepts any input voltage within 19 to 264 VAC and 19 to 30 VDC to generate a dependable output of 10A. The part offers adaptability which enables its use to manage compressors and fans in HVAC systems. The part offers accurate timing precision of ±0.1% together with simple setup and replacement capabilities for multiple competitor models which improves HVAC system operation and efficiency.
https://www.partshnc.com/media/catalog/product/t/r/tru2_littelfuse_partshnc.jpg

Specifications

  • Type: Universal Time Delay Relay
  • Operating voltage: 19-264 VAC
Manufacturer Name: Littelfuse
Product Number: TRU2
OEM Part Number: TRU2
Product Description: Universal Time Delay Relay
Weight:0.38lbs/172.36g

Choose the best HVAC equipment parts and supplies from PartsHnC!

  • Same Day Shipping

  • Best Quality And Best Price

  • Wide Range of Inventory

  • Best Customer Service

Have More Questions or Need Help to Place The Order?
Reach us at (866)773-0907 or [email protected]

Write Your Own Review
You're reviewing:Littelfuse TRU2 Universal Time Delay Relay
Your Rating
Customer Questions
What maintenance is required for the Littelfuse TRU2 Universal Time Delay Relay?

Keep terminals tight and free of corrosion. Regularly inspect wiring and enclosure for dust or moisture. Periodically test timing accuracy and operation to ensure accuracy. Ensure safe isolation before servicing.

What are common issues with the Littelfuse TRU2 Universal Time Delay Relay?

  • Inaccurate timing delay drift.
  • Relay fails to energize or de-energize.
  • Intermittent output switching.
  • Overheating during operation.
  • Loose or incorrect wiring connections.
  • Power supply instability issues.

Installation Steps

Step 1: Switch off main power and verify zero voltage for safety before starting installation.

Step 2: Mount the relay securely on din rail or panel enclosure.

Step 3: Connect supply terminals as per wiring diagram and specifications.

Step 4: Wire control input and output contacts correctly as per label.

Step 5: Set desired delay time using adjustment knob or dip switches carefully.

Step 6: Inspect all connections, then restore power and test operation safely.