Facebook Pixel

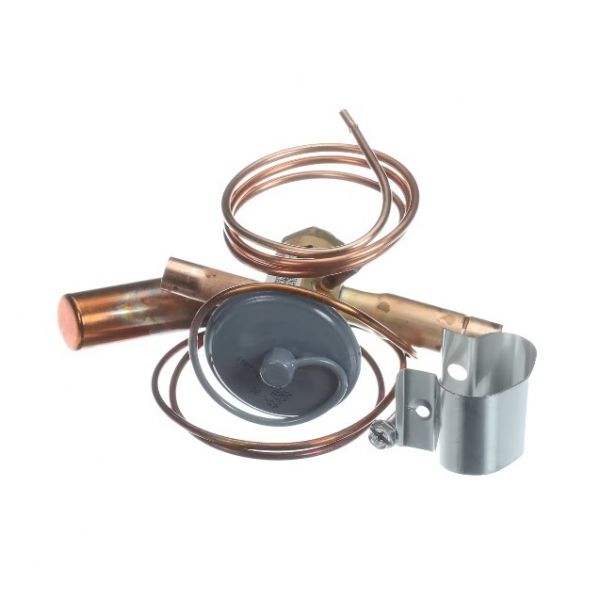
Trane VAL11520 3 Ton Expansion Valve 0.375" ODF Inlet 0.50" ODF Outlet

Special Price $136.79 Regular Price $191.95
In stock
SKU
VAL11520
The Trane VAL11520 Expansion Valve 0.375" ODF Inlet is a refrigerant flow control component that measure the amount of liquid refrigerant entering the evaporator to match changing cooling demands. It automatically respond to variations in evaporator outlet temperature, regulating output to maintain proper superheat and support efficient system operation. Designed for 3-ton applications, it features a 0.375-inch ODF inlet connection for compatibility with designated refrigerant line assemblies. Commonly installed in split systems, packaged equipment, and HVAC systems, it supports stable refrigerant circulation and effective heat transfer. Controlled refrigerant metering improves cooling consistency, supports the compressor and maintains dependable performance under varying load conditions.
Manufacturer:

https://www.partshnc.com/media/catalog/product/v/a/val11520.jpg
Write Your Own Review
You're reviewing:Trane VAL11520 3 Ton Expansion Valve 0.375" ODF Inlet 0.50" ODF Outlet
Your Rating
Customer Questions
What maintenance is required for the Trane VAL11520 Expansion Valve?

Regularly inspect the valve for leaks, debris, or corrosion. Clean the inlet and outlet connections carefully and check for proper refrigerant flow. Proper maintenance ensures efficient cooling performance and prevents system pressure issues. Always follow safety precautions when handling refrigerants.

What are common issues with the Trane VAL11520 Expansion Valve?

  • Refrigerant flow restrictions.
  • Leaks at connections or seals.
  • Inconsistent cooling or temperature swings.
  • Valve sticking or slow response.

Installation Steps

Step 1: Turn off power to the HVAC system to prevent injury.

Step 2: Recover refrigerant safely following EPA guidelines.

Step 3: Remove the old expansion valve by disconnecting inlet and outlet lines.

Step 4: Install the new valve, ensuring the inlet is correctly aligned.

Step 5: Solder or secure connections per manufacturer instructions.

Step 6: Evacuate the system and recharge with the correct refrigerant.

Step 7: Restore power and test for proper cooling operation.