
Facebook Pixel

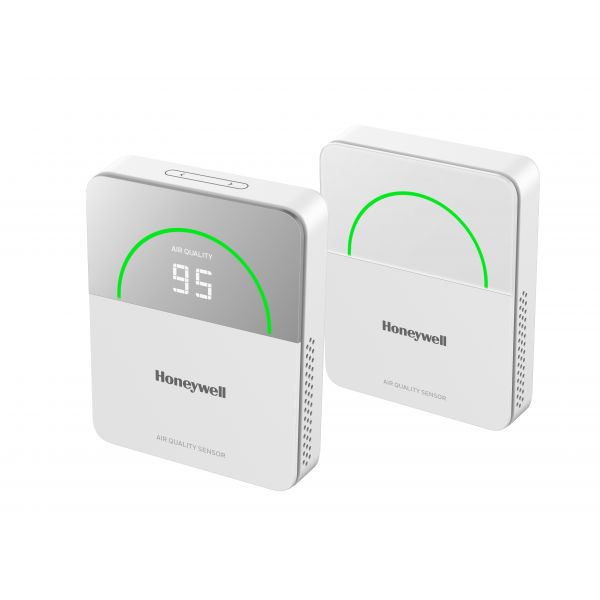
Honeywell TR50-5N Temperature Humidity & CO2 IAQ Configurable Sensor

Special Price $549.45 Regular Price $609.88
In stock
SKU
TR50-5N
The Honeywell TR50-5N sensor can be used to monitor indoor air quality measuring temperature, Relative humidity, and Carbon dioxide levels. This compact and configurable sensor used in advanced sensing technology to deliver real-time data on these necessary environmental parameters. Fine temperature and humidity readings are essential to the fine-tuning of the HVAC system. Keeping better indoor air quality means maintaining accurate India air CO2 monitoring because high India air CO2 could result in reduced cognitive function and headaches plus fatigue. The TR50-5N is fully integrated with building management systems and other control systems, allowing real-time data analysis, automated control adjustments, and proactive maintenance.
https://www.partshnc.com/media/catalog/product/T/R/TR50-5N_Honeywell_PartsHNC.jpg

Specifications

  • Type: Sensor
  • Sensor Types: Temperature, Humidity
Manufacturer Name: Honeywell
Product Number: TR50-5N
OEM Part Number: TR50-5N
Product Description: Temphumidco2 Iaqconfsensor
Weight:0.51lbs/231.33g

Choose the best HVAC equipment parts and supplies from PartsHnC!

  • Same Day Shipping

  • Best Quality And Best Price

  • Wide Range of Inventory

  • Best Customer Service

Have More Questions or Need Help to Place The Order?
Reach us at (866)773-0907 or [email protected]

Write Your Own Review
You're reviewing:Honeywell TR50-5N Temperature Humidity & CO2 IAQ Configurable Sensor
Your Rating
Customer Questions
What maintenance is required for the Honeywell TR50-5N Sensor?

Regularly inspect the sensor for dust and debris, gently clean with a soft cloth, and ensure it is not exposed to excessive moisture. Proper maintenance ensures accurate readings and prevents sensor drift. Handle with care to avoid damaging sensitive components.

What are common issues with the Honeywell TR50-5N Sensor?

  • Inaccurate humidity or CO2 readings.
  • Sensor drift over time.
  • Connectivity or calibration errors.
  • Communication failure with control systems.

Installation Steps

Step 1: Turn off power at HVAC system and verify safe voltage before installation.

Step 2: Mount sensor on interior wall away from vents, windows, and direct sunlight using bracket.

Step 3: Connect power and communication wiring per diagram, matching terminals correctly.

Step 4: Secure terminals, organize wiring, and ensure no strain or exposed conductors.

Step 5: Restore power, wait stabilization period, and verify readings and status indicator.