Facebook Pixel

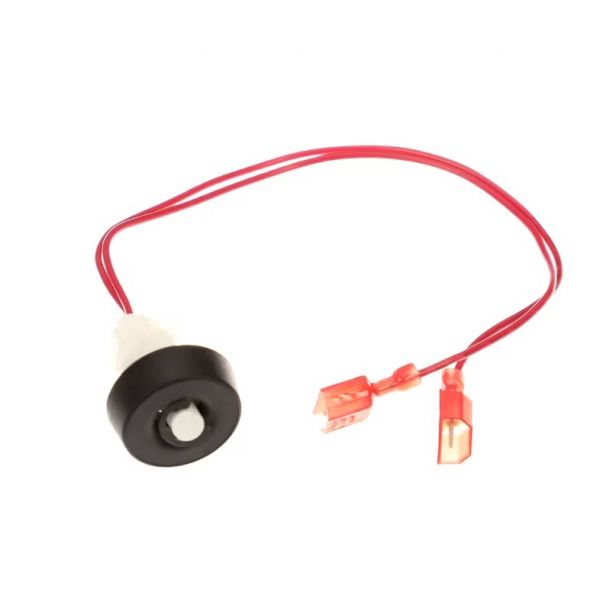
Trane SWT2326 SPST N/C Low Level Float Switch

Special Price $170.20 Regular Price $195.73
In stock
SKU
SWT2326
The Trane SWT2326 SPST N/C Low-Level Float Switch is a small but essential part of the Trane condensate pans or drain lines. As a liquid level indicator, the switch is ‘normally closed’, that is, it makes an electrical circuit when in its dry state. In the pan or drain line, when the liquid level goes up and crosses a particularly low level, the float within the switch causes a mechanism that opens the circuit. This usual break in the electrical flow may communicate instructions to the HVAC system to turn off, to prevent future overflows and water damage. This Float Switch is an essential component of an HVAC system that helps protect it from water damage and helps it run safely.
https://www.partshnc.com/media/catalog/product/s/w/swt2326.jpg

Specifications

  • Length: 3.5"
  • Weight: 0.03lbs
  • Voltage: 24 V
Manufacturer Name: Trane
Product Number: SWT2326
OEM Part Number: SWT2326
Product Description: Spst N/C Low Level Float Swtch
Weight:0.03lbs/13.61g

Choose the best HVAC equipment parts and supplies from PartsHnC!

  • Same Day Shipping

  • Best Quality And Best Price

  • Wide Range of Inventory

  • Best Customer Service

Have More Questions or Need Help to Place The Order?
Reach us at (866)773-0907 or [email protected]

Write Your Own Review
You're reviewing:Trane SWT2326 SPST N/C Low Level Float Switch
Your Rating
Customer Questions
What maintenance is required for the Trane SWT2326 Low Level Float Switch?

Inspect the float switch regularly for debris buildup and clean the float mechanism to ensure smooth movement. This prevents sticking or false readings. Check wiring connections for corrosion and tightness. Always disconnect power before servicing to ensure safety.

What are common issues with the Trane SWT2326 Low Level Float Switch?

  • Float sticking due to sediment buildup.
  • Intermittent switching or signal loss.
  • Wiring corrosion causing connectivity faults.
  • False low level readings.
  • Mechanical wear of float arm.
  • Switch contact failure over time.

Installation Steps

Step 1: Turn off power and isolate the system.

Step 2: Select mounting point at desired low liquid level.

Step 3: Secure float switch using bracket or threaded fitting.

Step 4: Ensure float moves freely without obstruction.

Step 5: Connect wiring to terminals per diagram.

Step 6: Seal connections to prevent moisture ingress.

Step 7: Restore power and test operation safely.