Facebook Pixel

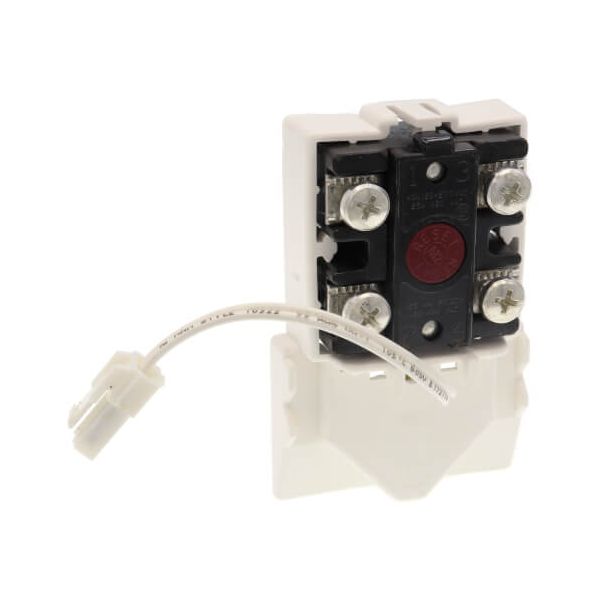
Rheem-Ruud SP15100 ECO Top Thermistor Assembly

Special Price $42.69 Regular Price $49.95
In stock
SKU
SP15100
The Rheem-Ruud SP15100 Eco Thermistor Assembly is required for fine-tuning Rheem and Ruud water heaters with the Plus One Management System. It is compact in size with the dimensions of 5.35"x4.65"x1.5”, thus being easy to install and fit in many water heater models. The core of this assembly is a thermistor, used to measure and control water temperature in the tank. The Eco Thermistor Assembly allows the water heater’s control system to accurately measure the water temperature and make intelligent decisions to provide energy efficient hot water as needed. Since it is able to measure the water temperature correctly, it therefore helps in reducing a lot of energy. It avoids unrequired heating and cooling cycles which in turn saves electricity or gas.
https://www.partshnc.com/media/catalog/product/s/p/sp15100_rheem-ruud_partshnc.jpg

Specifications

  • Weight: 0.19lbs
  • Type: Eco Thermistor Assembly
  • Dimensions: 5.35" x 4.65" x 1.5"
Manufacturer Name: Rheem-Ruud
Product Number: SP15100
OEM Part Number: SP15100
Product Description: Eco Thermistor Assembly (Top)
Weight:0.19lbs/86.18g

Choose the best HVAC equipment parts and supplies from PartsHnC!

  • Same Day Shipping

  • Best Quality And Best Price

  • Wide Range of Inventory

  • Best Customer Service

Have More Questions or Need Help to Place The Order?
Reach us at (866)773-0907 or [email protected]

Write Your Own Review
You're reviewing:Rheem-Ruud SP15100 ECO Top Thermistor Assembly
Your Rating
Customer Questions
What maintenance is required for the Rheem-Ruud SP15100 Top Thermistor Assembly?

Turn off power to the system before inspection. Check wiring connections for tightness and corrosion. Keep the thermistor sensor clean and free from scale buildup. Regular checks help ensure accurate temperature readings and safe system operation.

What are common issues with the Rheem-Ruud SP15100 Top Thermistor Assembly?

  • Inaccurate or fluctuating temperature readings.
  • Intermittent or complete signal loss.
  • Corroded or damaged terminals.
  • Loose or faulty wiring connections.
  • Thermistor sensor failure.

Installation Steps

Step 1: Turn off power to the system and shut off water supply if required.

Step 2: Remove the access panel and locate the existing top thermistor sensor.

Step 3: Disconnect the wiring harness carefully, noting terminal positions.

Step 4: Remove the old thermistor assembly from its mounting bracket.

Step 5: Install the new thermistor assembly and reconnect wiring securely.

Step 6: Restore power, check temperature sensing accuracy, and confirm normal heating operation.