
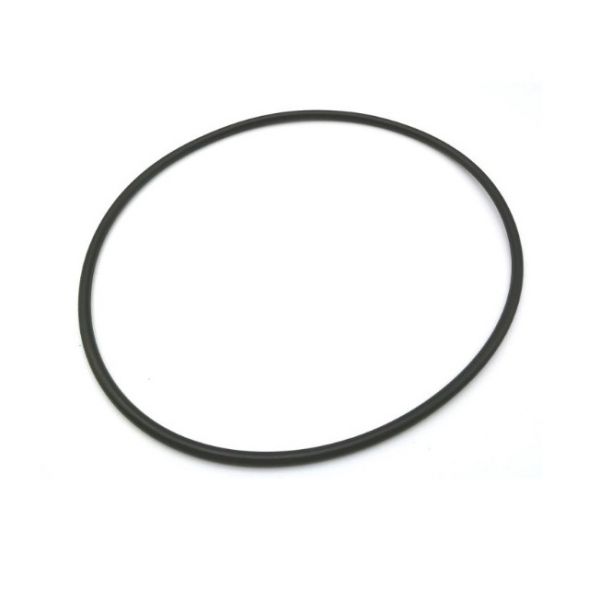
Neptronic SP1008 Gasket
Special Price $64.03 Regular Price $73.63
In stock
SKU
SP1008

Neptronic SP1008 Gasket is a high-quality sealing part intended for HVAC systems. It is made of high-quality materials that provide better contact between two surfaces and there is no leakage of air or fluids. Mainly installed in air handling units, chillers and ductwork this gasket ensures that there is an efficient flow and pressure of air in the system. It also assists in the reduction of noise and vibration. This gasket is easy to install, damage-resistant and can be used in a wide range of temperature conditions to provide long-term use and improve the reliability of the system.
Manufacturer:

Specifications
- Type: Gasket