
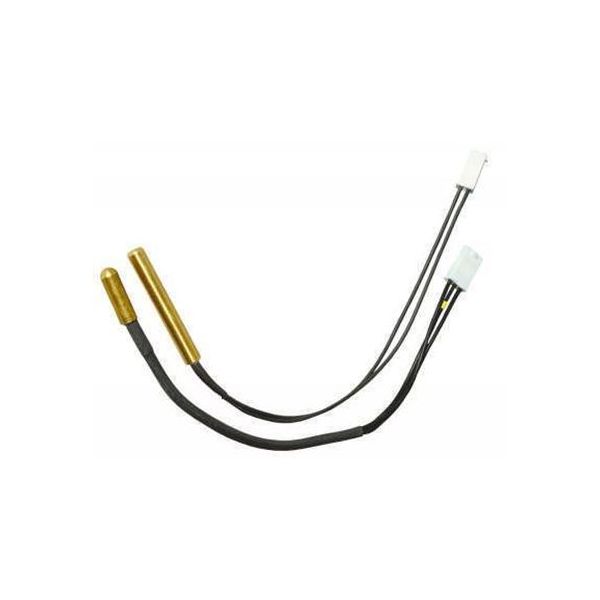
Honeywell 32003971-003 Single Element Sensor Assembly 42"
Special Price $47.87 Regular Price $62.23
In stock
SKU
32003971-003

The Honeywell 32003971-003 Single Element Sensor Assembly that measures 42 inches and is used in different HVAC systems. This sensor assembly is essential in the management of environmental conditions within the HVAC system. The basic operating Concept is to measure a change in a particular parameter, for instance, temperature or moisture, and convert that change into a signal that is understandable to the HVAC control unit. It helps to adjust the environment of the system to the required level of temperature, light, moisture etc, whenever it is needed. Advantages of this sensor assembly include increased performance of the system, reduced energy consumption, and comfort.
Manufacturer:

Specifications
- Type: Single Element Sensor Assembly
- Length: 42"