Facebook Pixel

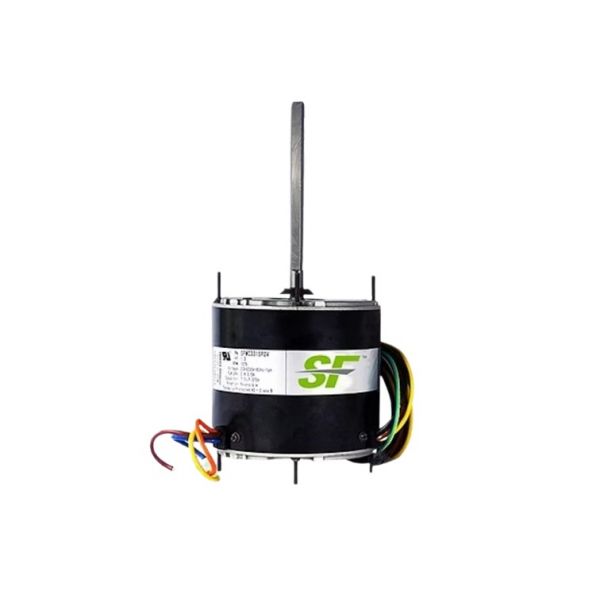
Trane SFMC331SP2V 1/3HP Condenser Fan Motor 1075 RPM 208-230V

Special Price $162.29 Regular Price $186.63
In stock
SKU
SFMC331SP2V
The Trane SFMC331SP2V 1/3HP Condenser Fan Motor is one of the mechanical solutions necessary for effective operation of an air conditioning and refrigeration equipment. This condenser fan motor, made for this purpose, is an essential in circulating air across the condenser coils. It thus helps to maintain the better system performance and also increases the longevity of the equipment by reducing the rate of heat build up. This 1/3 HP motor runs at 1075 RPM with power supply of 208-230V giving consistent and reliable airflow, which in turn results in increased system efficiency, less energy consumption and better system performance
Manufacturer:

https://www.partshnc.com/media/catalog/product/s/f/sfmc331sp2v.jpg

Specifications

  • Type: Condenser Fan Motor
  • Horsepower: 1/3HP
  • RPM: 1075
  • Voltage: 208-230V
Write Your Own Review
You're reviewing:Trane SFMC331SP2V 1/3HP Condenser Fan Motor 1075 RPM 208-230V
Your Rating
Customer Questions
What maintenance is required for the Trane SFMC331SP2V Fan Motor?

Regularly inspect the motor for dust, dirt buildup, and signs of wear. Keep the fan blades and housing clean to maintain proper airflow. Check wiring connections for safety and damage. Always turn off power before performing any maintenance to prevent electrical hazards.

What are common issues with the Trane SFMC331SP2V Fan Motor?

  • Motor fails to start or starts intermittently.
  • Overheating during operation.
  • Grinding or rattling noises.
  • Reduced or inconsistent fan speed.
  • Faulty capacitor or loose electrical connections.

Installation Steps

Step 1: Turn off power to the condenser unit at the breaker.

Step 2: Remove the fan blade and access panel to reach the existing motor.

Step 3: Disconnect wiring and remove mounting bolts to take out the old motor.

Step 4: Mount the new motor securely and reattach the fan blade.

Step 5: Connect electrical wires according to voltage and phase requirements.

Step 6: Restore power and test the fan for proper rotation and operation.