Facebook Pixel

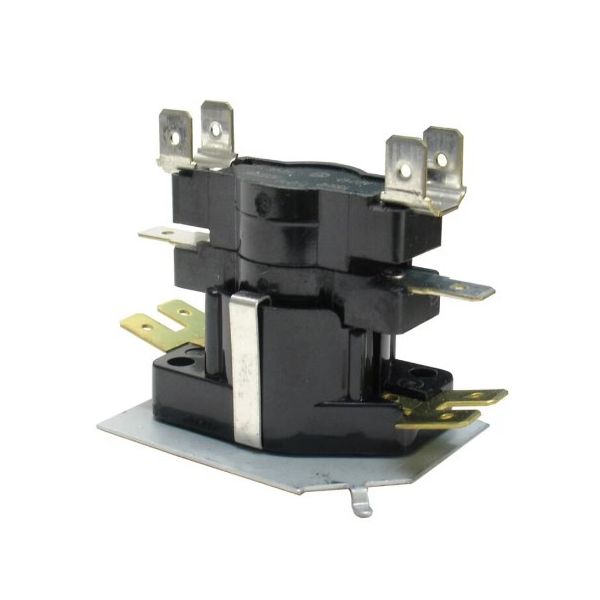
Rheem-Ruud 425079 Sequencing Relay

Special Price $31.35 Regular Price $40.75
In stock
SKU
425079
The Rheem-Ruud 425079 Sequencing Relay is a designed electrical control unit that is supposed to time and control electrical devices in a particular sequence. This relay functions using diverse voltage systems for instance 24V, 120V, 230V, and 460V hence suitable to fit several applications. It consists of two poles whereby one can control more than one appliance or phase in the system or control the sequence of the facility. The relay is installed by a flush mount plate with the mount hole and tab and that makes the installation more secure in spaces that are restricted. To ensure that wiring and installation are easy, it uses 1/4" quick connects hence making wiring easy.
Manufacturer:

https://www.partshnc.com/media/catalog/product/4/2/425079_rheem-ruud_partshnc.jpg

Specifications

  • Type: Sequencing Relay
  • Voltage: 24/120/230/460V
  • No. of Poles: 2
  • Mounting: Flush Mount Plate w/Mounting Hole &
  • Tab
  • Connections: 1/4" Quick Connects
  • Weight: 0.14 Lbs
Manufacturer Name: Rheem-Ruud
Product Number: 425079
OEM Part Number: 425079
Product Description: Sequencing Relay
Weight:0.14lbs/63.5g

Choose the best HVAC equipment parts and supplies from PartsHnC!

  • Same Day Shipping

  • Best Quality And Best Price

  • Wide Range of Inventory

  • Best Customer Service

Have More Questions or Need Help to Place The Order?
Reach us at (866)773-0907 or [email protected]

Write Your Own Review
You're reviewing:Rheem-Ruud 425079 Sequencing Relay
Your Rating
Customer Questions
What maintenance is required for the Rheem-Ruud 425079 Sequencing Relay?

Inspect wiring connections and terminals regularly for looseness or corrosion. Keep the relay clean and free from dust buildup to ensure accurate switching. Proper maintenance improves system efficiency and prevents intermittent heating or control failures.

What are common issues with the Rheem-Ruud 425079 Sequencing Relay?

  • Contact wear or pitting causing delayed switching.
  • Coil failure leading to no activation.
  • Loose wiring causing intermittent operation.
  • Overheating due to electrical load issues.
  • Voltage fluctuation affecting relay performance.
  • Sticking contacts under high load conditions.

Installation Steps

Step 1: Turn off power at the breaker to avoid electrical shock.

Step 2: Access the control panel and locate the existing relay.

Step 3: Label and disconnect wires carefully.

Step 4: Remove the old relay from its mounting.

Step 5: Install the new relay in the same position.

Step 6: Reconnect wires to matching terminals.

Step 7: Restore power and test system operation for proper sequencing.