Facebook Pixel

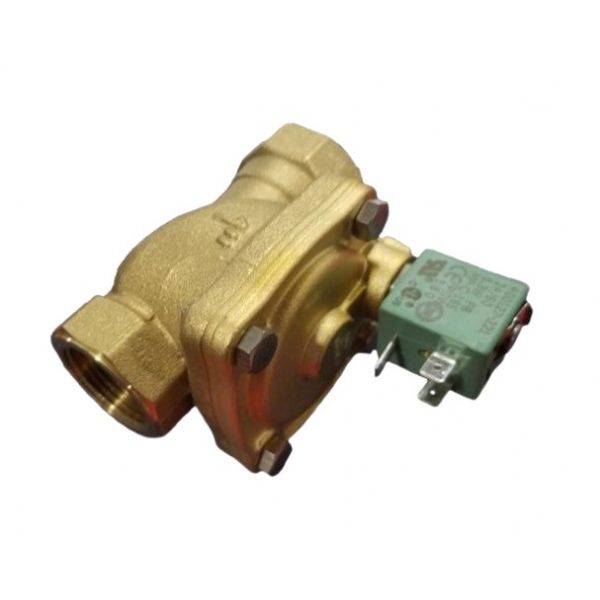
ASCO SC8238T410 1" N/C Solenoid Valve 5-175 PSI Air/Water 120V

Special Price $455.07 Regular Price $505.13
In stock
SKU
SC8238T410
The ASCO SC8238T410 normally closed solenoid valve with a 1-inch bore and is used for air and water applications with an operating pressure of 5-175 PSI. Sizing at 120 VAC, this valve plays an essential role in HVAC system applications, including pumping, air conditioning, and industrial water management. It operates in the position where the valve is opened with energization and closed when de-energized, which makes it have reliable shutoff Features. Made of stainless steel it has a maximum temperature of operation of 212°F making the product durable in high usage. Advantages include lower energy use, higher system performance, and simplicity of application, making it a useful element in numerous industrial and commercial applications.
Manufacturer:

https://www.partshnc.com/media/catalog/product/s/c/sc8238t410.jpg

Specifications

  • Type: Solenoid Valve
  • Valve Type: Normally Closed
  • Air/Water Pressure: 5-175 PSI
  • Temperature: 212°F
  • Voltage: 120 VAC
  • Connection Size: 1"
Write Your Own Review
You're reviewing:ASCO SC8238T410 1" N/C Solenoid Valve 5-175 PSI Air/Water 120V
Your Rating
Customer Questions
What maintenance is required for the ASCO SC8238T410 Solenoid Valve?

Regularly inspect the valve for leaks, dirt, or corrosion. Clean the internal components and ensure electrical connections are secure. Maintenance helps ensure proper valve operation, prevents sticking, and maintains consistent fluid or air control.

What are common issues with the ASCO SC8238T410 Solenoid Valve?

  • Valve sticking or slow operation.
  • Coil overheating or failure.
  • Leaks at connections or valve body.
  • Intermittent opening or closing.

Installation Steps

Step 1: Turn off all power and relieve pressure in the system before installation.

Step 2: Verify the valve flow direction and orientation matches the piping layout.

Step 3: Mount the valve securely using proper fittings, ensuring a tight seal.

Step 4: Connect electrical wires to the power source following the wiring diagram.

Step 5: Check all mechanical and electrical connections for leaks or loose contacts.

Step 6: Restore system pressure and power, then cycle the valve to ensure proper operation.