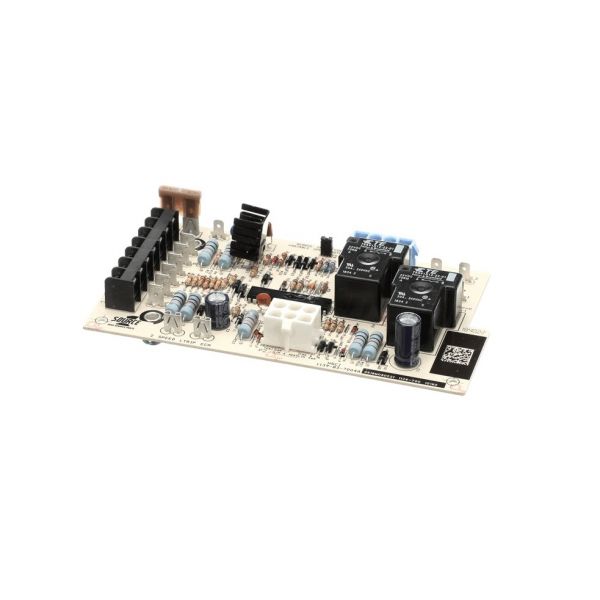
York S1-03101264002 Fan/Electric Heat Control Board Replaces 1139-83-7002
Special Price $321.29 Regular Price $356.63
In stock
SKU
S1-03101264002

The York S1-03101264002 Fan/Electric Heat Control Board is a direct replacement and is intended for HVAC systems. This control board controls both the blower fan and the electric heat operates providing accurate and reliable operation of the heating cycle. It is fitted in residential and light commercial HVAC units and integrates signals between the thermostat and essential components to maximize performance. Its advantages include increased energy efficiency, constant control of heating and decreased system damage. Perfect for keeping HVAC systems at their high performance, this control board improves system reliability and increases the longevity of equipment, that is a vital element for effective management.
Manufacturer: