
Facebook Pixel

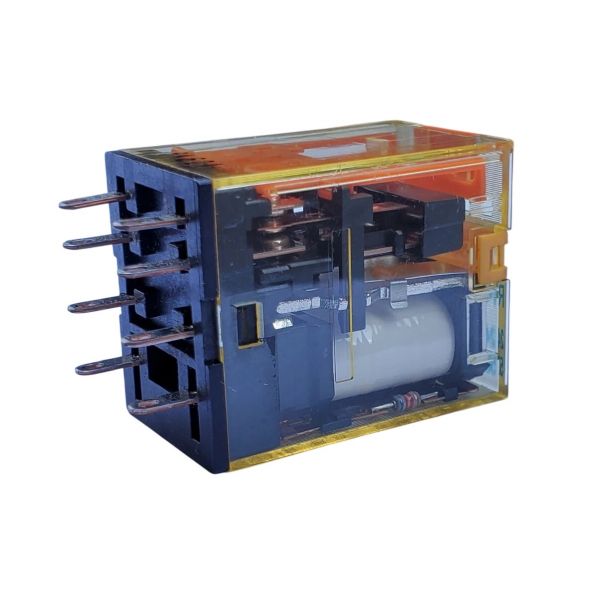
IDEC Relays RU2S-A24 DPDT Plug-in Relay 10A 24VAC

Special Price $22.47 Regular Price $29.21
In stock
SKU
RU2S-A24
The IDEC Relays RU2S-A24 Mini Relay is an electrical control component that is used in HVAC systems to change the state of circuits depending on control signals. It has a two pole, two-throw contact design that has a 10A at 24 VAC rating coil input. The mechanism used an electromagnetic coil which when energized switches positions and has separate circuits. It is done by mounting the relay in the control panel and connecting it to the relevant wiring according to the specifications of the system. This enables stable circuit switching and used to get proper control logic of residential and commercial.
Manufacturer:
https://www.partshnc.com/media/catalog/product/r/u/ru2s-a24.jpg
Manufacturer Name: IDEC Relays
Product Number: RU2S-A24
OEM Part Number: RU2S-A24
Product Description: 24Vac Mini Relay
Weight:0.08lbs/36.29g

Choose the best HVAC equipment parts and supplies from PartsHnC!

  • Same Day Shipping

  • Best Quality And Best Price

  • Wide Range of Inventory

  • Best Customer Service

Have More Questions or Need Help to Place The Order?
Reach us at (866)773-0907 or [email protected]

Write Your Own Review
You're reviewing:IDEC Relays RU2S-A24 DPDT Plug-in Relay 10A 24VAC
Your Rating
Customer Questions
What maintenance is required for the IDEC Relays RU2S-A24 Mini Relay?

Inspect coil terminals and wiring connections regularly for looseness or oxidation, and ensure proper insulation. Keep the relay free from dust and moisture to prevent contact issues. Periodic testing under load support ensures accurate switching performance and safety.

What are common issues with the IDEC Relays RU2S-A24 Mini Relay?

  • Coil burnout from overvoltage or incorrect supply.
  • Contact pitting or welding under high load.
  • Intermittent switching due to loose terminals.
  • Overheating during continuous operation.
  • Mechanical wear reducing switching reliability.
  • Arc-related contact erosion during frequent switching.

Installation Steps

Step 1: Turn off control power before handling the relay or socket.

Step 2: Mount the relay into the compatible socket and ensure proper alignment.

Step 3: Connect control wiring to the coil terminals.

Step 4: Wire load circuits to the contact terminals per diagram.

Step 5: Secure the relay and check for tight, correct connections.

Step 6: Restore power and test relay switching operation.