Facebook Pixel

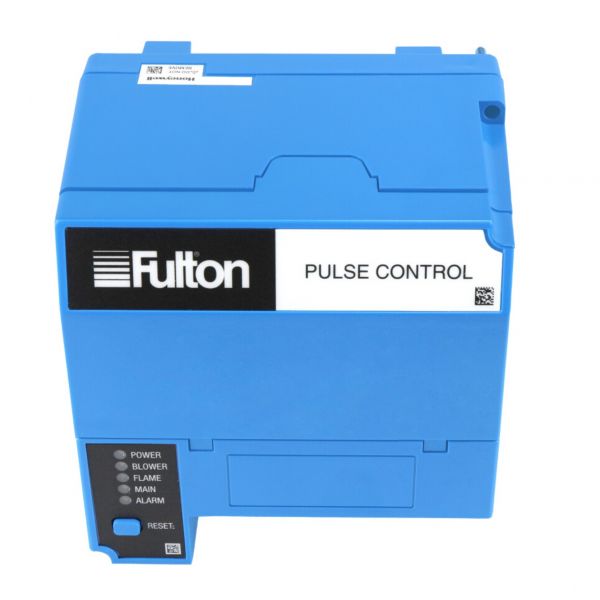
Honeywell RM7896D1027 Primary Control

Special Price $1,531.79 Regular Price $1,700.28
In stock
SKU
RM7896D1027
The Honeywell RM7896D1027 Primary Burner Control is made for single-burner HVAC systems that use gas, oil, or a mix of fuels. It controls the sequence of burner ignition, watches for flames, diagnoses system issues and troubleshoots, making the system safer and more efficient. It has automatic sequencing, flame supervision, diagnostics, and the ability to troubleshoot. For the control to work, it needs a subbase, amplifier and purge timer card. The control offers better safety, smoother system performance, and easier maintenance, which makes it suitable for industrial heating.

https://www.partshnc.com/media/catalog/product/r/m/rm7896d1027.jpg
Manufacturer Name: Honeywell Thermal Solutions
Product Number: RM7896D1027
OEM Part Number: RM7896D1027
Product Description: Primary Control *** Restricted Item Please Call ***
Weight:2.5lbs/1133.98g

Choose the best HVAC equipment parts and supplies from PartsHnC!

  • Same Day Shipping

  • Best Quality And Best Price

  • Wide Range of Inventory

  • Best Customer Service

Have More Questions or Need Help to Place The Order?
Reach us at (866)773-0907 or [email protected]

Write Your Own Review
You're reviewing:Honeywell RM7896D1027 Primary Control
Your Rating
Customer Questions
What maintenance is required for the Honeywell RM7896D1027 Primary Control?

Regularly inspect the control for dust, corrosion, or loose wiring connections. Ensure terminals are secure and the unit remains dry. Disconnect power before servicing. Proper care prevents control failures and ensures safe, reliable operation.

What are common issues with the Honeywell RM7896D1027 Primary Control?

  • Control fails to activate heating or cooling.
  • Intermittent or erratic operation.
  • Faulty sensors or relays.
  • Wiring or terminal connection problems.

Installation Steps

Step 1: Turn off power to the appliance at the breaker for safety.

Step 2: Remove the old primary control, noting all wire connections.

Step 3: Attach wires to the corresponding terminals on the new control.

Step 4: Secure the control with screws or mounting clips.

Step 5: Restore power and test the system to ensure proper operation.

Step 6: Follow all manufacturer safety precautions during installation.