
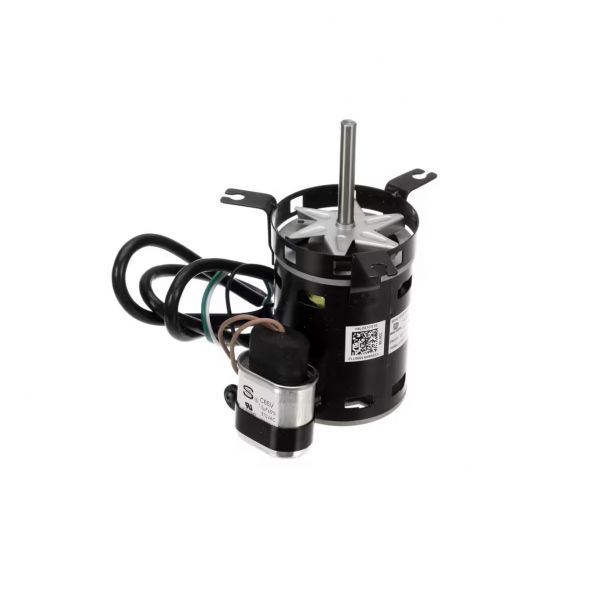
Venter motors provide the mechanical drive needed to operate venter assemblies in HVAC equipment. The Reznor RZ236158 Venter Motor supplies the rotational movement required by its connected assembly. This movement supports the equipment's designated venting function.
Venter Motor Operation:
The motor converts electrical energy into mechanical rotation through its shaft. This rotation drives the connected venter assembly, allowing it to perform its intended mechanical function. The specified rotational speed is an important factor when matching the motor to the equipment's original design.
Electrical Input and Operating Requirements:
The Reznor RZ236158 is specified for a 115V, 60Hz electrical supply. Voltage identifies the required electrical potential, while frequency indicates the rate of the alternating-current cycles supplied to the motor. Both values should match the electrical requirements specified for the application.
Replacement Guidelines:
Replacement may be necessary when a confirmed motor fault prevents the venter assembly from receiving the mechanical drive required for its intended operation. A motor that can no longer perform its required function reliably may need to be replaced.
Common Failure Symptoms:
- Venter motor fails to start
- Intermittent motor operation
- Unusual operating noise
- Excessive vibration
- Irregular shaft rotation
Equipment Compatibility:
The Reznor RZ236158 Venter Motor should be matched to equipment that specifies this motor or a verified equivalent. Before ordering, confirm the part number, rotational speed, voltage, frequency, mounting arrangement, and connection requirements against the original equipment documentation. Specific compatible equipment models have not been confirmed from the supplied information.
Technical Specifications:
Product Identification:
Brand: Reznor
Part Number: RZ236158
Product Type: Venter Motor
Electrical:
Voltage: 115V
Frequency: 60Hz
Mechanical:
Speed: 3200 RPM
Installation Steps
Step1: Disconnect power and confirm unit is fully de-energized before starting.
Step2: Remove the blower housing to access the old motor and disconnect wiring.
Step3: Install the new motor, align it with the mounting bracket, and secure bolts firmly.
Step4: Reconnect wiring per the diagram and test motor rotation.
Step5: Restore power and verify smooth operation, checking for unusual noise or vibration.
Loyalty Program


