Facebook Pixel

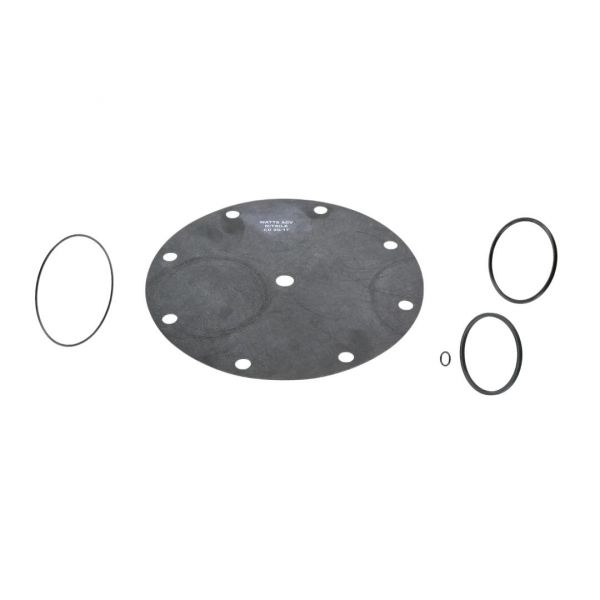
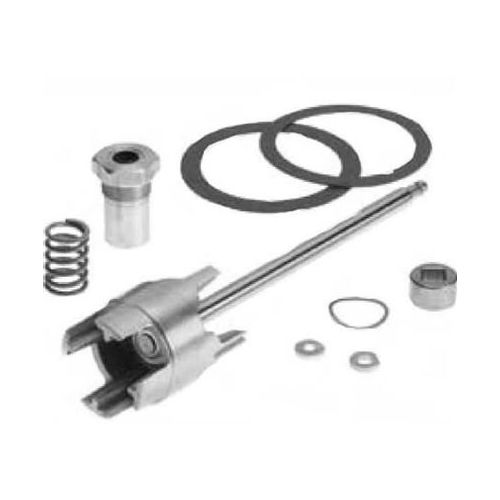
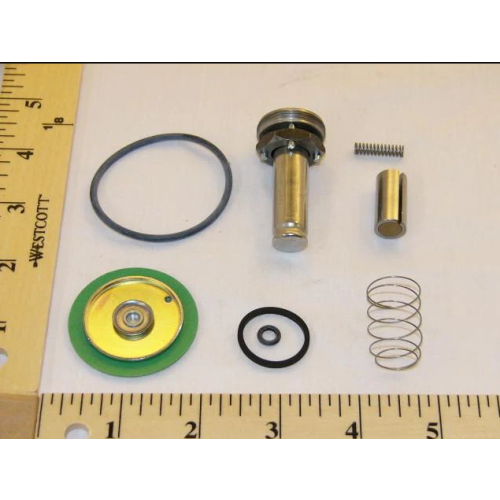
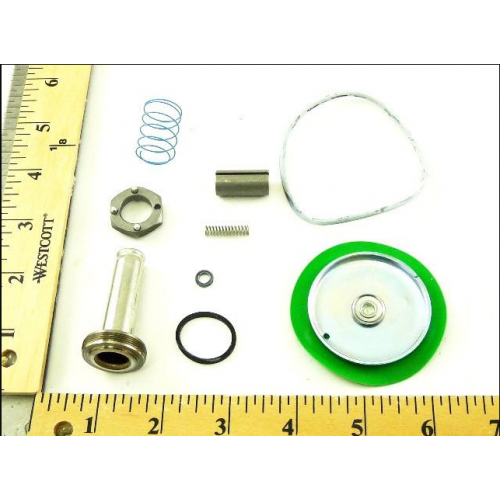
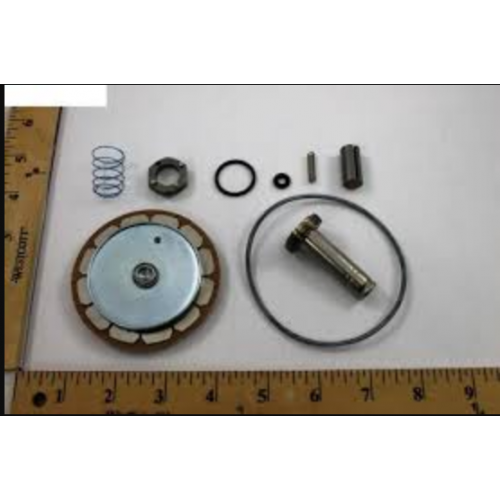
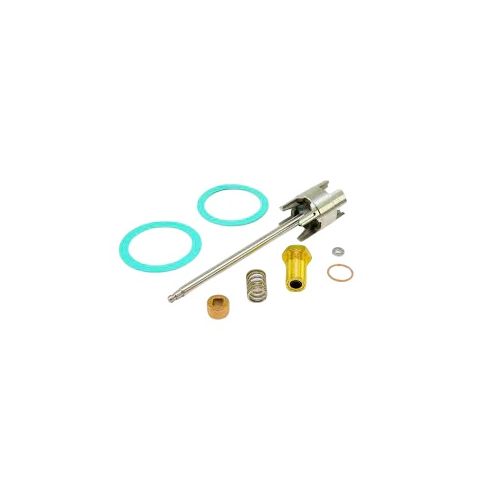
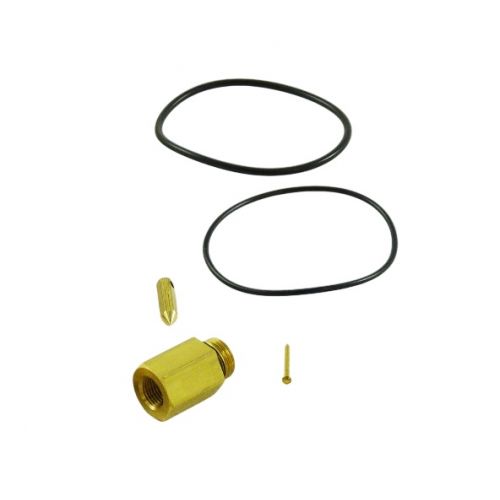
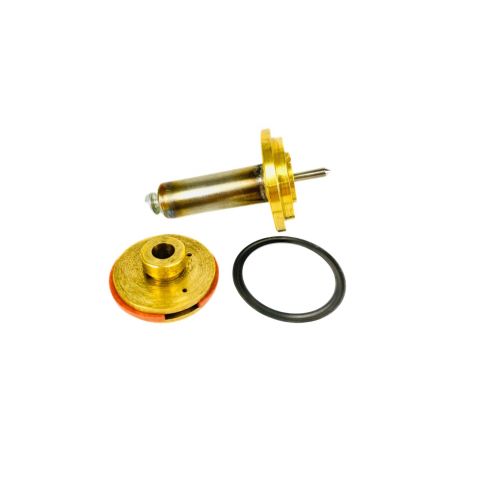
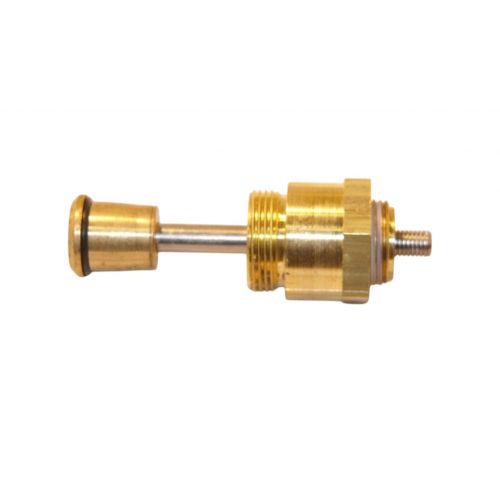
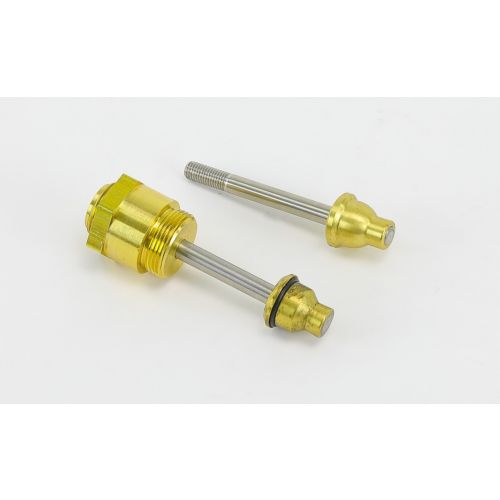
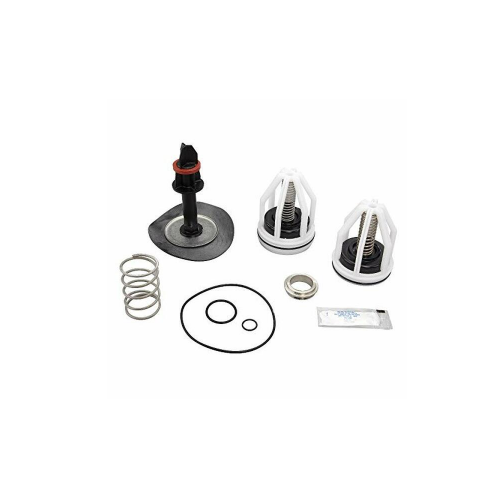
Watts 3302-01 4" Valve Repair Kit ACV-9006-03

Special Price $349.03 Regular Price $387.43
In stock
SKU
3302-01

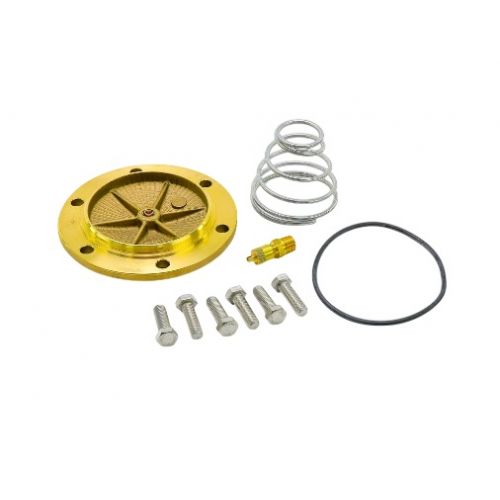
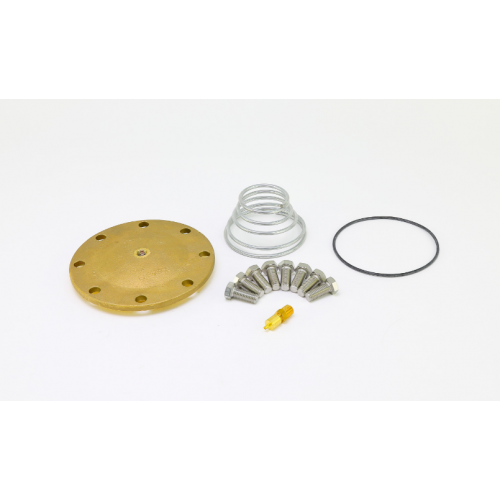
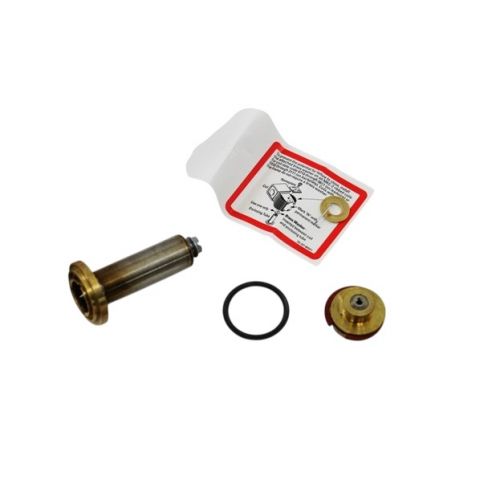
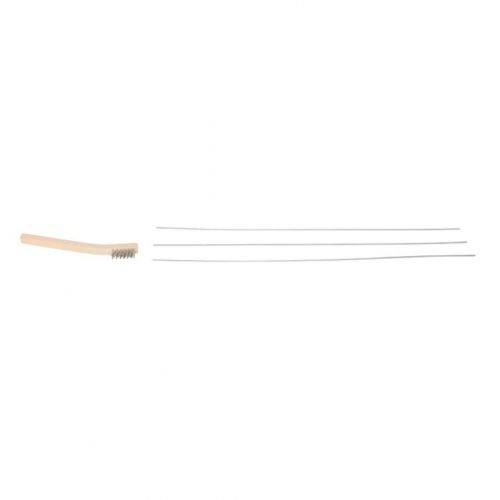
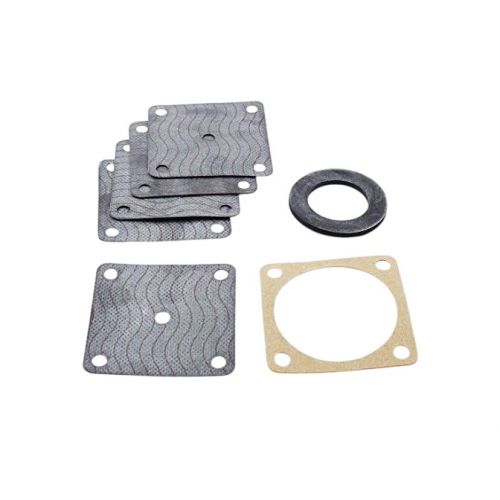
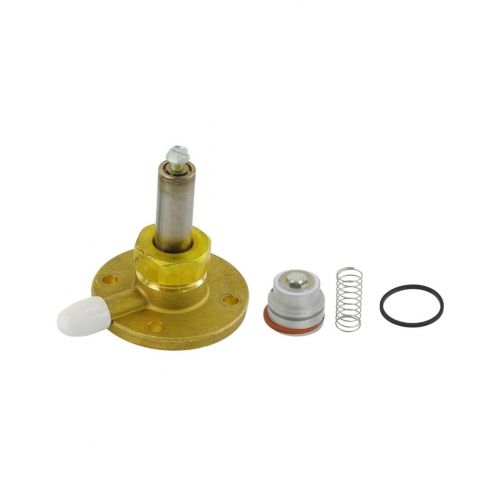
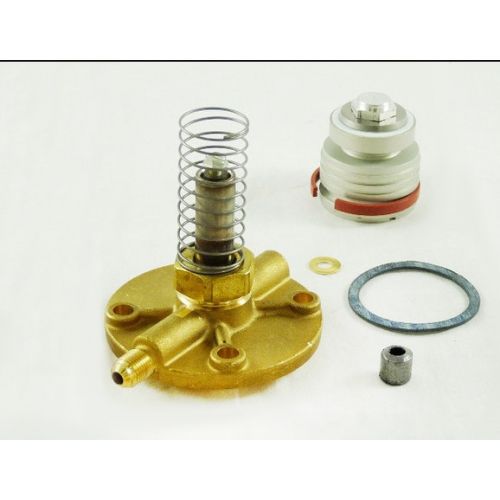
The Watts 3302-01 Repair Kit is intended for the 4-inch ACV-9006-03, which is a critical component in HVAC systems. By including necessary replacement parts, this repair kit extends the ACV-9006-03's useful life and usefulness. It fixes any wear and tear on the valve to guarantee the HVAC system runs effectively. This repair kit, which is mostly used in HVAC equipment like air handling units and control systems, provides an affordable way to keep your equipment operating at peak efficiency. It effectively controls the flow of air or fluids within the system by replacing worn-out parts and restoring the valve to its initial operating state. This repair kit has several advantages, such as higher comfort and lower operating costs due to decreased maintenance downtime, increased energy efficiency, and improved system reliability.

Manufacturer:
https://www.partshnc.com/media/catalog/product/3/3/3302-01.jpg
Manufacturer Name: Watts
Product Number: 3302-01
OEM Part Number: 3302-01
Product Description: Repair Kit For 4" Acv-9006-03
Weight:0.25lbs/113.4g

Choose the best HVAC equipment parts and supplies from PartsHnC!

  • Same Day Shipping

  • Best Quality And Best Price

  • Wide Range of Inventory

  • Best Customer Service

Have More Questions or Need Help to Place The Order?
Reach us at (866)773-0907 or [email protected]

Write Your Own Review
You're reviewing:Watts 3302-01 4" Valve Repair Kit ACV-9006-03
Your Rating
Customer Questions
What maintenance is required for the Watts 3302-01 Valve Repair Kit?

Regularly inspect the valve components for wear, leaks, or corrosion. Ensure seals and gaskets are properly seated and lubricated if needed. Test valve operation periodically to confirm smooth flow control. Proper maintenance prevents leaks and ensures accurate system performance.

What are common issues with the Watts 3302-01 Valve Repair Kit?

  • Leaks around seals or gaskets.
  • Difficulty opening or closing the valve.
  • Corrosion on metal components.
  • Loose or misaligned fittings.
  • Flow inconsistencies or pressure drops.

Installation Steps

Step1: Shut off the system and relieve any pressure in the valve.

Step2: Remove the valve from the pipeline and place it on a clean work surface.

Step3: Disassemble the valve, noting the position of all components.

Step4: Replace worn parts with components from the repair kit.

Step5: Reassemble the valve carefully, ensuring all seals are properly seated.

Step6: Reinstall the valve, restore system pressure, and check for leaks.