Facebook Pixel

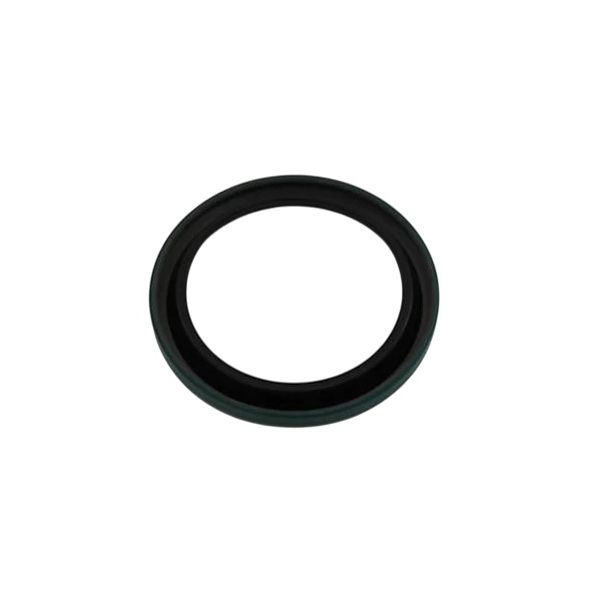
Xylem-Bell & Gossett P5001034 Lip Seal

Special Price $52.08 Regular Price $59.89
In stock
SKU
P5001034
The Xylem-Bell & Gossett P5001034 Lip Seal is a component used in pumps and rotating equipment to prevent fluid from leaking along with the shaft. It is installed in the pump housing around the impeller shaft, it maintains a tight interface between moving and stationary parts by using a flexible sealing lip that resists fluid escape while allowing rotation. Within the HVAC systems, this lip seal preserves hydraulic integrity, reduces leakage and protects internal components, contributing to pump performance under normal operating conditions.
https://www.partshnc.com/media/catalog/product/p/5/p5001034.jpg
Manufacturer Name: Xylem-Bell & Gossett
Product Number: P5001034
OEM Part Number: P5001034
Product Description: Lip Seal
Weight:0.03lbs/13.61g

Choose the best HVAC equipment parts and supplies from PartsHnC!

  • Same Day Shipping

  • Best Quality And Best Price

  • Wide Range of Inventory

  • Best Customer Service

Have More Questions or Need Help to Place The Order?
Reach us at (866)773-0907 or [email protected]

Write Your Own Review
You're reviewing:Xylem-Bell & Gossett P5001034 Lip Seal
Your Rating
Customer Questions
What maintenance is required for the Xylem-Bell & Gossett P5001034 Lip Seal?

Regularly inspect the lip seal for cracks, wear, or leakage. Ensure proper lubrication if applicable and check alignment in the assembly. Replacing worn seals promptly prevents leaks and maintains system efficiency.

What are common issues with the Xylem-Bell & Gossett P5001034 Lip Seal?

  • Leakage due to wear or improper installation.
  • Cracking or hardening of the seal material.
  • Misalignment causing uneven sealing.
  • Seal deformation under high pressure.

Installation Steps

Step 1: Turn off power to the pump and relieve system pressure before starting.

Step 2: Disassemble the pump housing to access the existing seal.

Step 3: Carefully remove the worn lip seal without damaging surrounding parts.

Step 4: Clean the shaft and seal housing thoroughly.

Step 5: Press the new seal into place evenly, ensuring correct orientation.

Step 6: Reassemble the pump and test for leaks and proper operation.