
Facebook Pixel

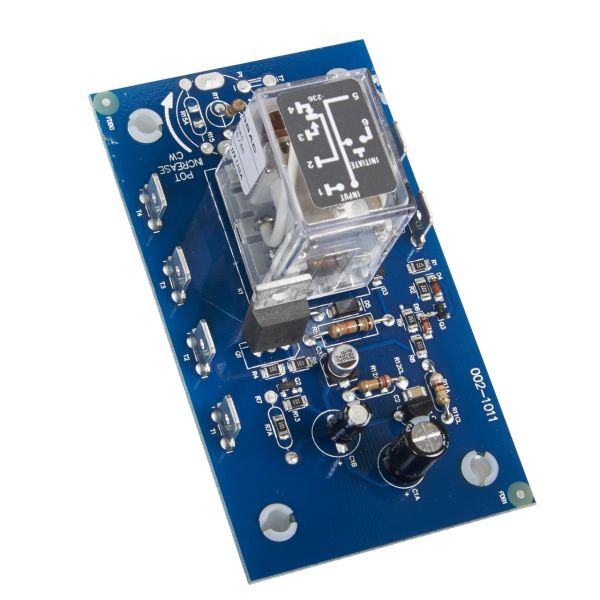
Littelfuse ORB120A25 Time Delay Relay

Special Price $74.17 Regular Price $85.30
In stock
SKU
ORB120A25
The Littelfuse ORB120A25 Time Delay Relay operates as a 120V component for HVAC system circuit timing regulation. The component operates by postponing both component activation and deactivation to stop rapid cycling lengthening system durability. This relay serves HVAC applications through protection of sensitive components by decreasing damage. The part enables more efficient operation because it allows for appropriate time gaps between cycles. The implementation of this relay produces increased system dependability and improved energy efficiency and extended equipment lifetime that leads to decreased maintenance expenses and superior operational performance.
https://www.partshnc.com/media/catalog/product/o/r/orb120a25_littelfuse_partshnc.jpg

Specifications

  • Type: Time Delay Relay
  • Voltage: 120V
Manufacturer Name: Littelfuse
Product Number: ORB120A25
OEM Part Number: ORB120A25
Product Description: Time Delay Relay
Weight:0.19lbs/86.18g

Choose the best HVAC equipment parts and supplies from PartsHnC!

  • Same Day Shipping

  • Best Quality And Best Price

  • Wide Range of Inventory

  • Best Customer Service

Have More Questions or Need Help to Place The Order?
Reach us at (866)773-0907 or [email protected]

Write Your Own Review
You're reviewing:Littelfuse ORB120A25 Time Delay Relay
Your Rating
Customer Questions
What maintenance is required for the Littelfuse ORB120A25 Time Delay Relay?

Regularly inspect wiring terminals for looseness or corrosion and ensure secure electrical connections. Keep the relay clean and free from dust or moisture buildup to maintain accurate timing performance. Verify operating voltage stability and test delay accuracy periodically.

What are common issues with the Littelfuse ORB120A25 Time Delay Relay?

  • Timing inaccuracies or drift.
  • Relay fails to trigger or reset.
  • Coil malfunction or burnout.
  • Contact wear causing poor switching.
  • Overheating during continuous operation.
  • Sensitivity to voltage fluctuations.

Installation Steps

Step 1: Disconnect power and apply lockout/tagout; check circuit is de-energized.

Step 2: Mount old relay securely on din rail or panel per manufacturer orientation.

Step 3: Wire control voltage and load terminals according to wiring diagram.

Step 4: Set desired new time delay using onboard adjustment controls.

Step 5: Restore power and test timing opertion under load.

Step 6: Ensure proper grounding, insulation, and enclosure closure for safety before operation.