
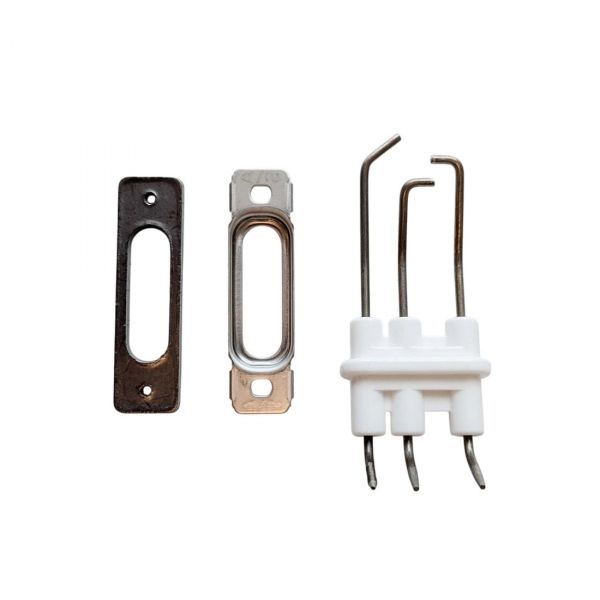
NAVIEN TANKLESS WATER HEATERS 30014189C Flame Rod Assembly for NHB Series
Special Price $19.60 Regular Price $25.48
In stock
SKU
30014189C

The NAVIEN TANKLESS WATER HEATERS 30014189C Flame Rod Assembly is a sensor that is used to ensure the presence of flames during the combustion process. It operates by inserting a metal rod into the flame of the burner where the hot rod would sense the flame via electrical conductivity and transmit a signal to the control circuit enabling the system to confirm that combustion is occurring during operation in HVAC systems. The assembly is mounted close to the burner where the rod sticks into the flame path and the wiring connects to the ignition control module. Constant flame monitoring assist in safe operation of the burner and aids in safe heating functionality.

Specifications
- Type: Flame Rod