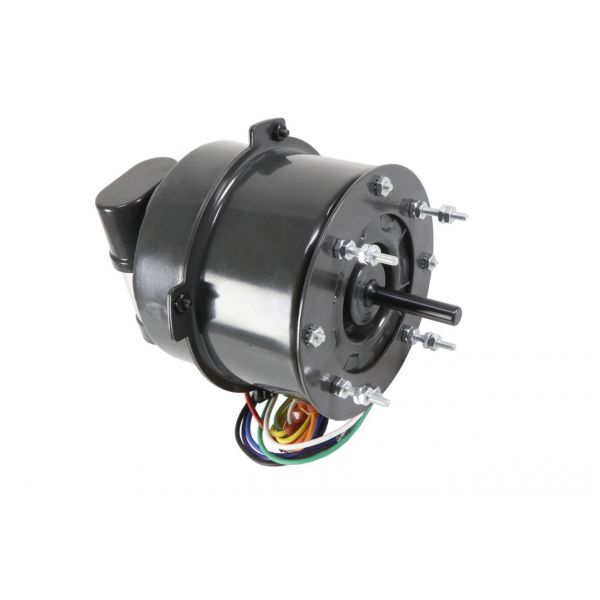
Trane MOT18999 Motor 115V 1100 RPM 1/20HP
Specifications
- Frequency: 60Hz
- Horsepower: 1/15 HP
- RPM (Revolutions Per Minute): 560
- Voltage: 115V
- Mounting Type: Stud
- Number of Speed: 4
- Rame Size: 48
- Weight: 7.9 Lbs
Loyalty ProgramHVAC equipment assemblies rely on motors to provide the mechanical drive needed by their associated components. The Trane MOT18999 is a motor used to support that drive function within the equipment, helping the associated component perform its intended mechanical task.
Motor Operating Principle:
Electrical input energizes the motor and produces rotation at the shaft. This converts electrical energy into mechanical movement that can be transferred to the associated component. The rotating shaft serves as the motor's mechanical output during operation.
Motor Power and Electrical Requirements:
The motor has a 1/20 HP power rating and uses a 115V electrical supply. The power rating describes the motor's rated capacity for mechanical drive, while the voltage indicates the electrical supply used during operation.
Replacement Guidelines:
Replacement may be appropriate when the Trane MOT18999 no longer produces the required shaft movement or has physical damage that affects operation. Before ordering, compare the existing part number with the applicable equipment requirements and verified specifications.
Common Failure Symptoms:
Equipment Compatibility:
The Trane MOT18999 should be selected for equipment requiring the corresponding motor configuration. Before purchasing, confirm the existing part number, 1/20HP power requirement, 115V electrical requirement, 1100 RPM speed, and other applicable equipment requirements.
Technical Specifications:
Part Identification:
Brand: Trane
Part Number: MOT18999
Product Type: Motor
Electrical:
Voltage: 115V
Mechanical:
Horsepower: 1/20 HP
Speed: 1100 RPM
Step1: Ensure power is off and the area is dry before starting.
Step2: Remove the old motor carefully, noting wiring positions.
Step3: Mount the new motor securely in the designated bracket or housing.
Step4: Connect wires to the labeled terminals, matching original configuration.
Step5: Verify the motor rotation direction is correct.
Step6: Tighten all screws and secure connections.
Step7: Restore power and test the motor briefly to confirm proper operation.